Free Football Coach Resources
Various Coaches
Glazier Clinics
Following gets you access to more content and updates from this creator.
Glazier Free Videos
Follow this channel for new FREE video clips each week.
All videos are clips from full-length videos inside the Glazier Drive video library.
Explore the Glazier Drive Video Library
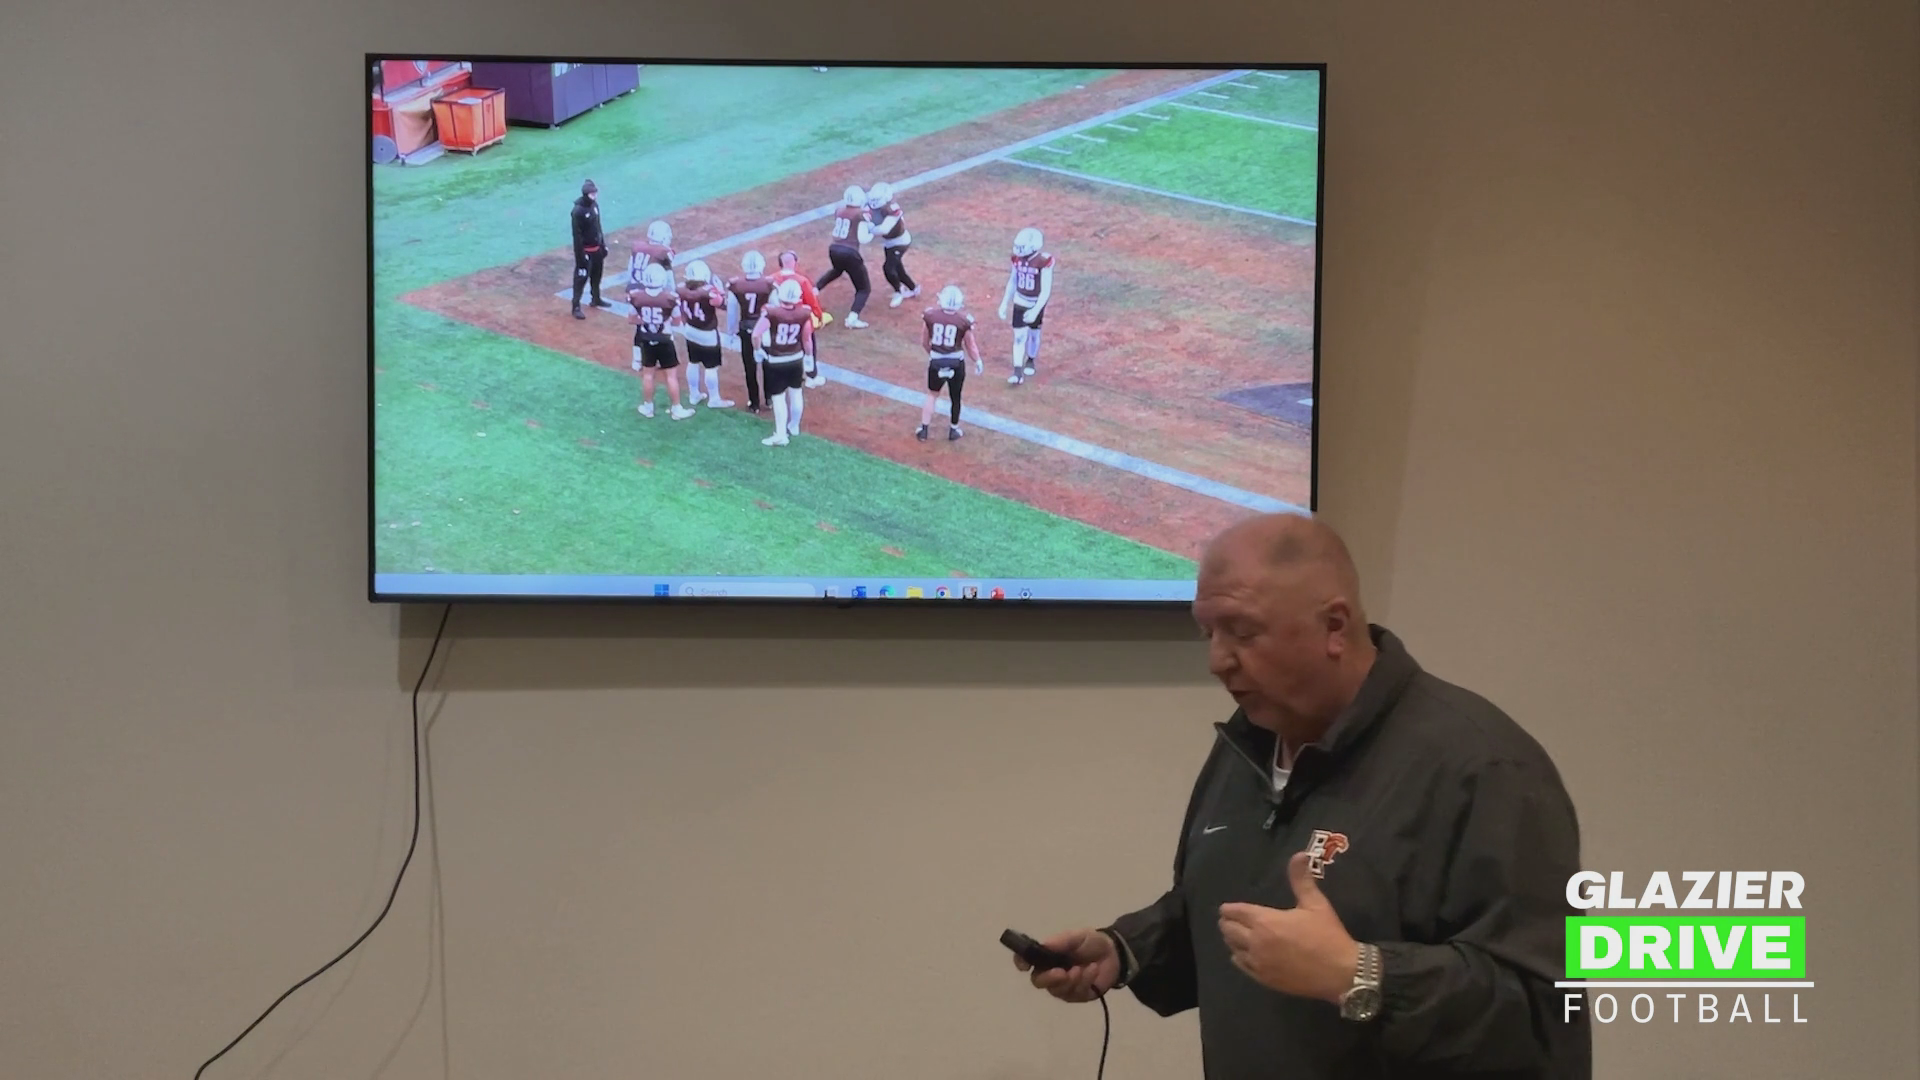
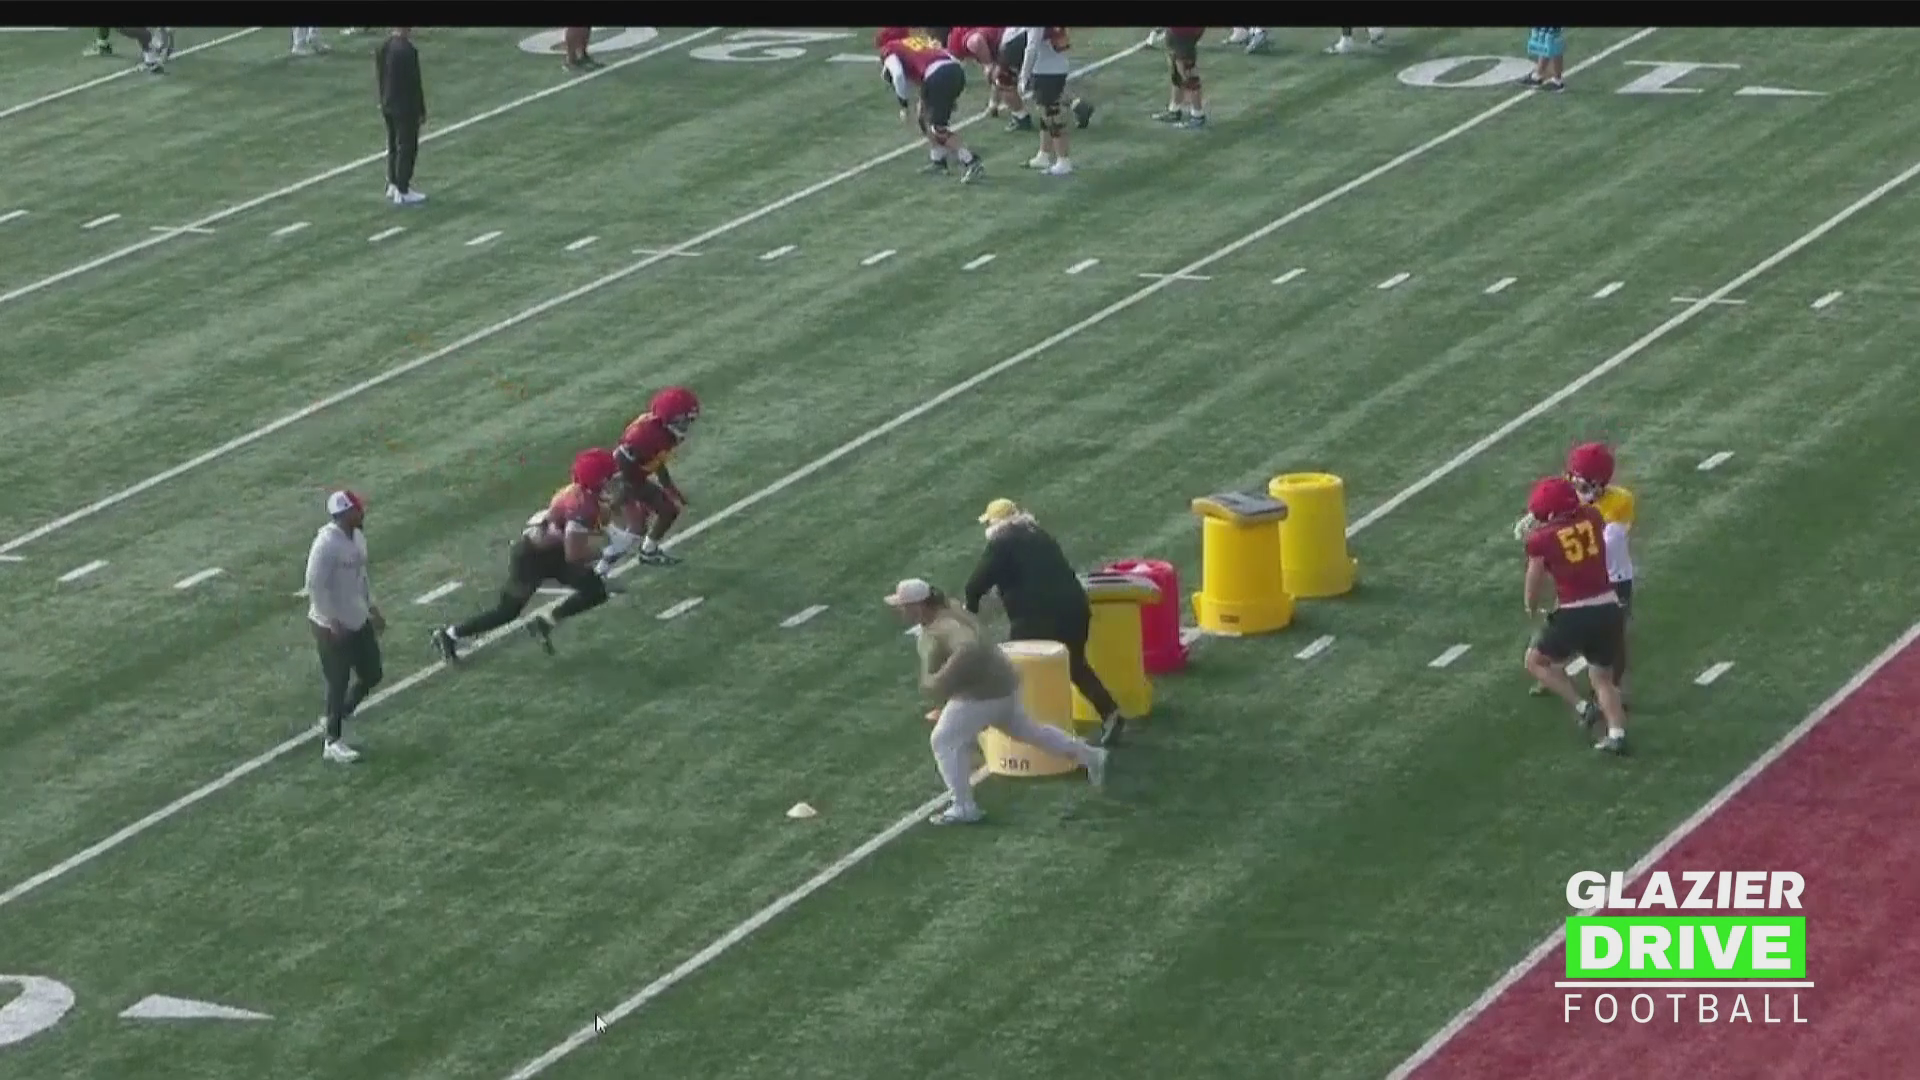
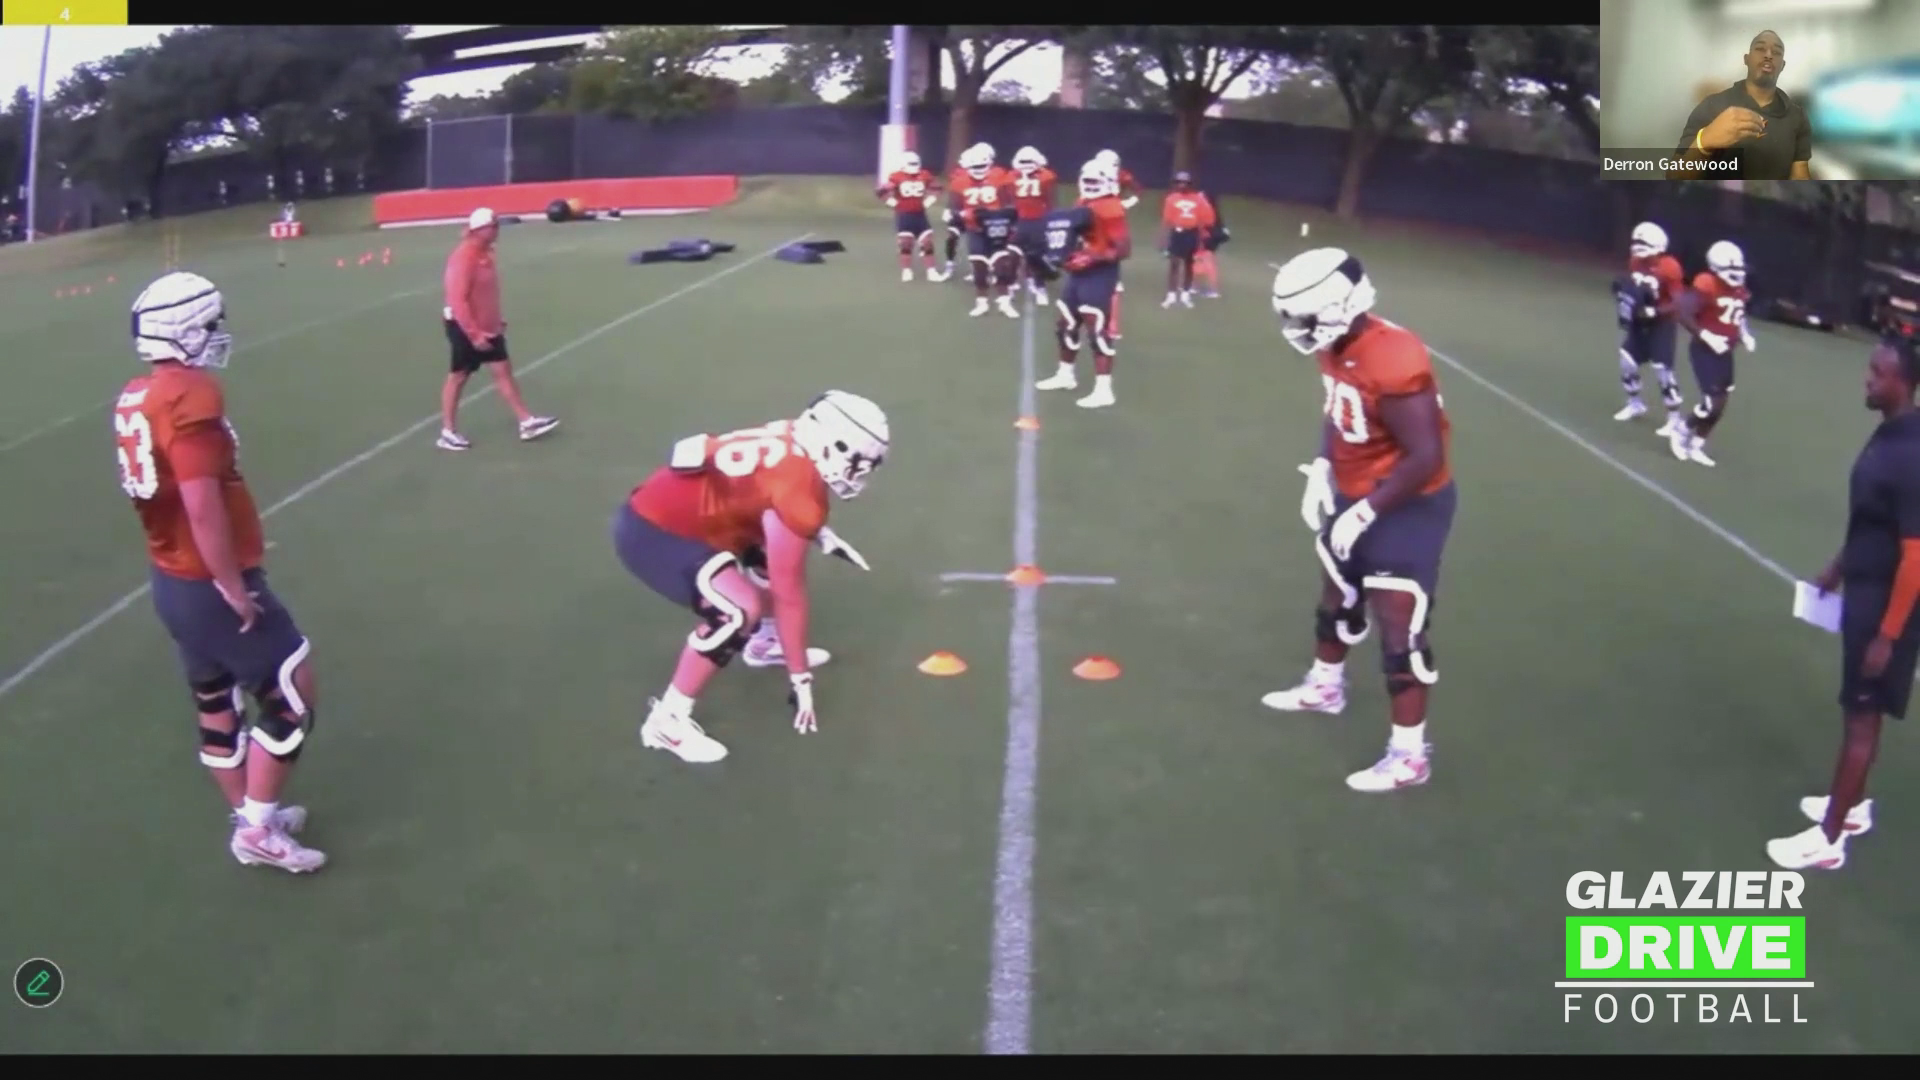
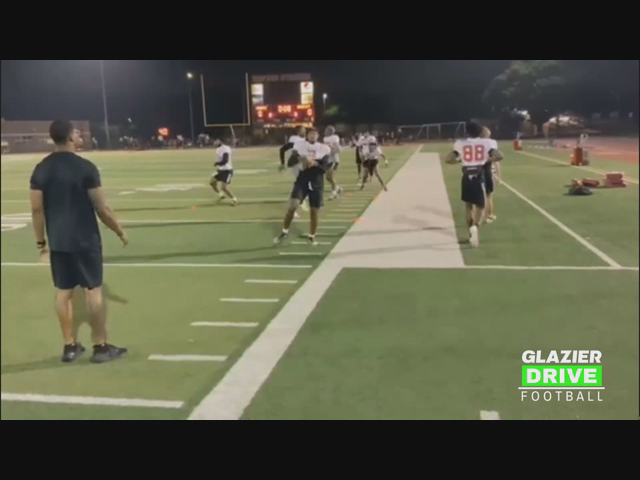
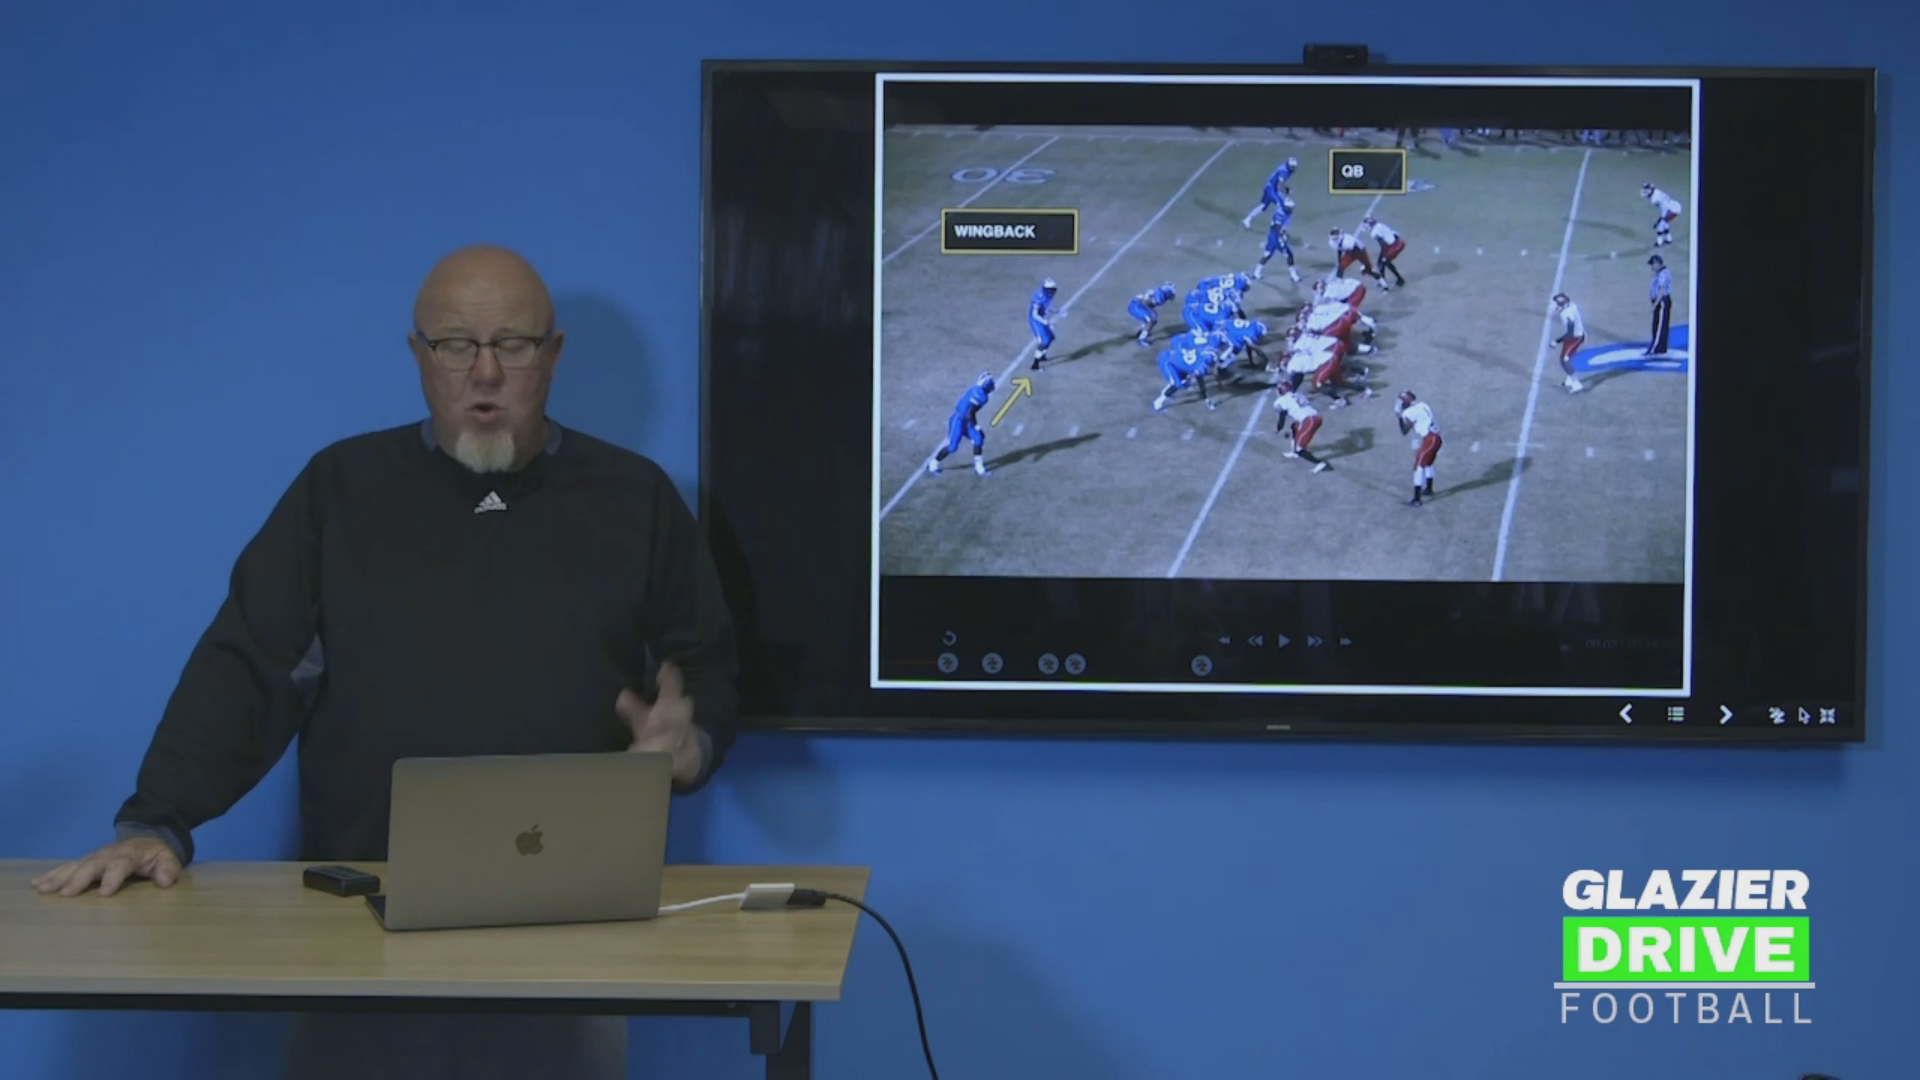
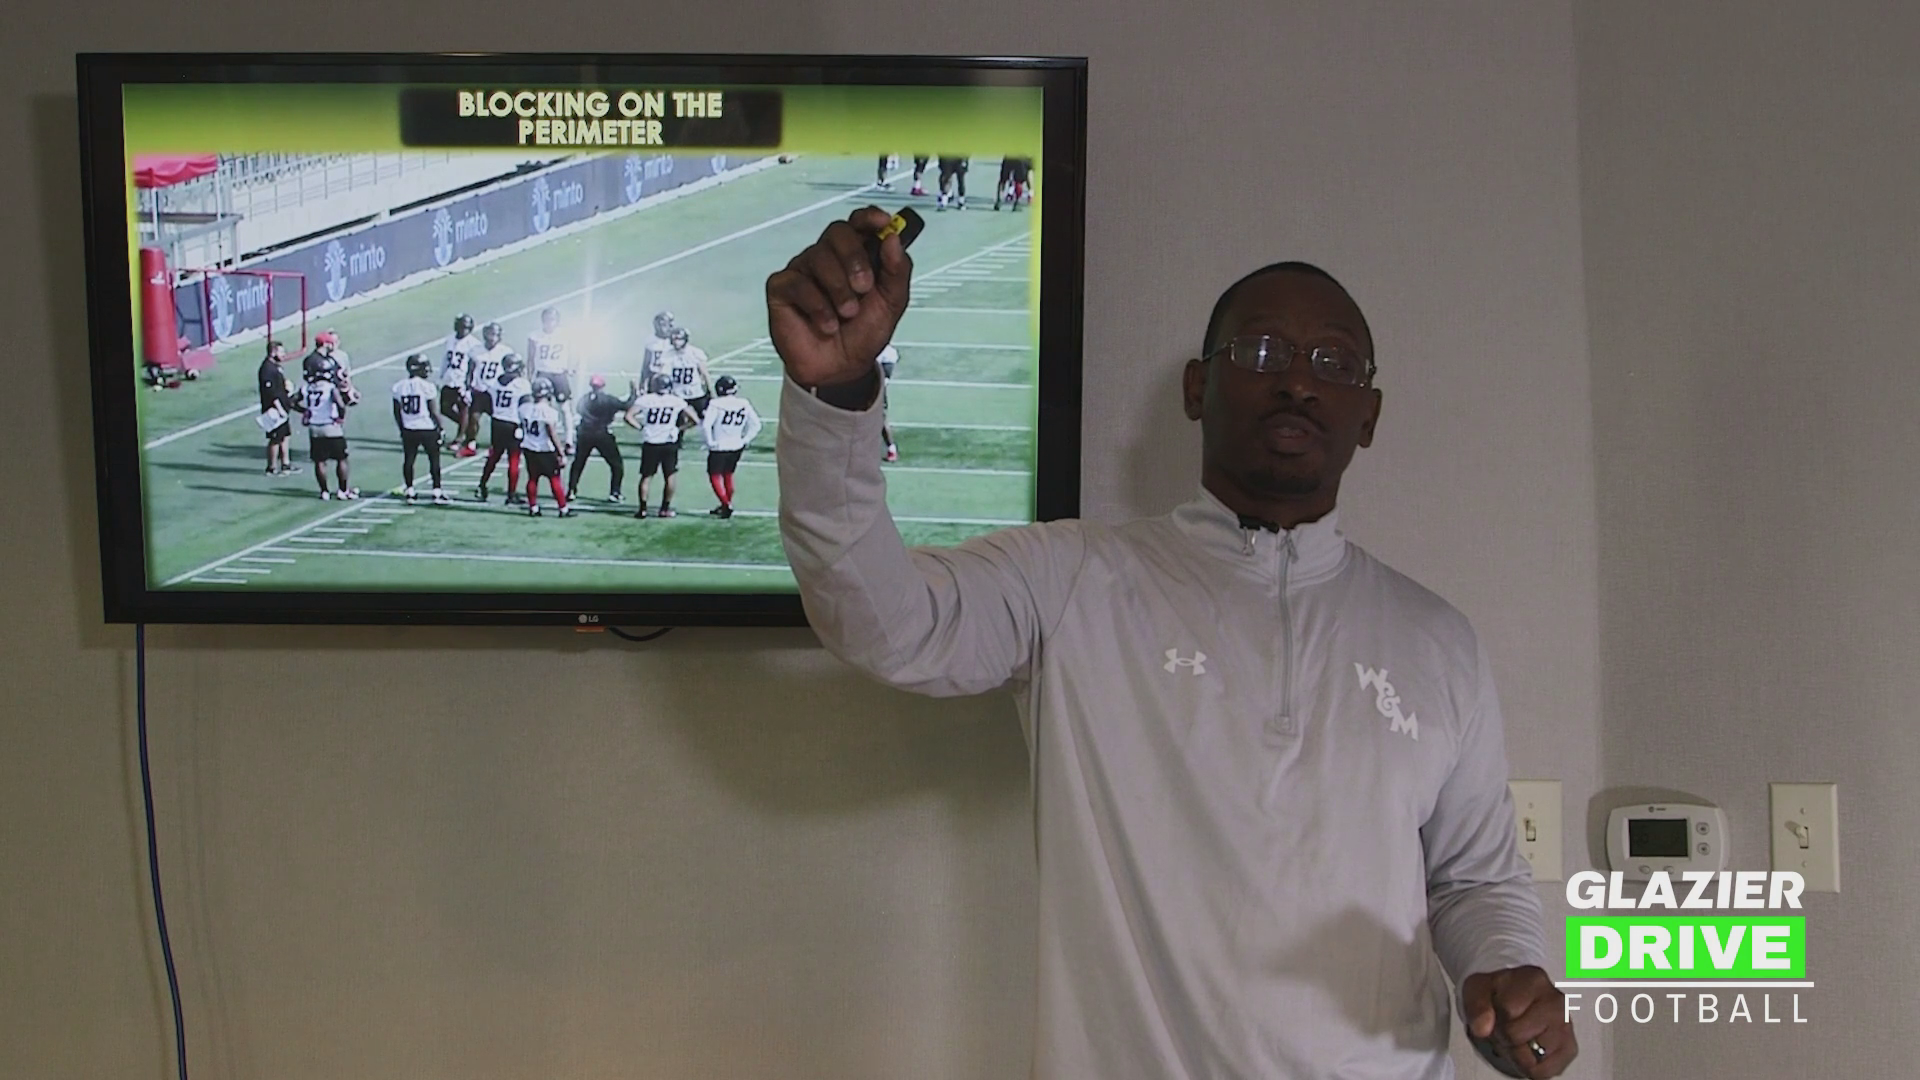
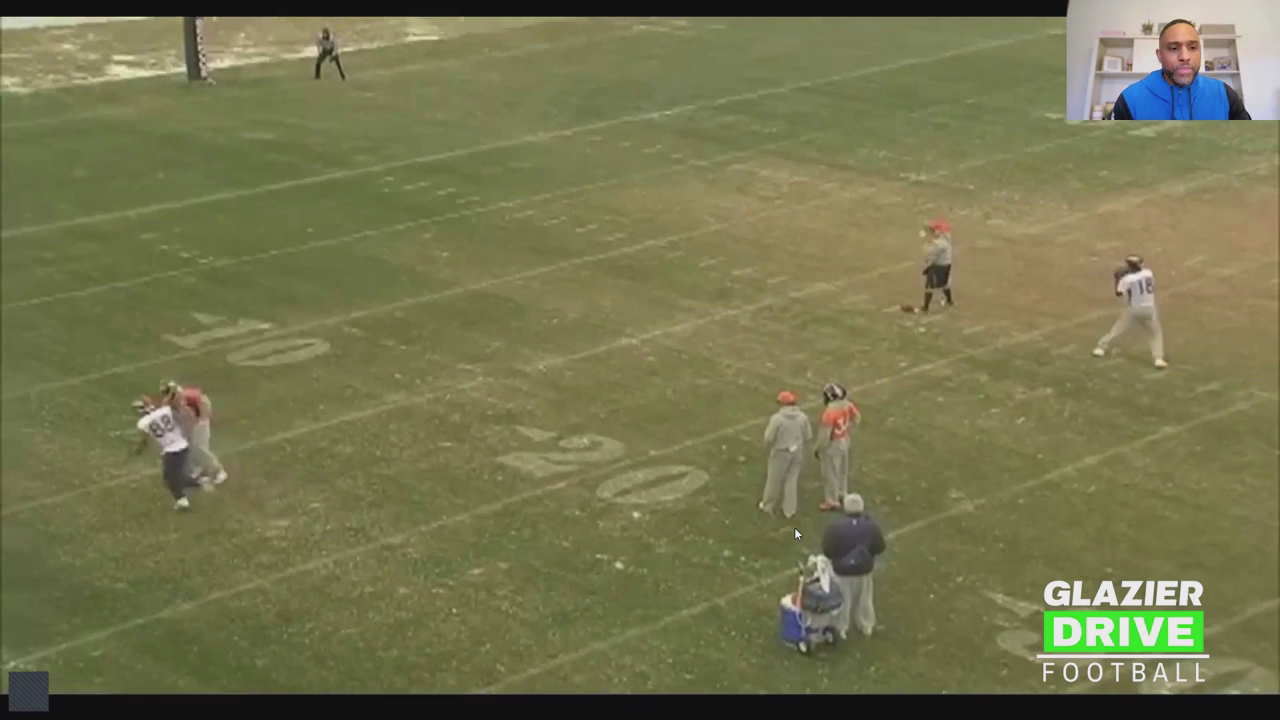
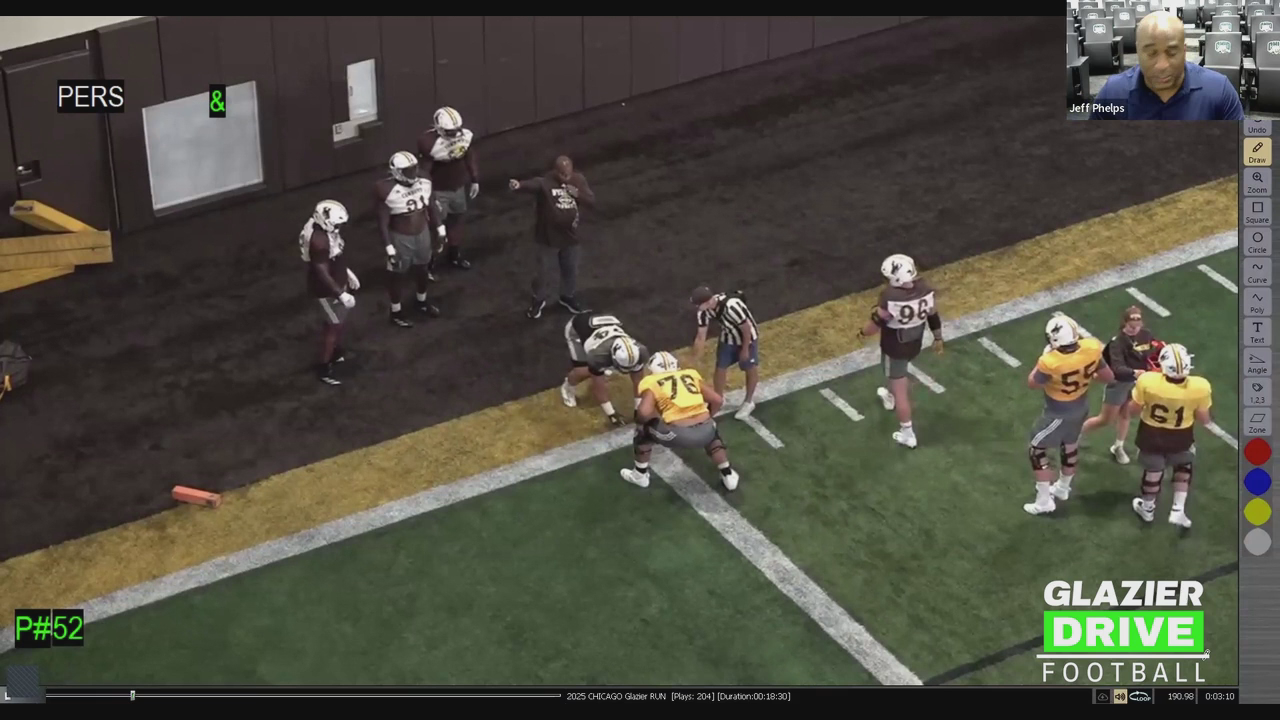
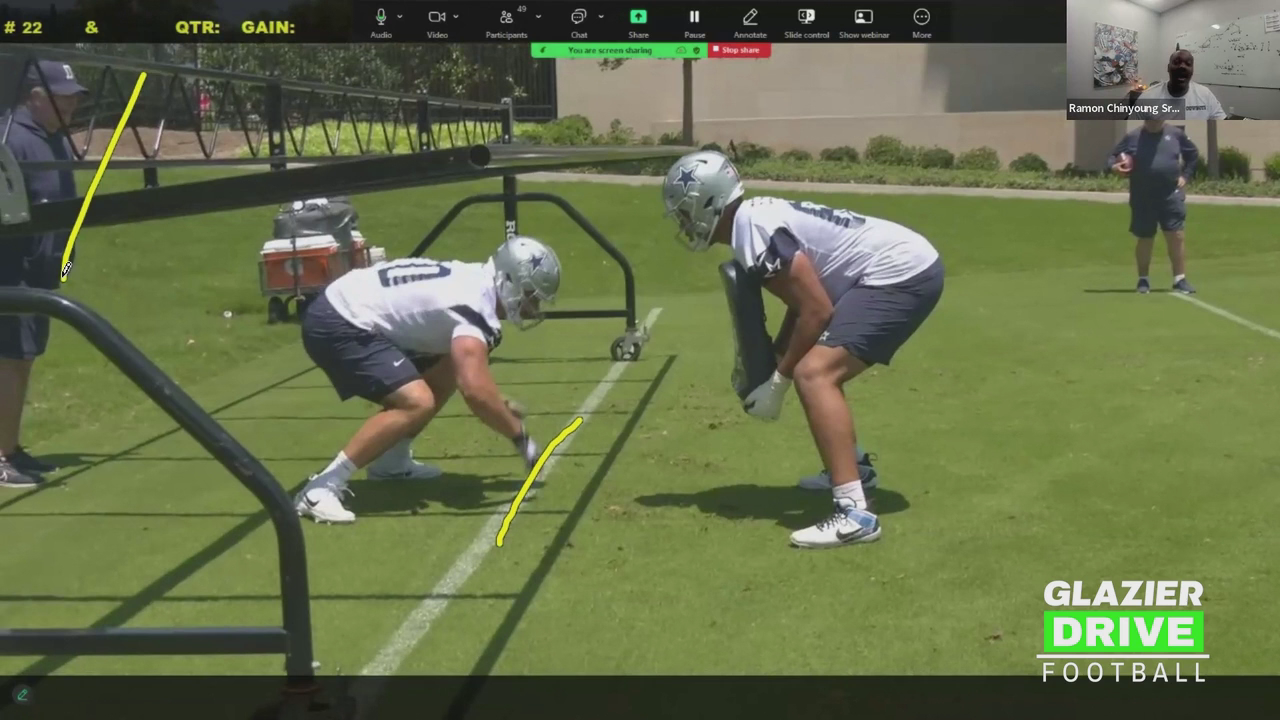
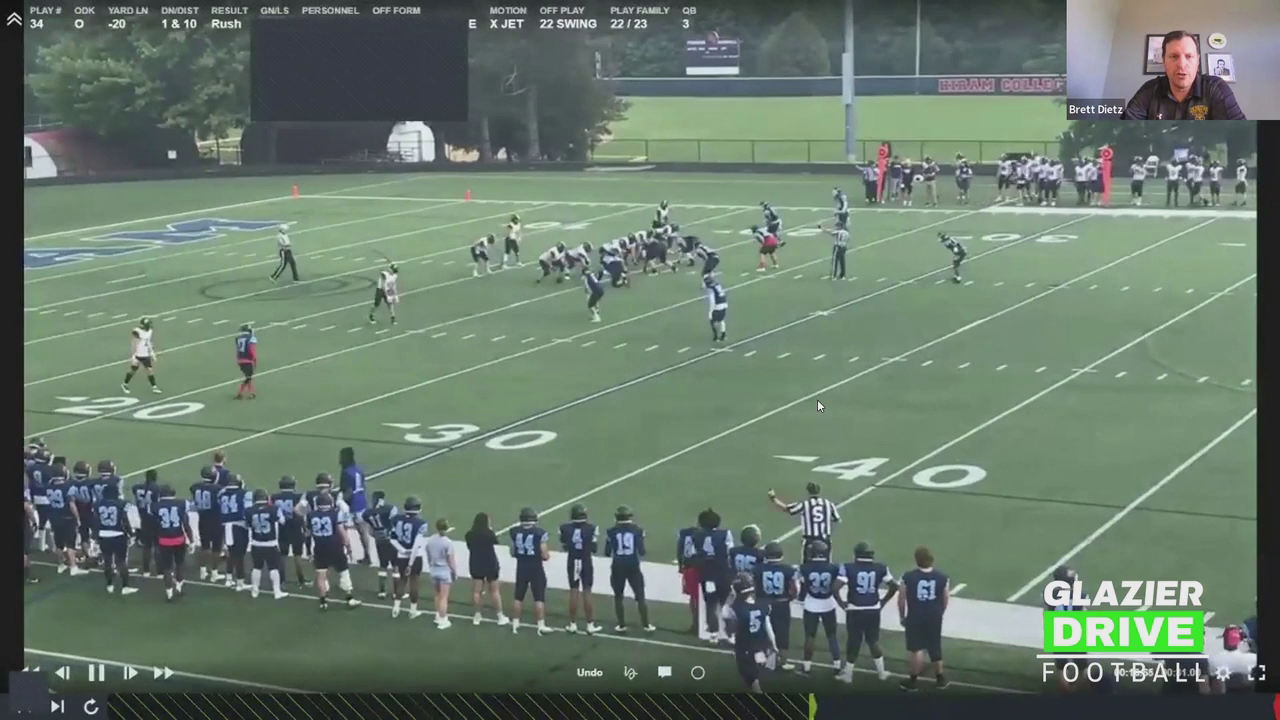
Fix Flared Elbows: The Medicine Ball Blocking Drill for Tight Ends
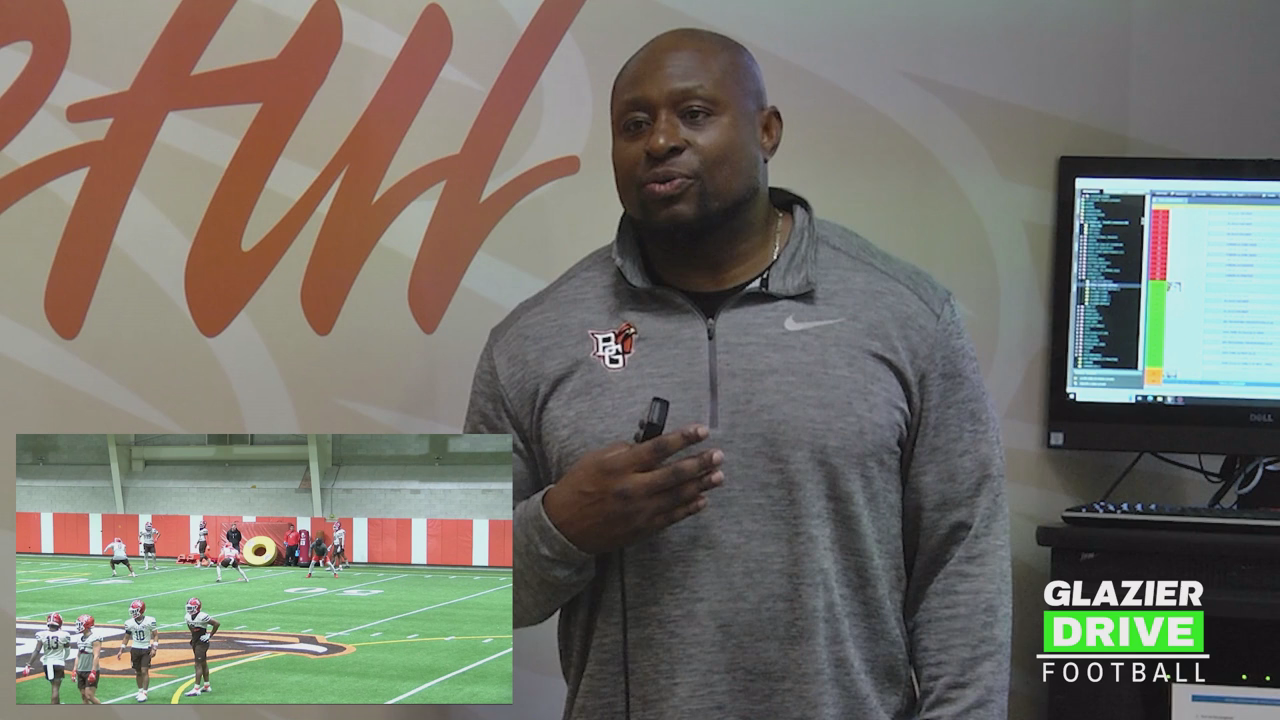
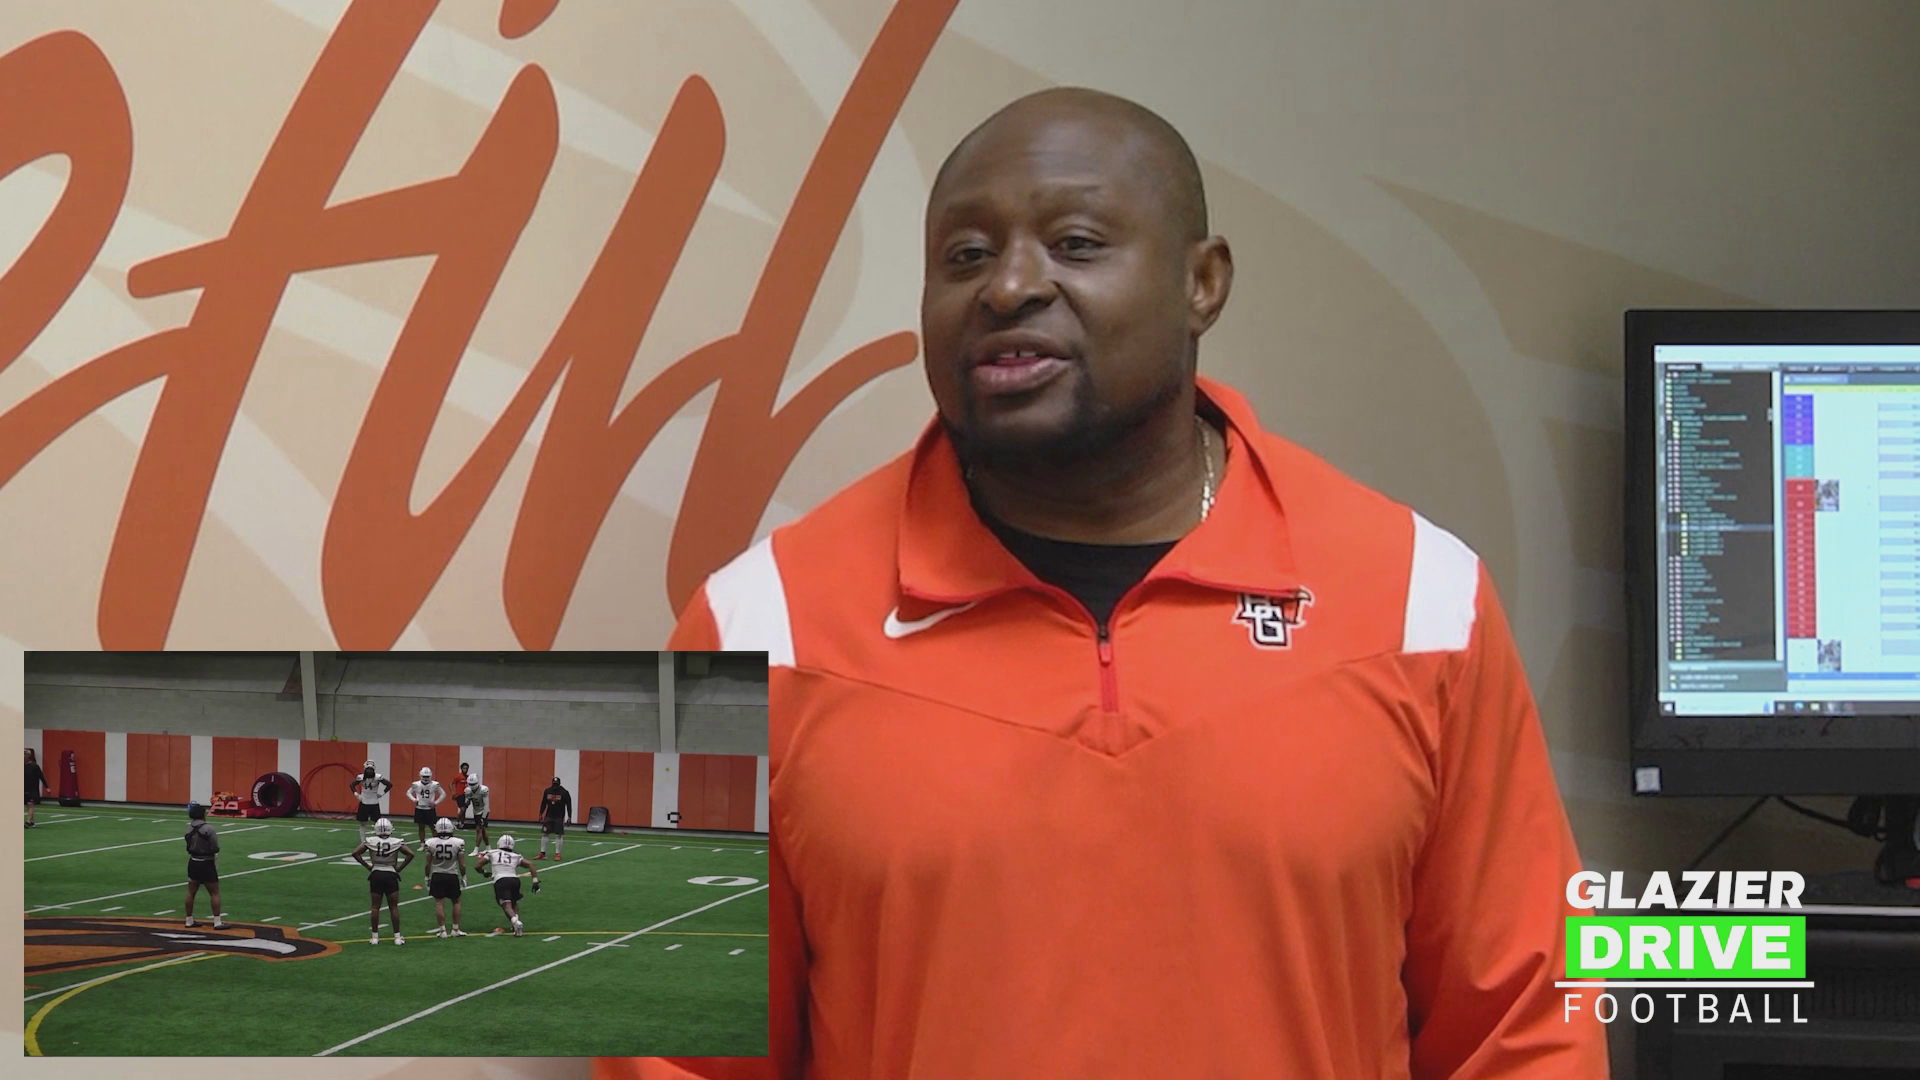
Dewayne Alexander, Asst Head Coach/TE Coach, Bowling Green
Full video on Glazier Drive: Effective Ways to Use the TE in the Run & Pass Game in the Multiple Motion Jet Offense
Video Summary
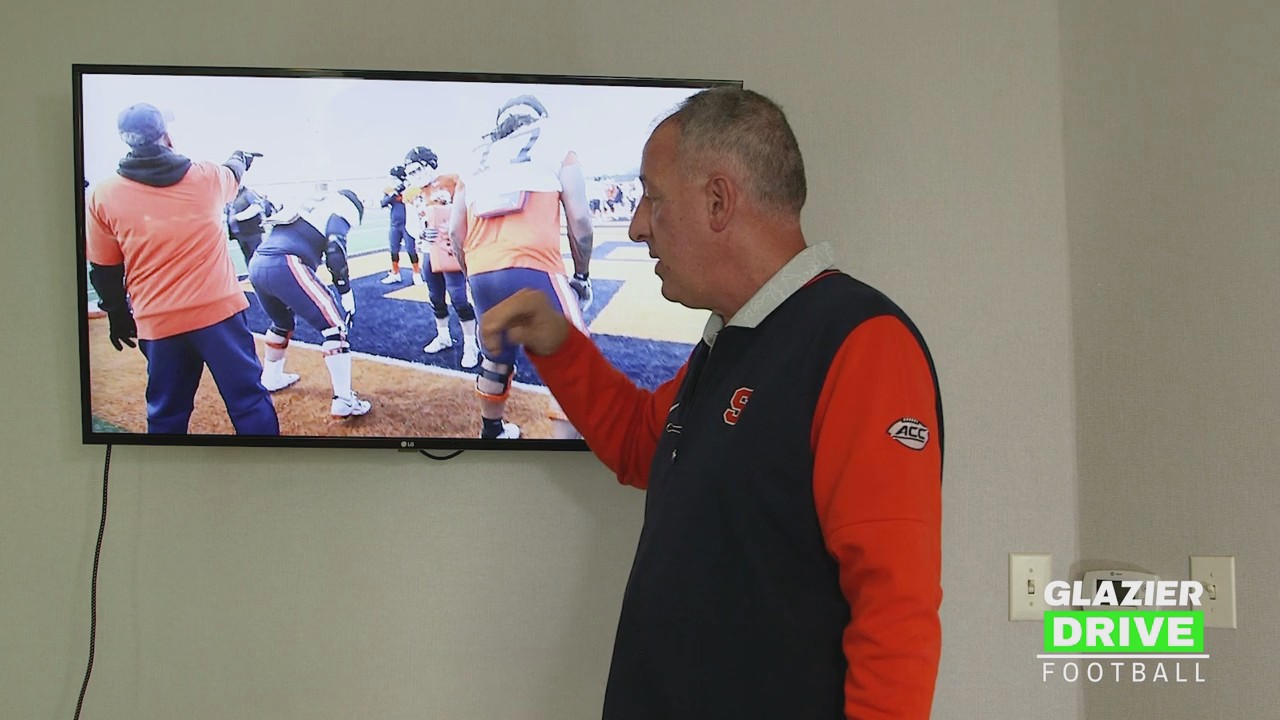
In this segment of Effective Ways to Use the TE in the Run & Pass Game in the Multiple Motion Jet Offense, the coach covers the base blocking fundamentals for tight ends and offensive linemen, then shows game film of tight ends used to create run gaps.
Fundamentals and technique
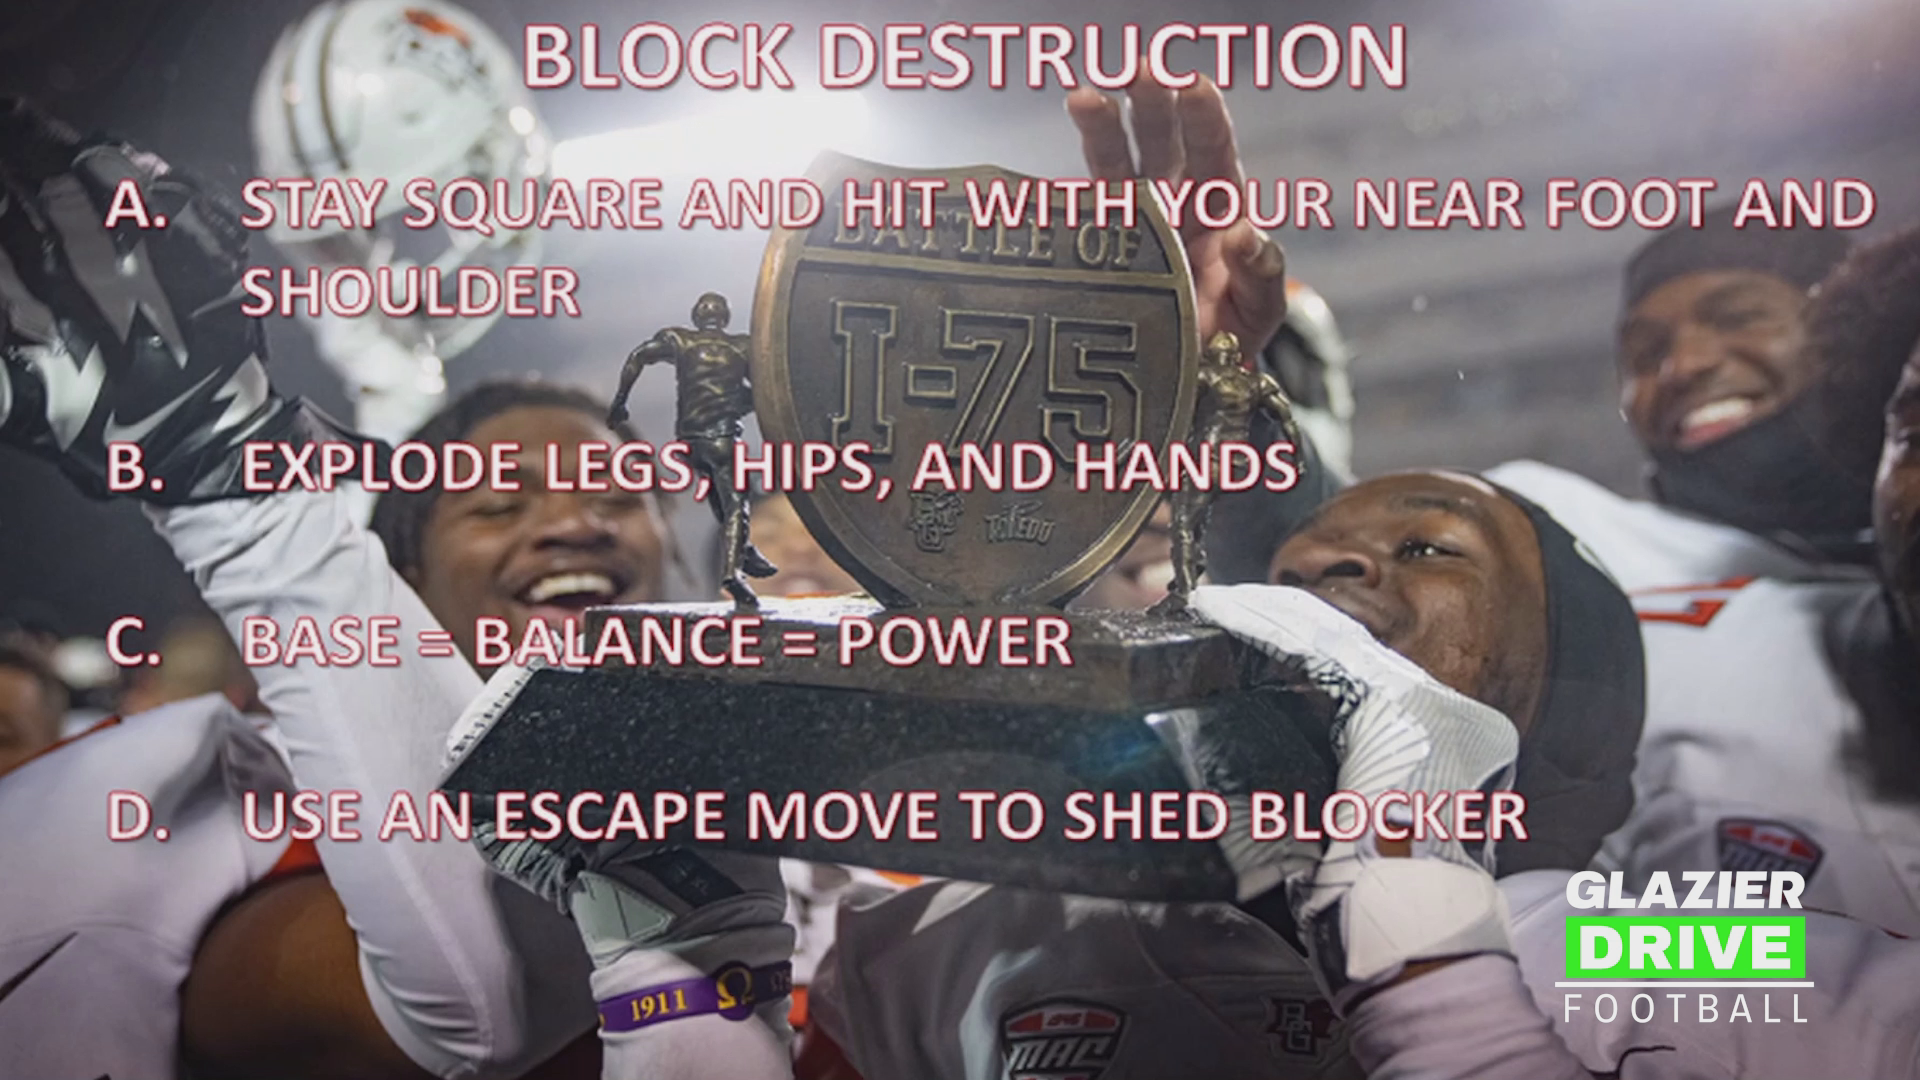
- Use base footwork with no fall steps. Stay off your toes, keep your head and chin back, bend your knees, and don’t let your weight get out over your toes.
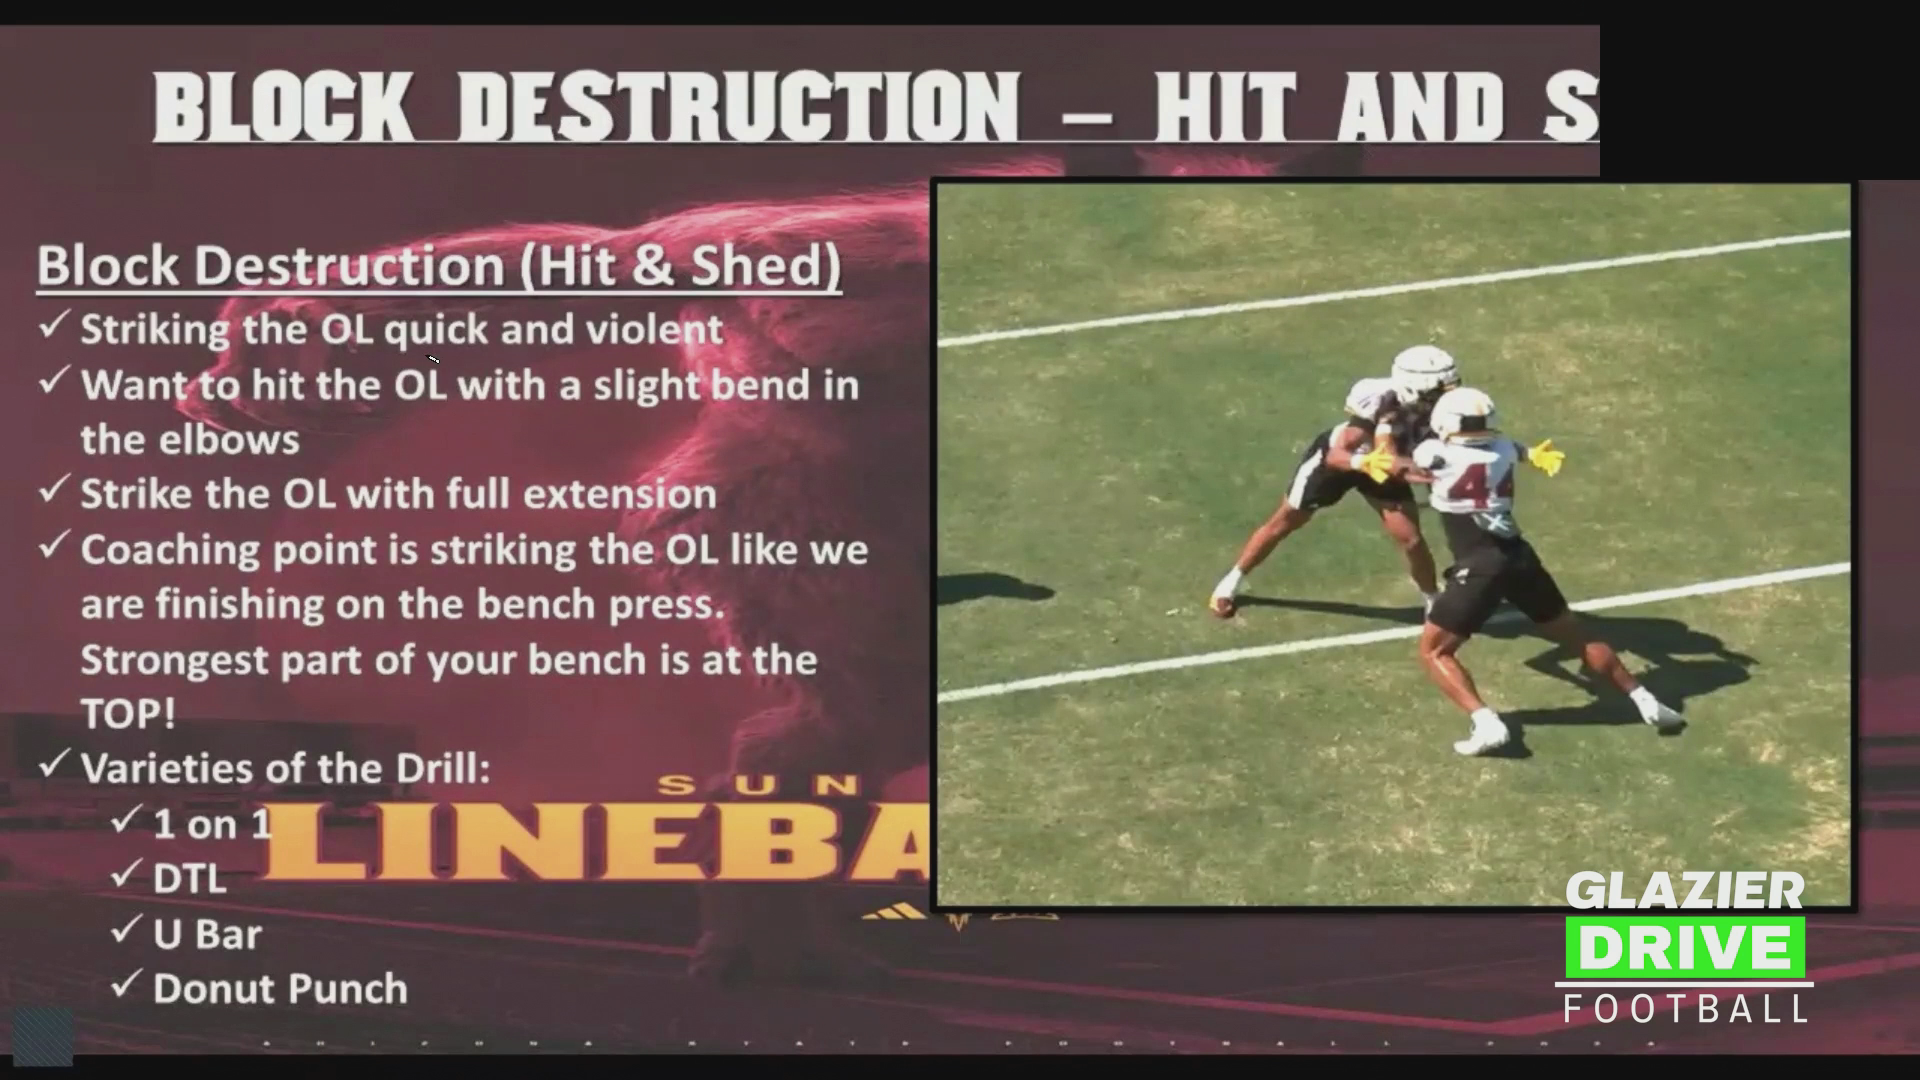
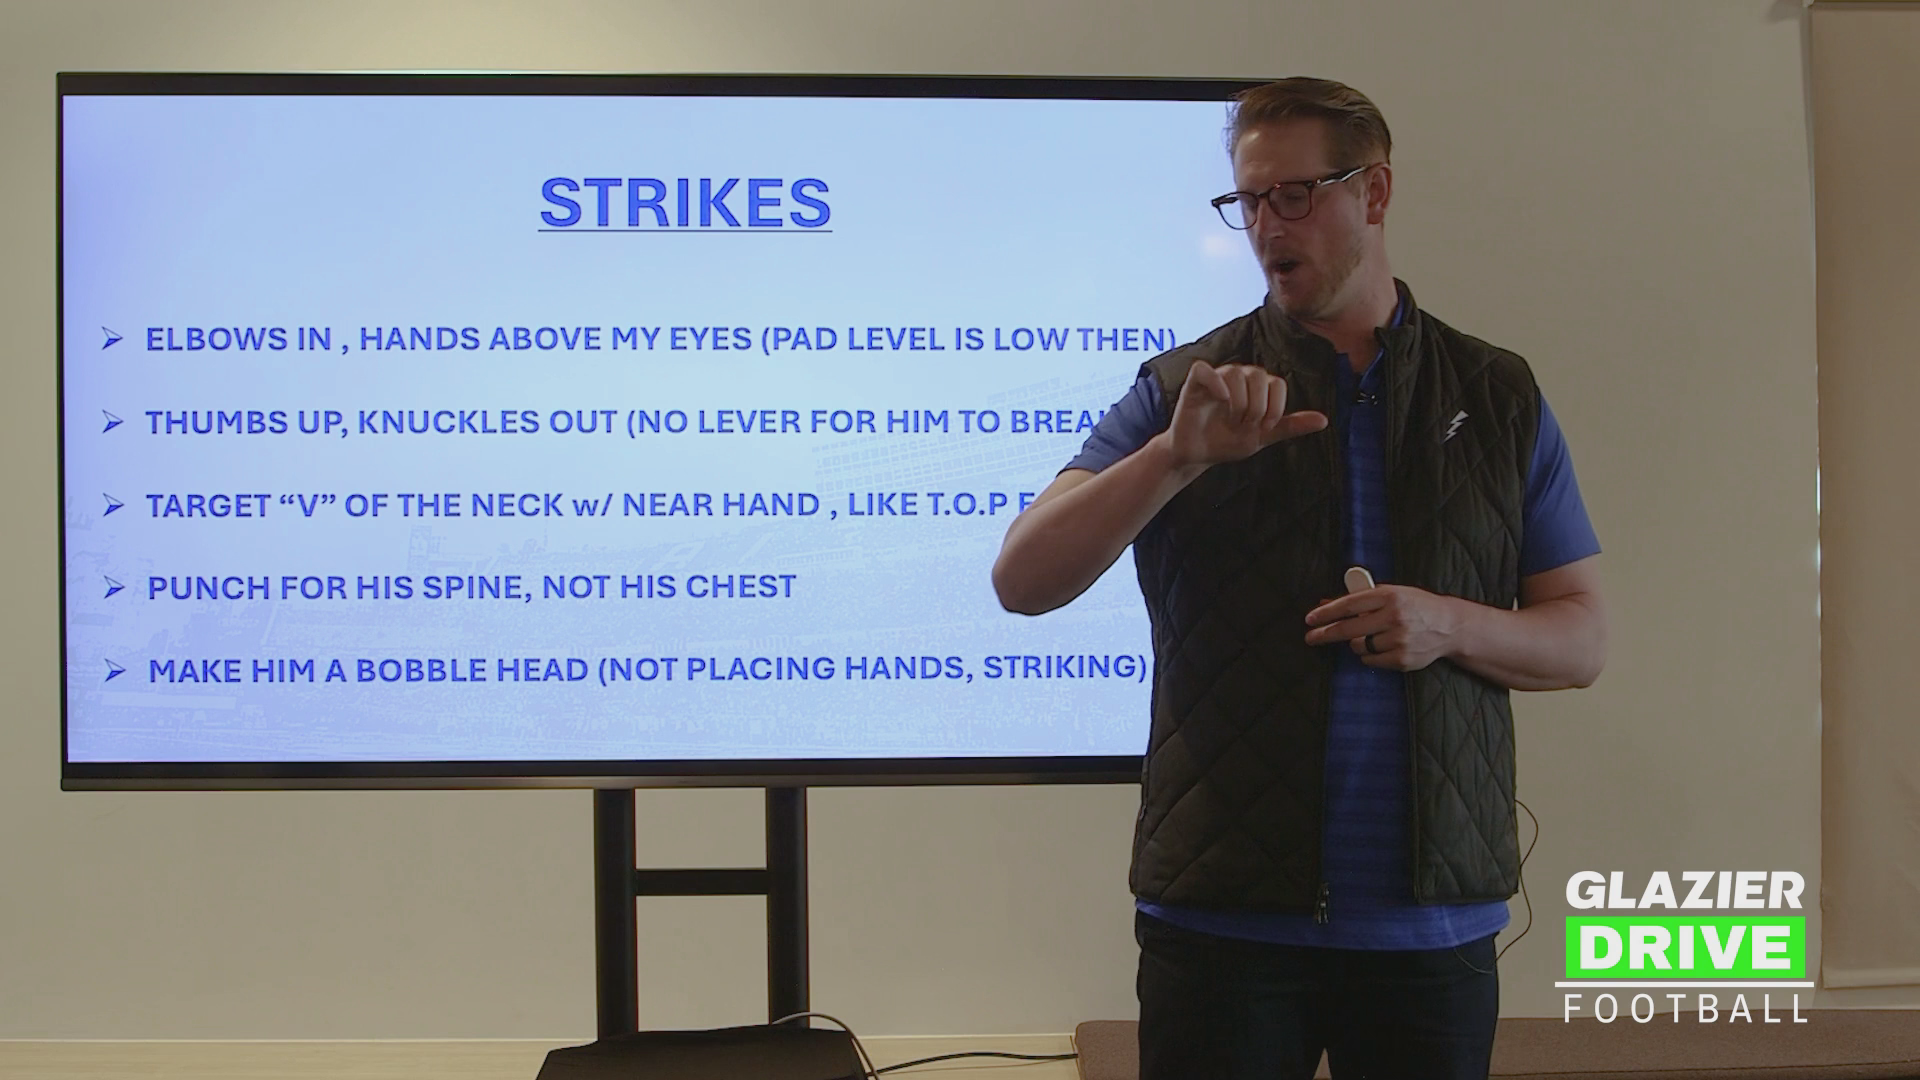
- Keep elbows tight and thumbs up. When the elbows flare, the thumbs turn down and you lose power, just as you would on a bench press. Strike from low to high, delivering the blow with your hips, elbows, and core.
- From behind, a blocker’s elbows should “disappear” because they are tucked in, not bowed out.
Drills and equipment
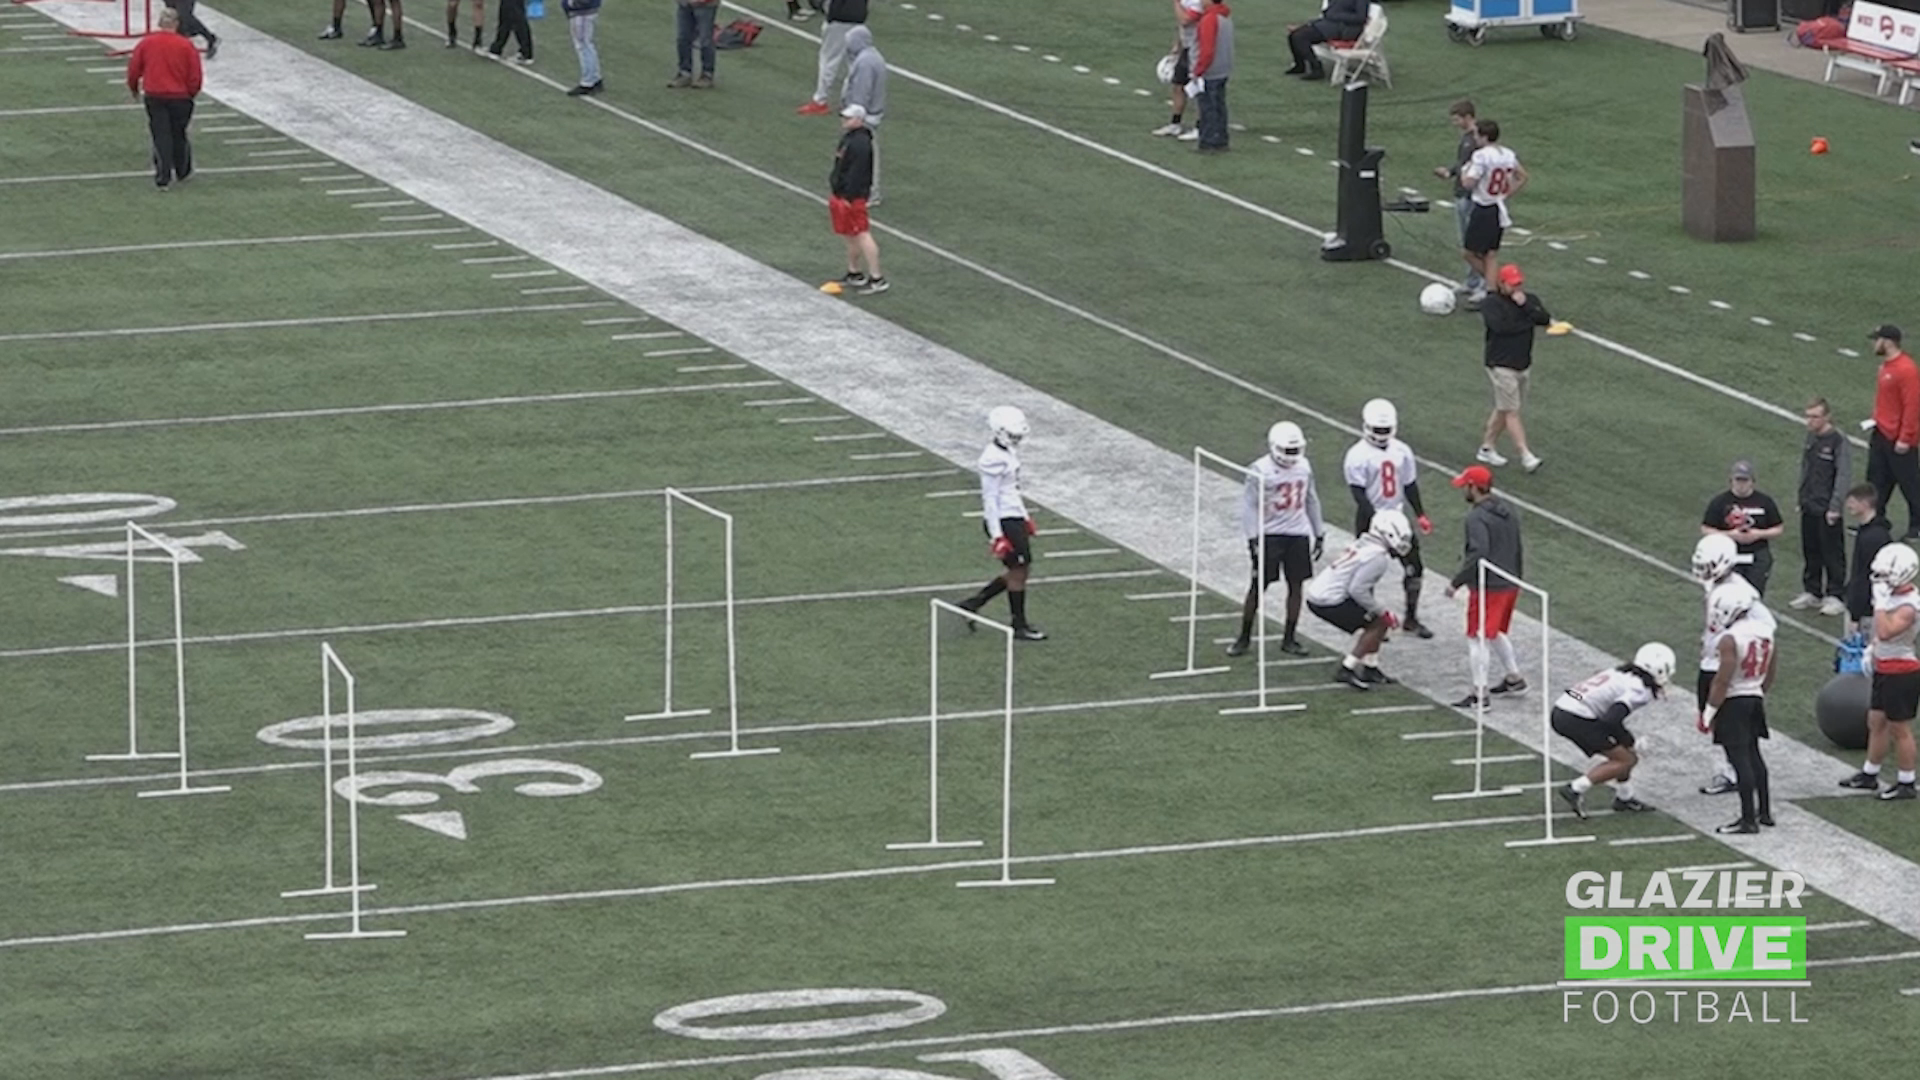
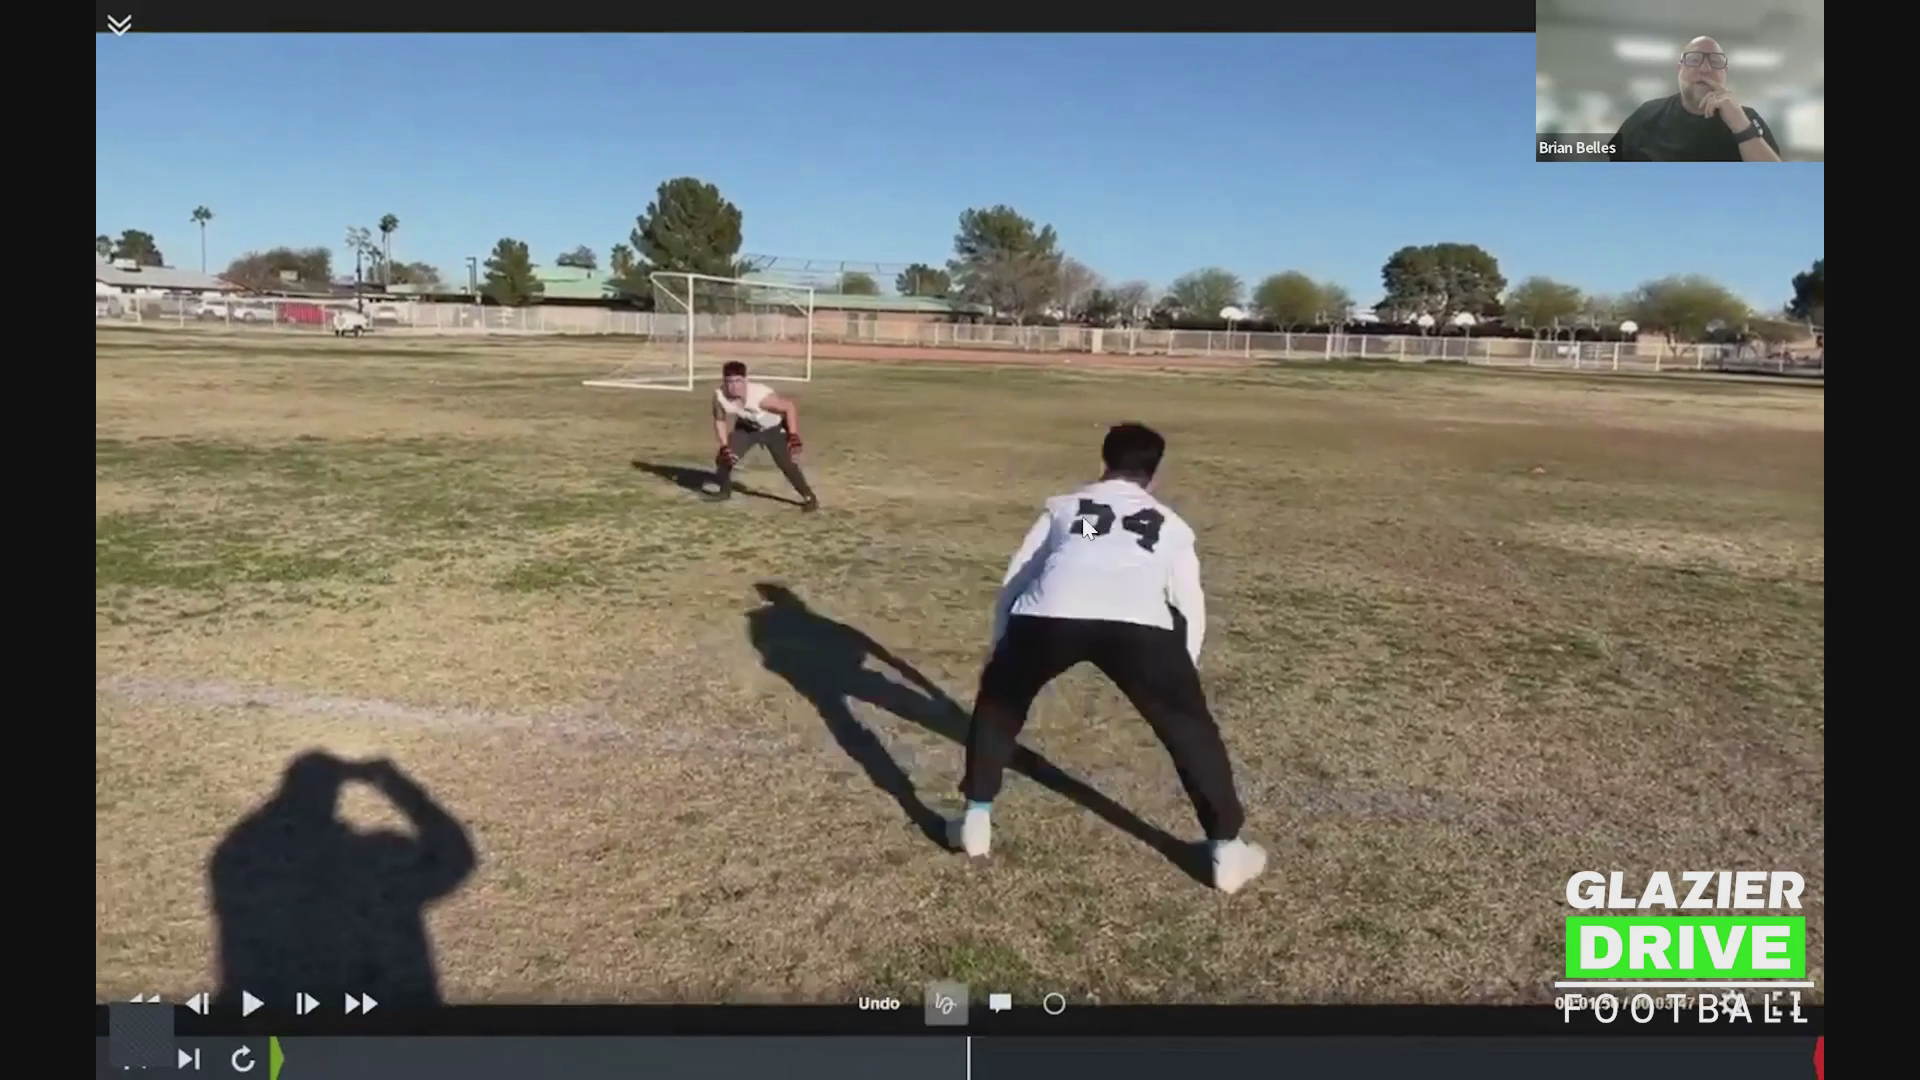
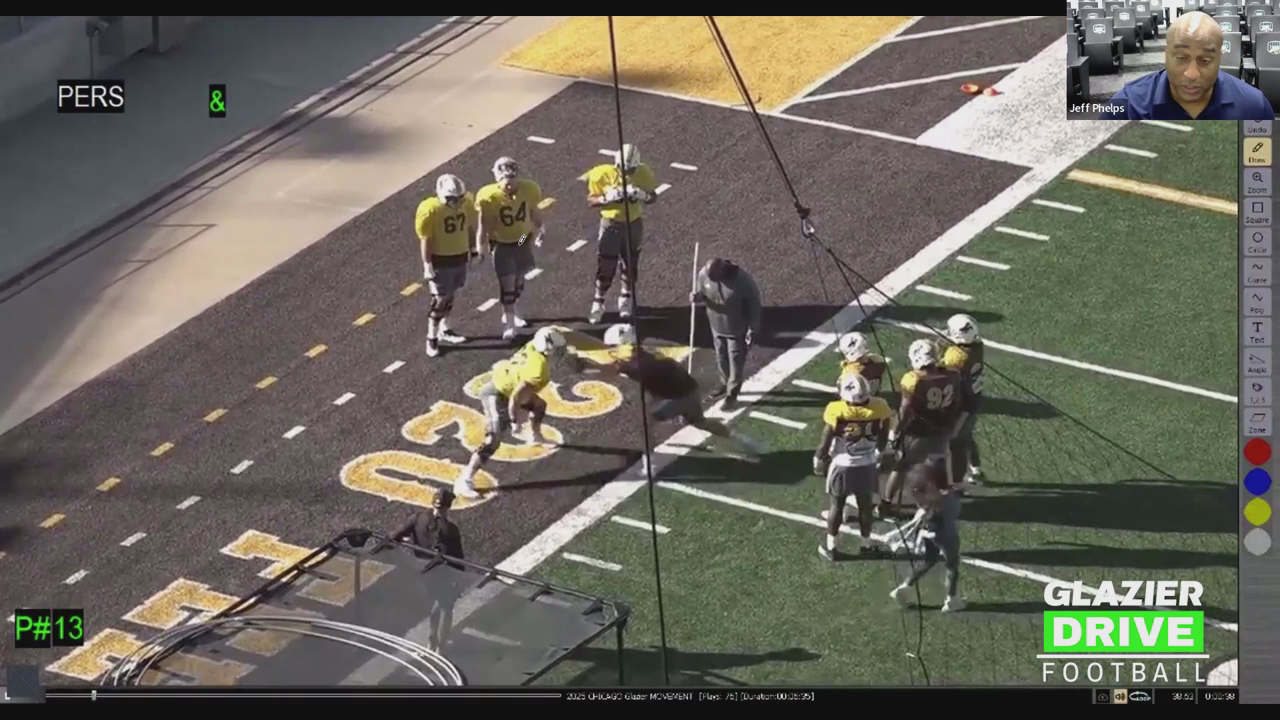
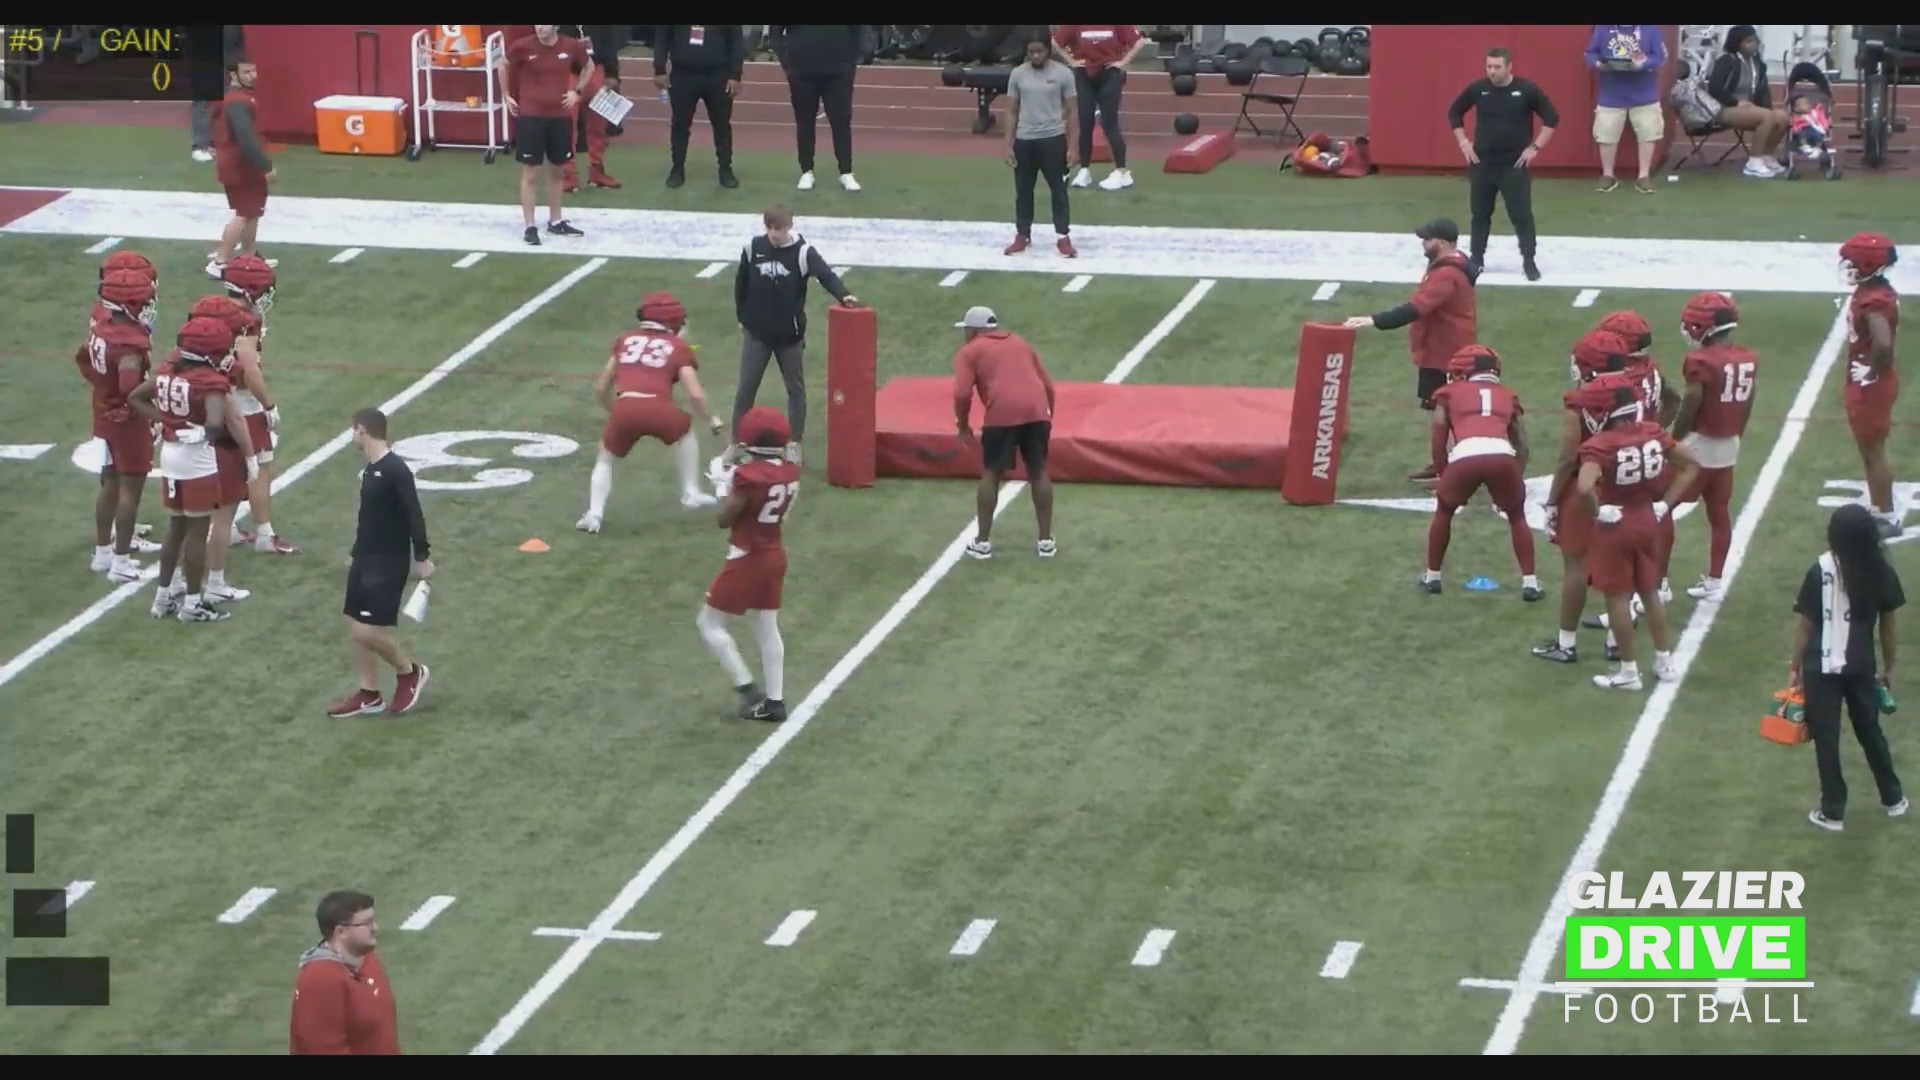
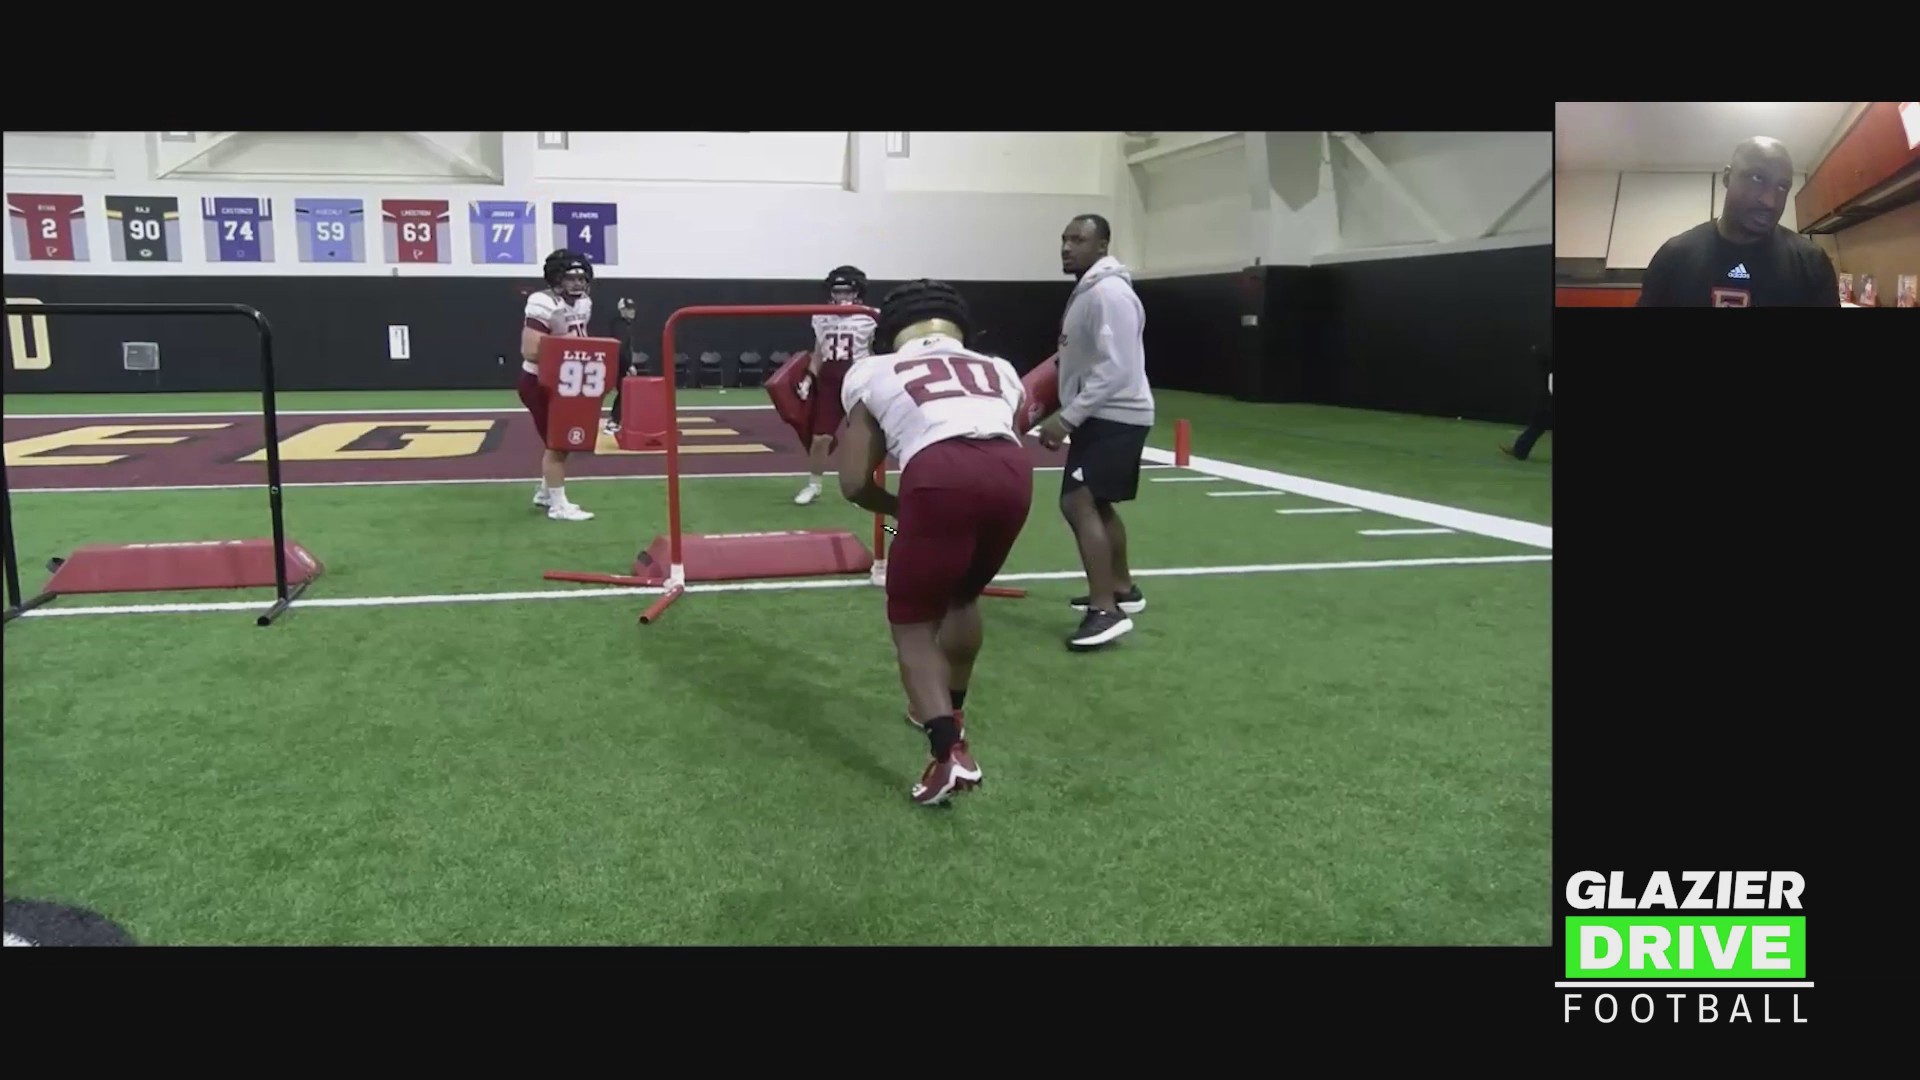
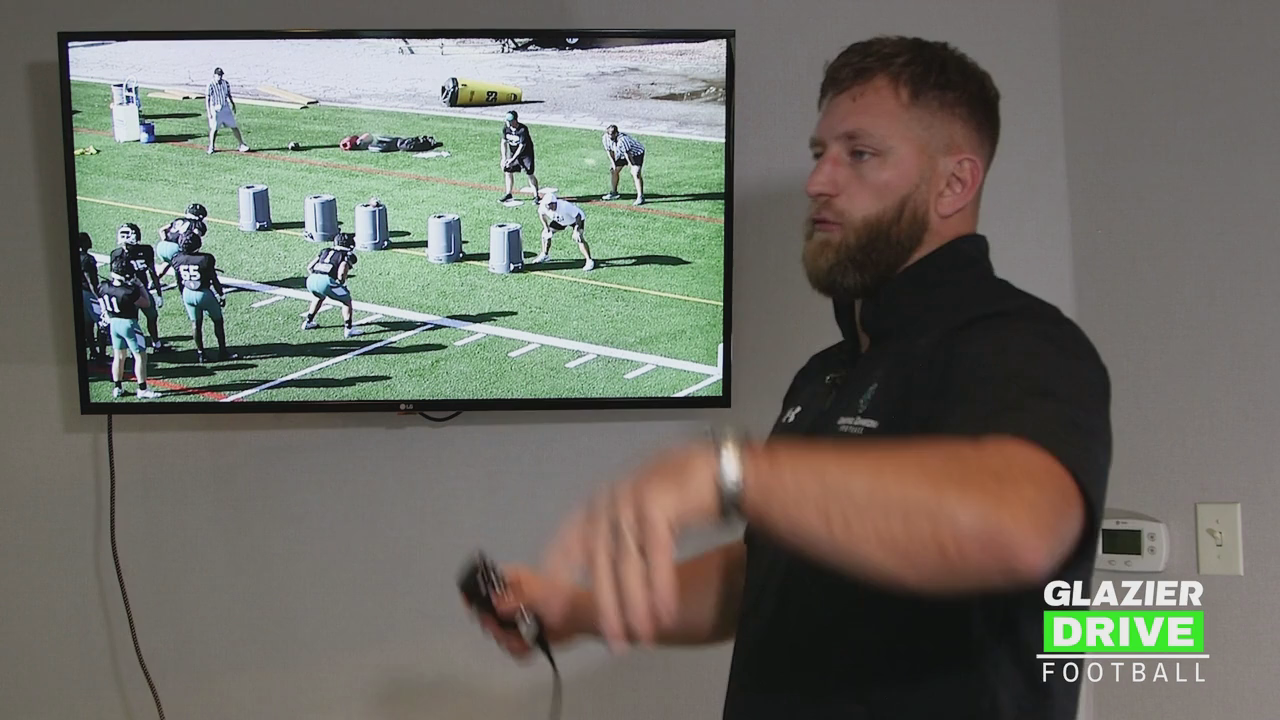
- You don’t need expensive sleds. The coach avoids blocking sleds, even for offensive linemen, because the pads are too wide and encourage grabbing and clamping, which builds bad habits.
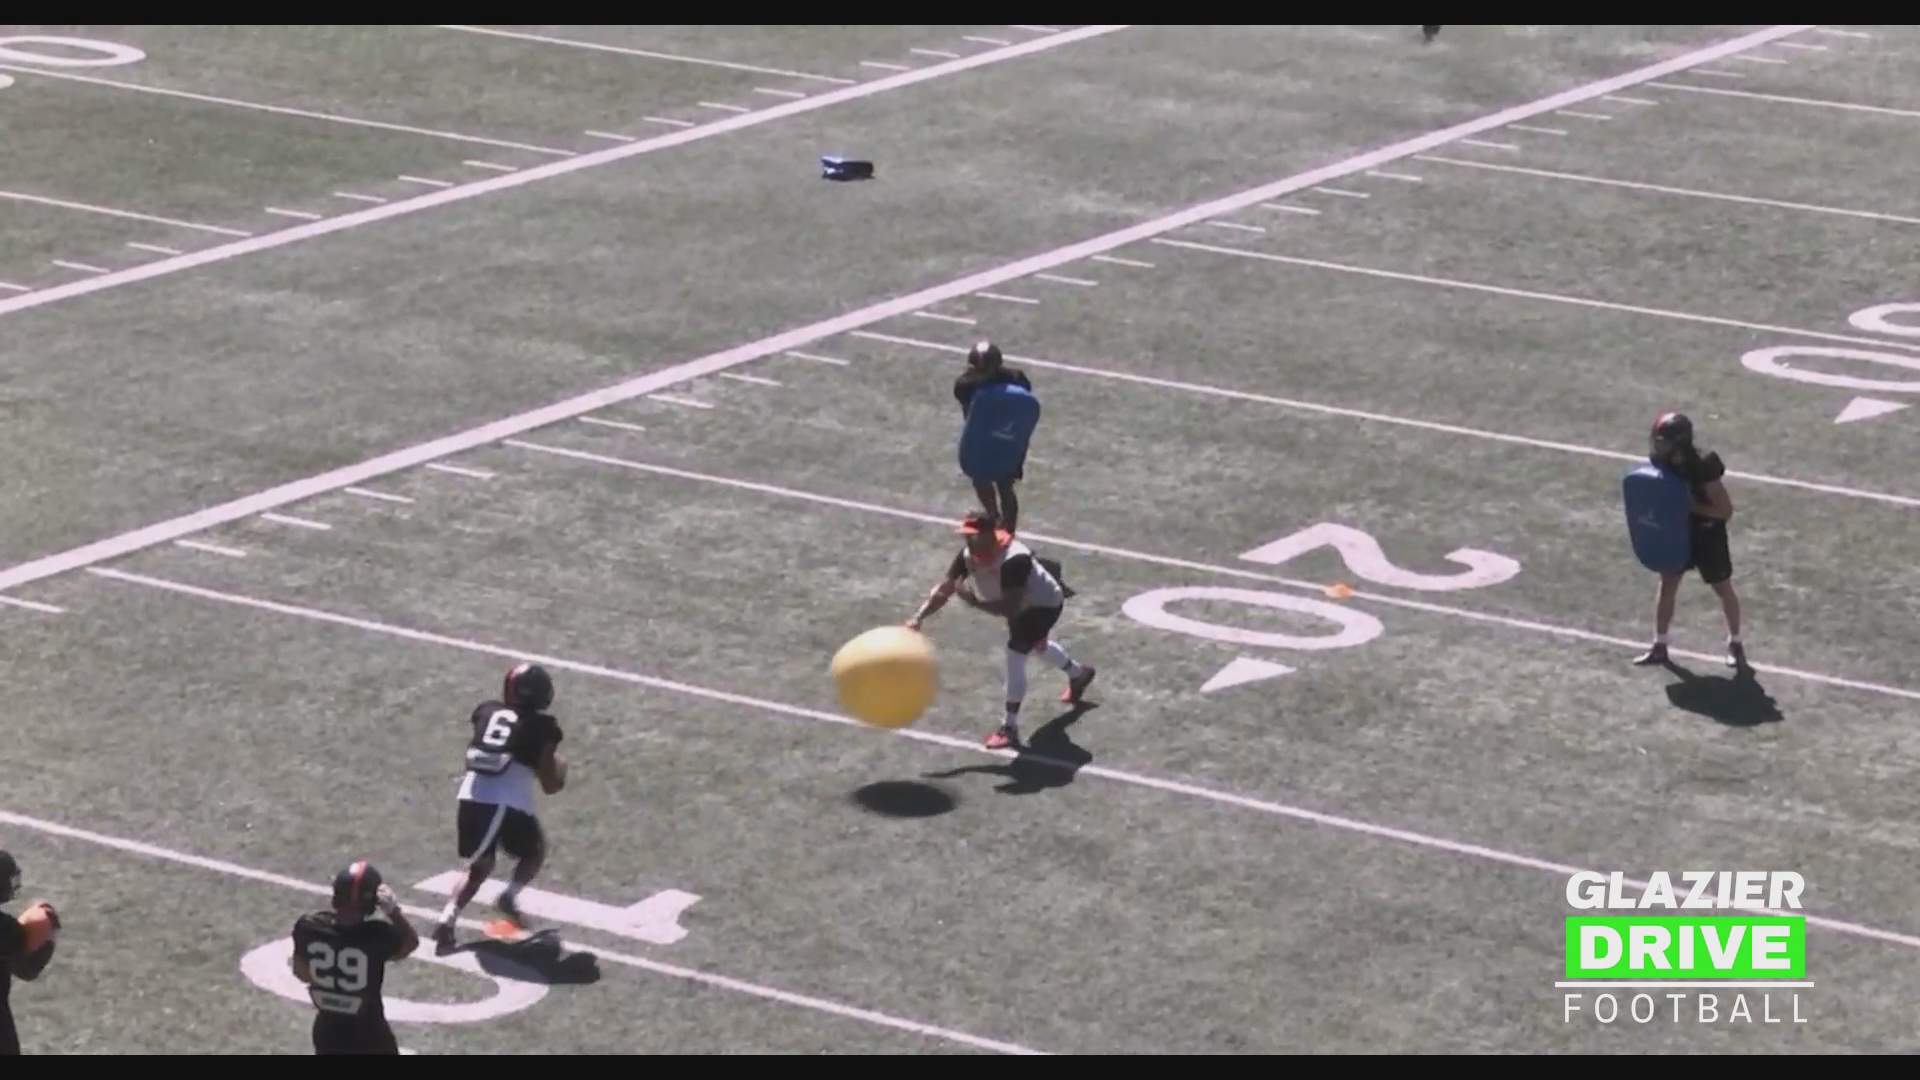
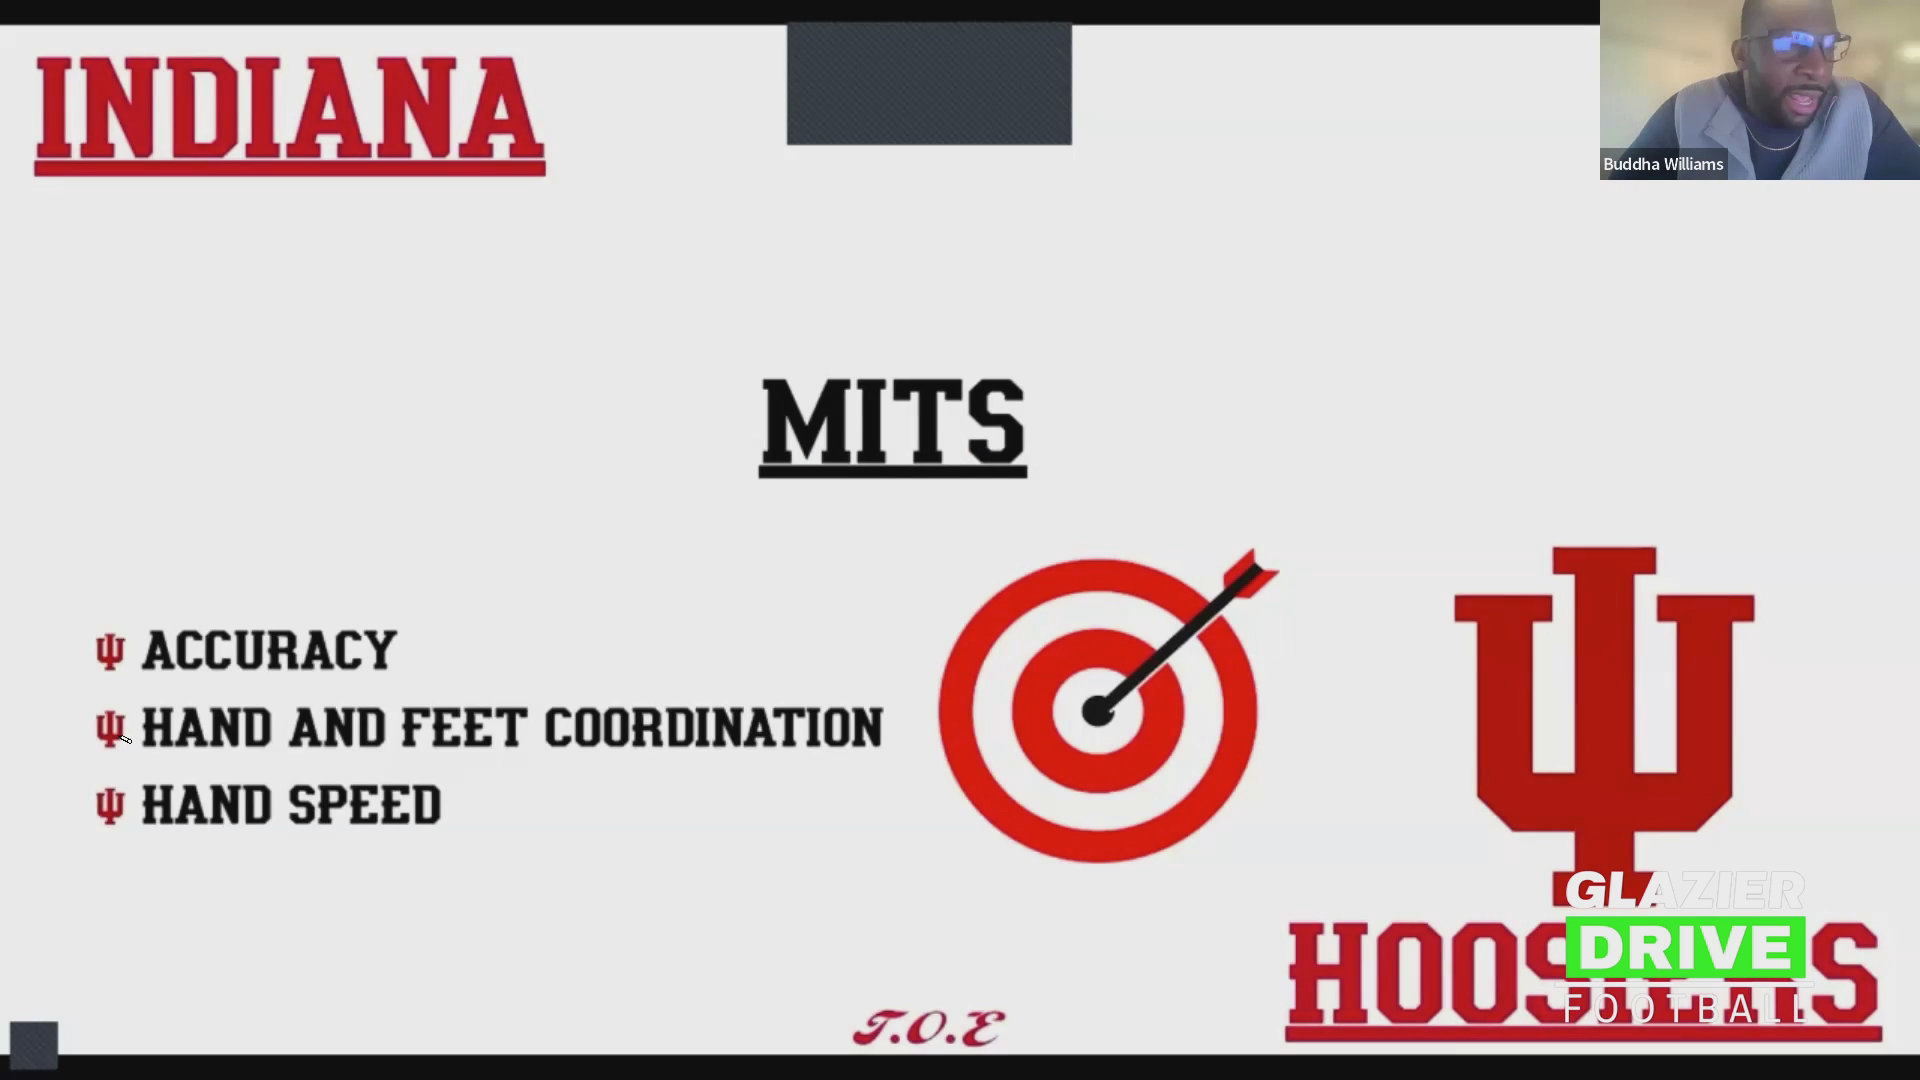
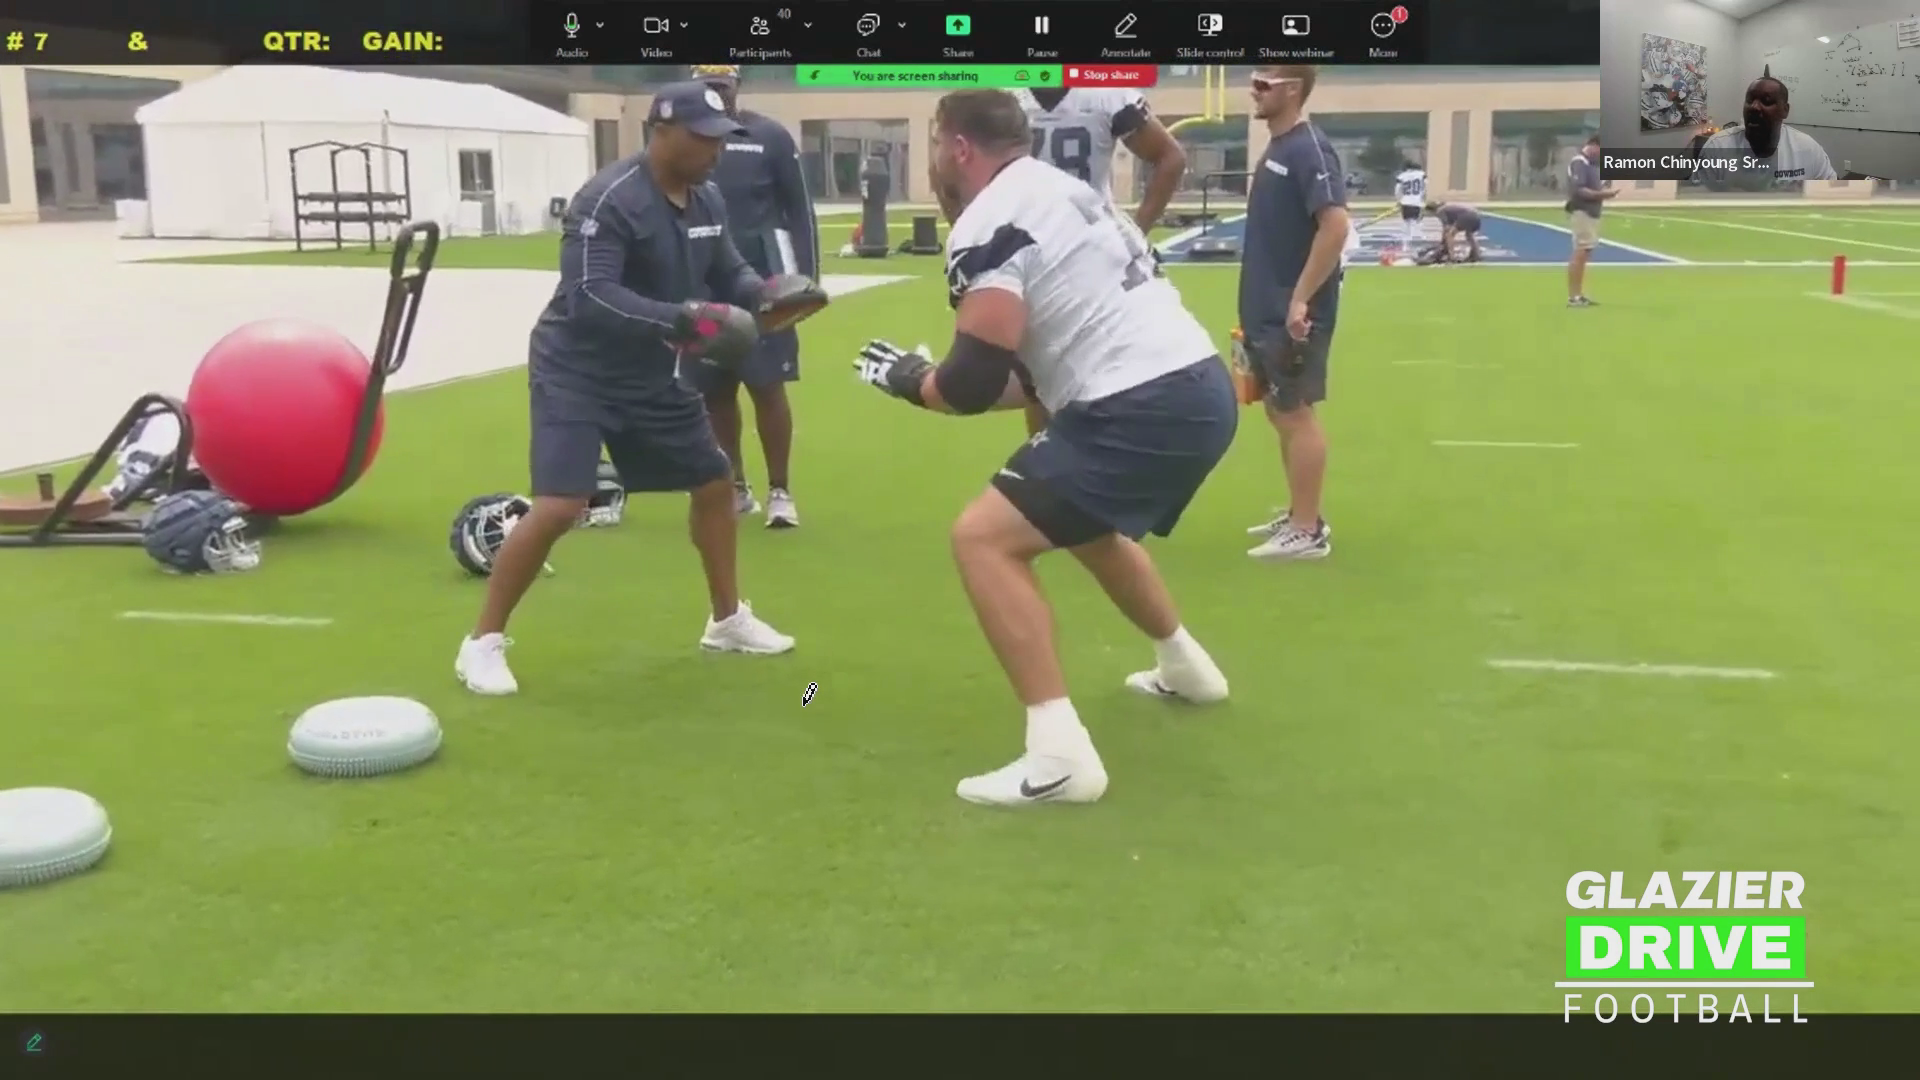
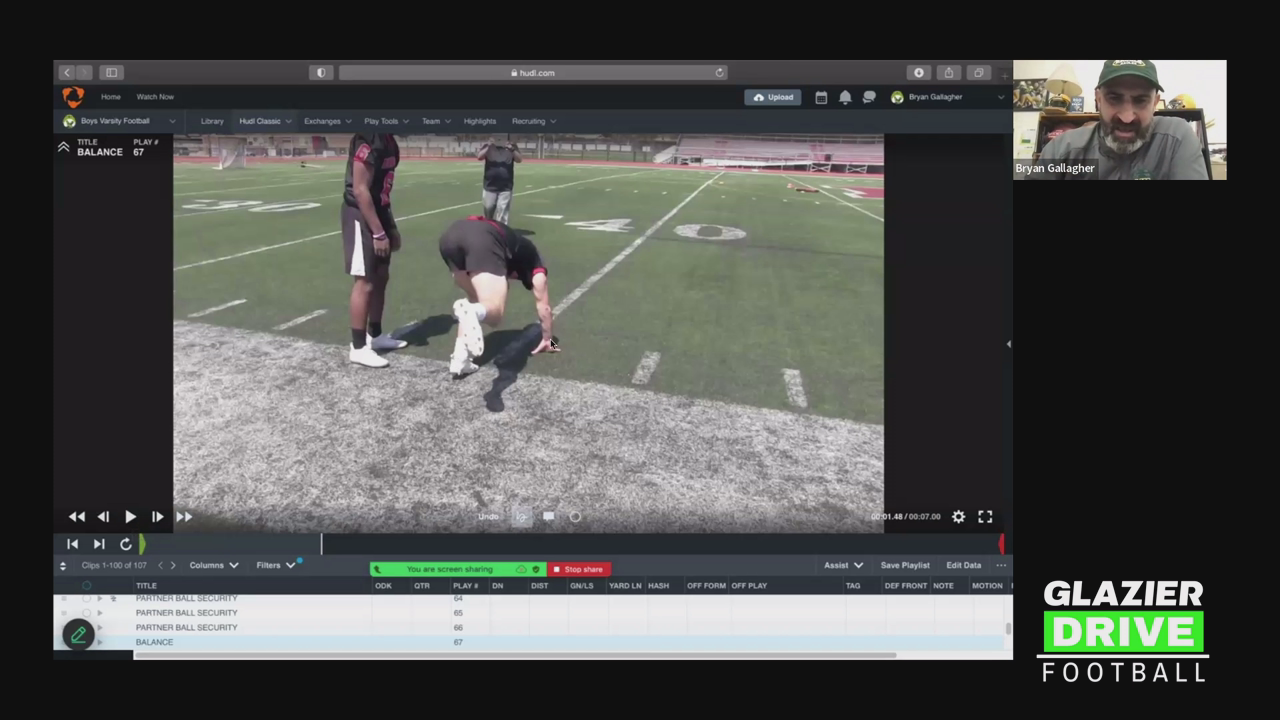
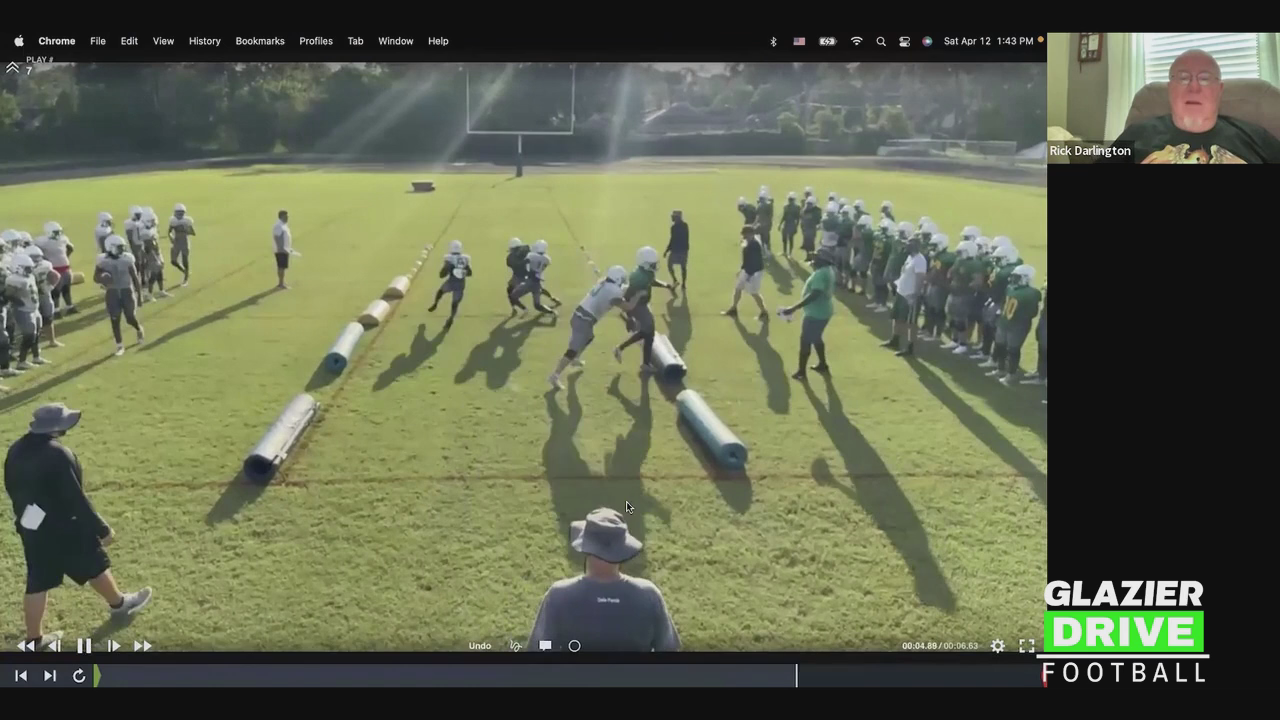
- Medicine balls (ask your strength coach) force players to keep their hands and elbows tight and to lift low to high.
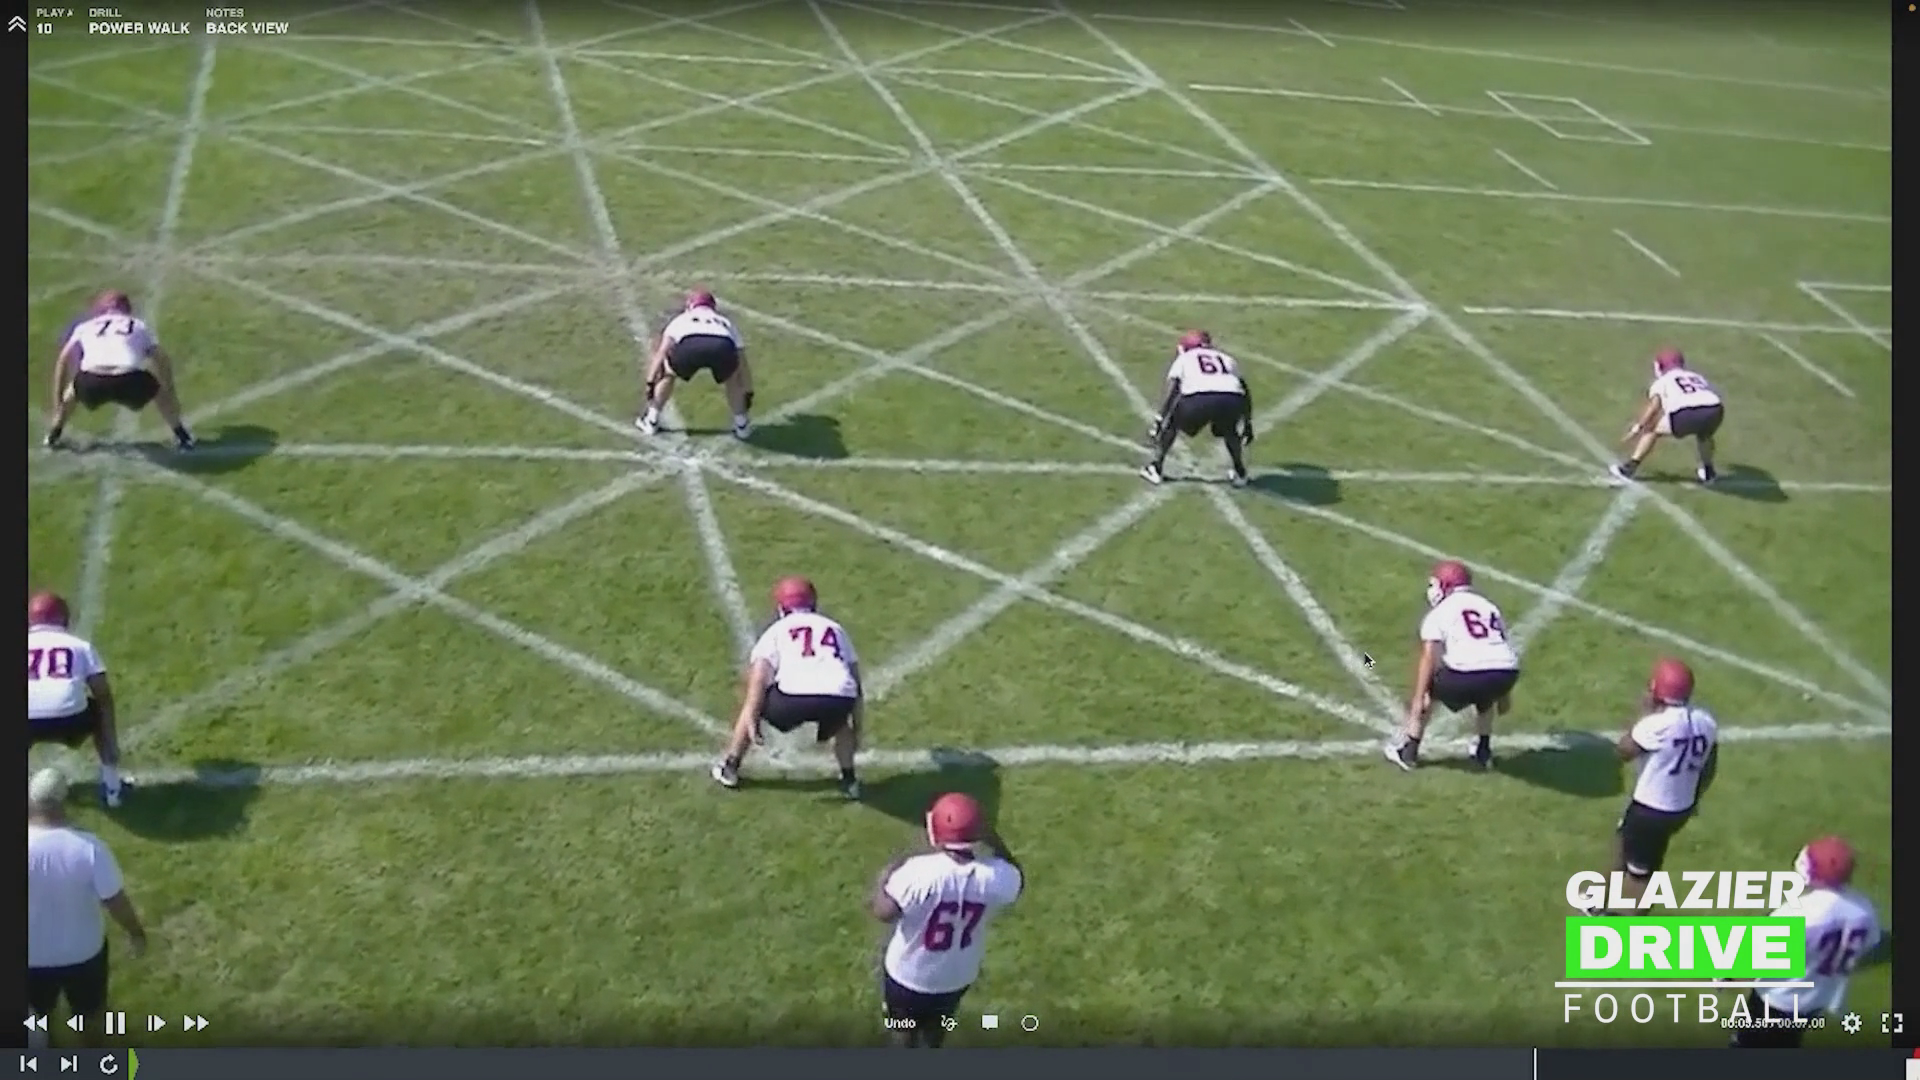
- A board drill teaches footwork: place the right foot in the middle of the board, then the left, roll the hips, and strike. Repeat going left. Run it for at least five minutes a day, from January through spring ball, summer, and preseason camp.
- Second-level climb drill: when a down block or combination block’s target stems inside, the blocker keeps his hips square, maintains his base without running or crossing over, “glues” his hips, and lifts and drives through the linebacker or box safety.
Film breakdown (run game)
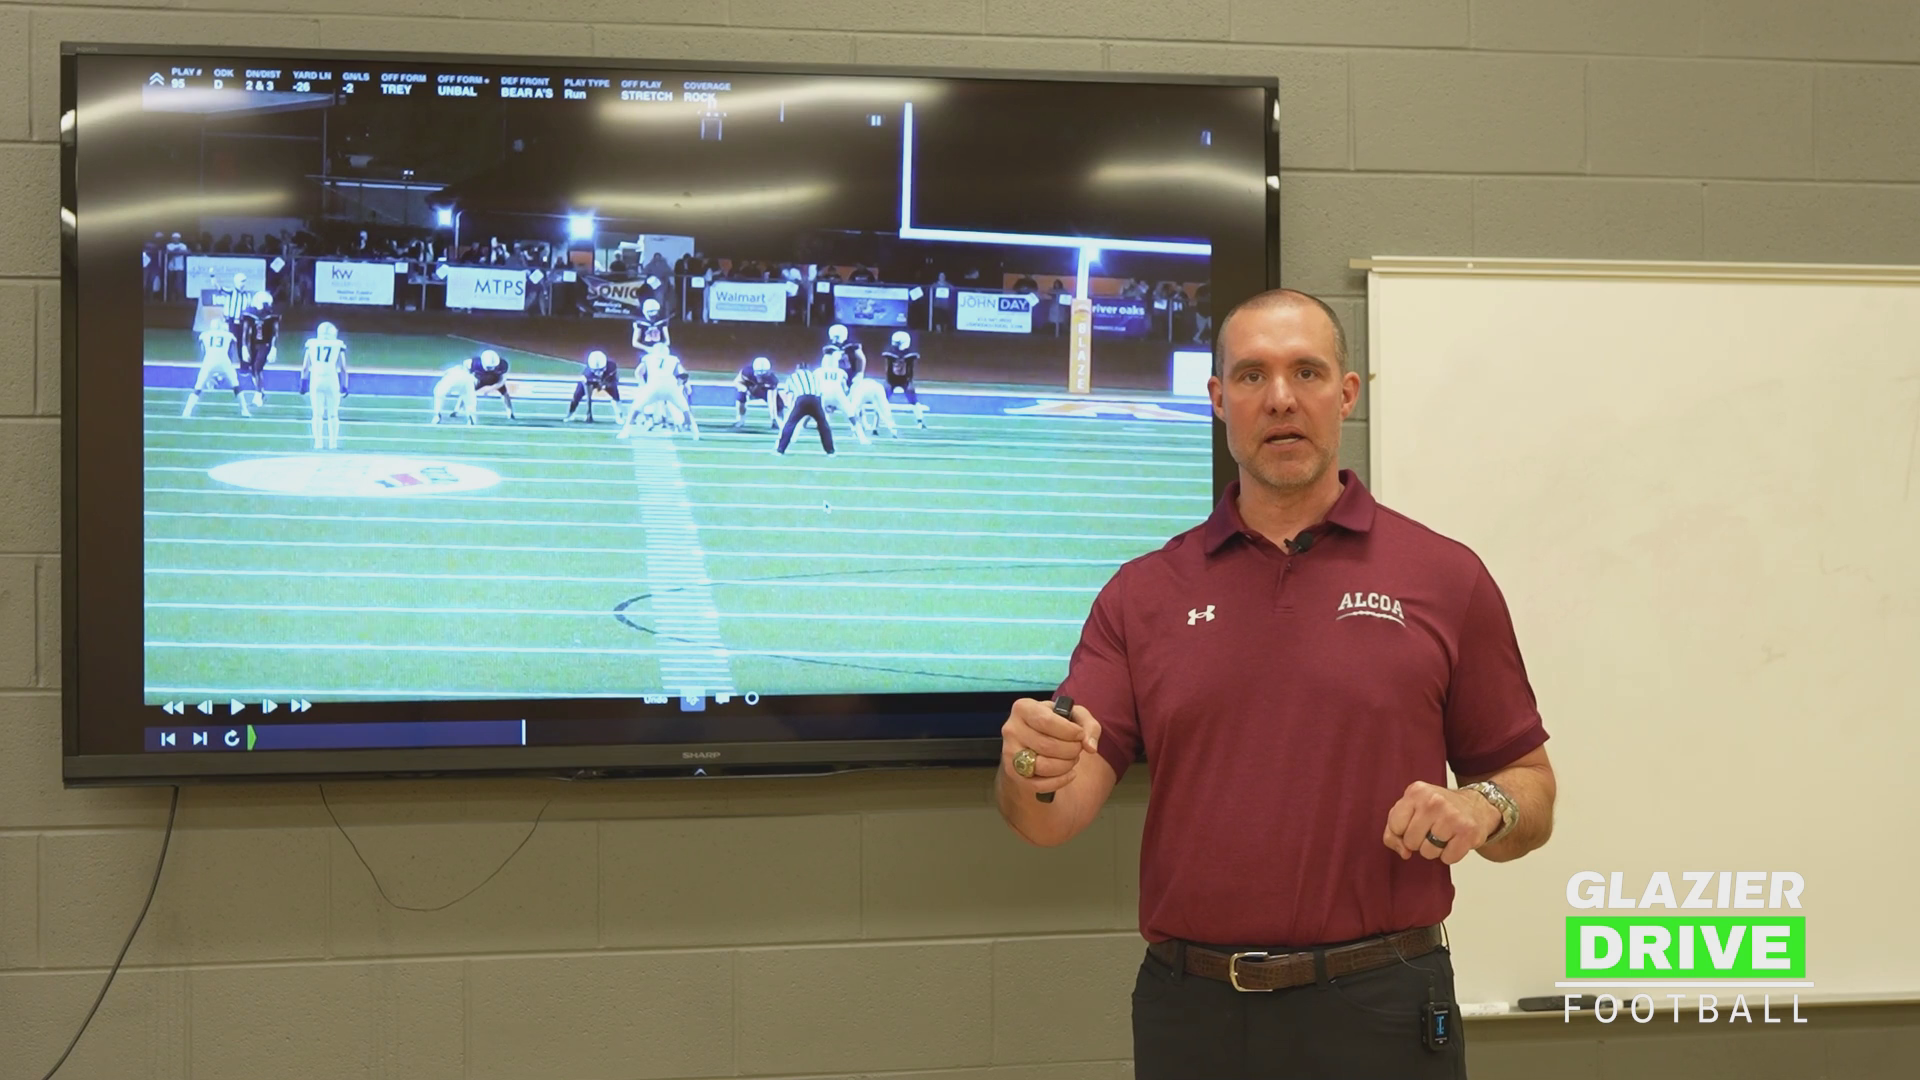
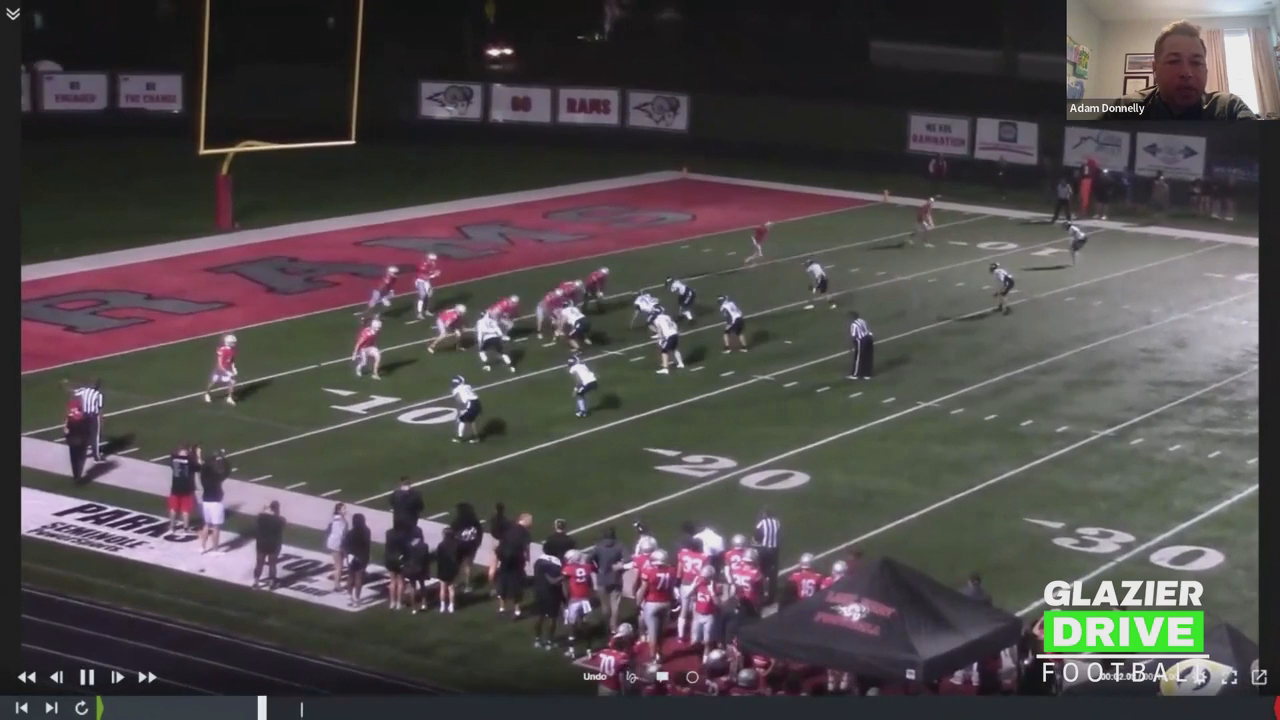
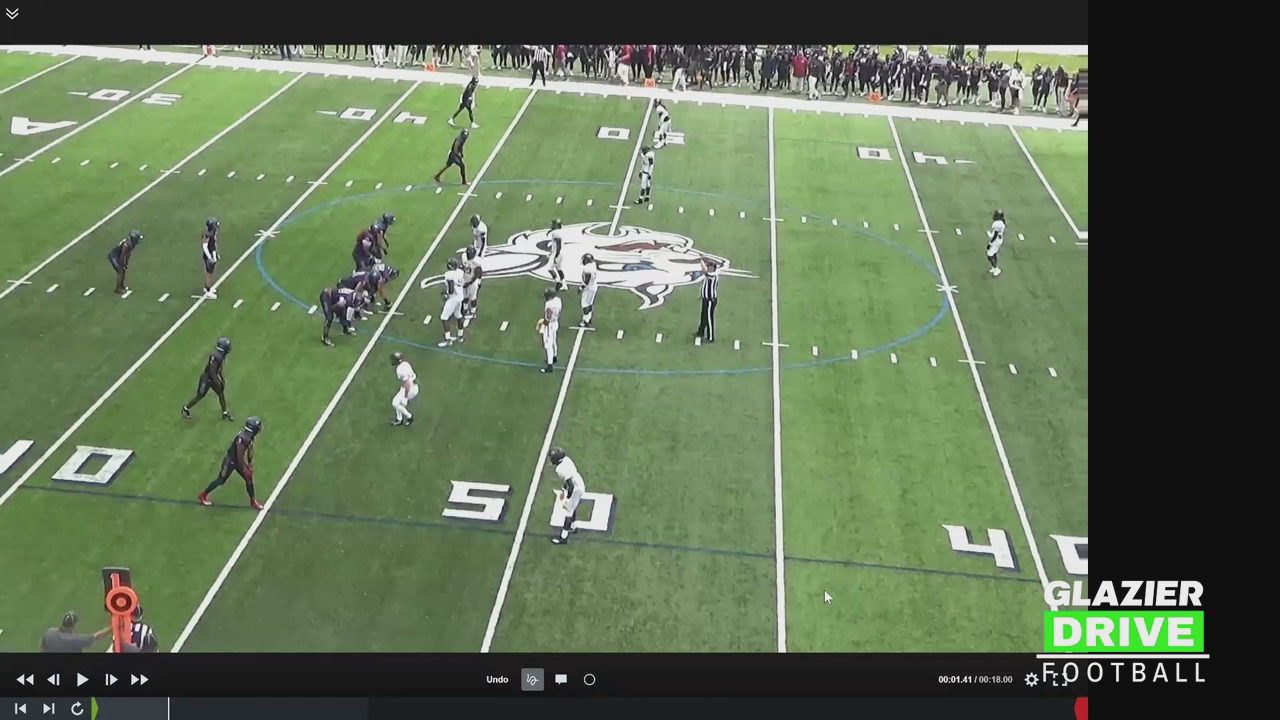
- Two tight end set: Adding a wing tight end creates an extra gap (C and D gap “bubble”) against a three-down structure with an overhang backer, which gives the offense space to run.
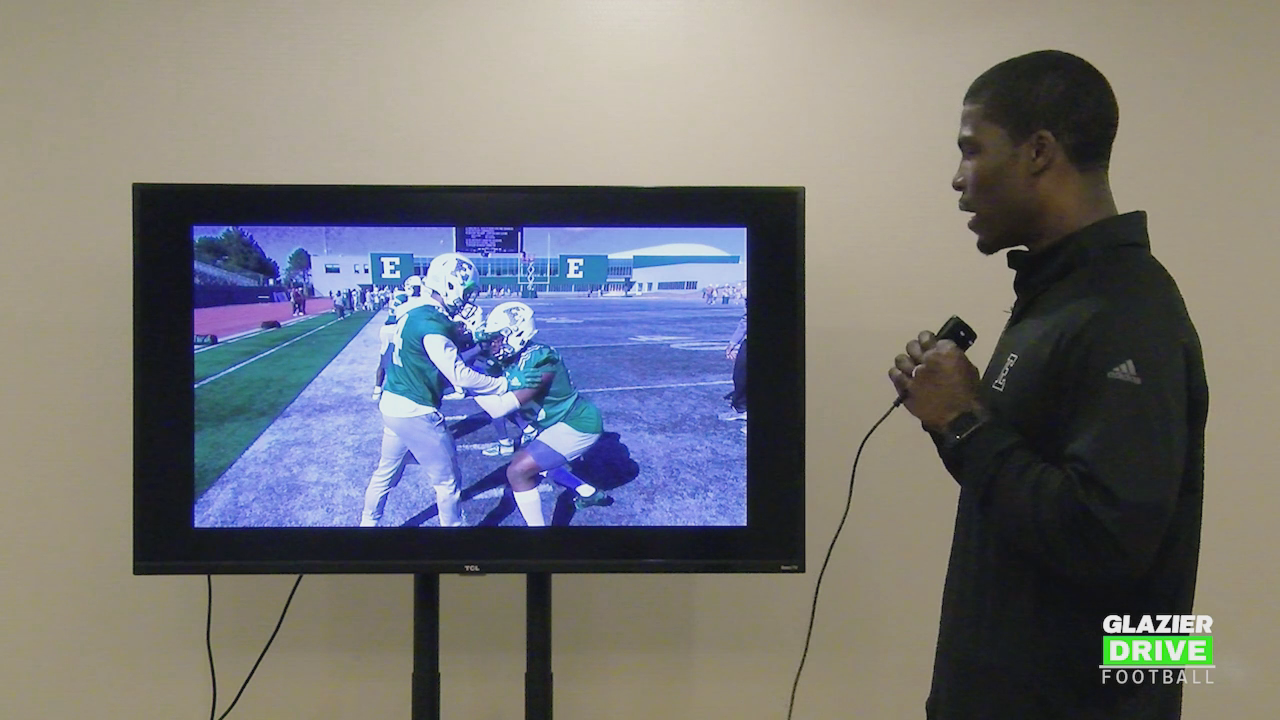
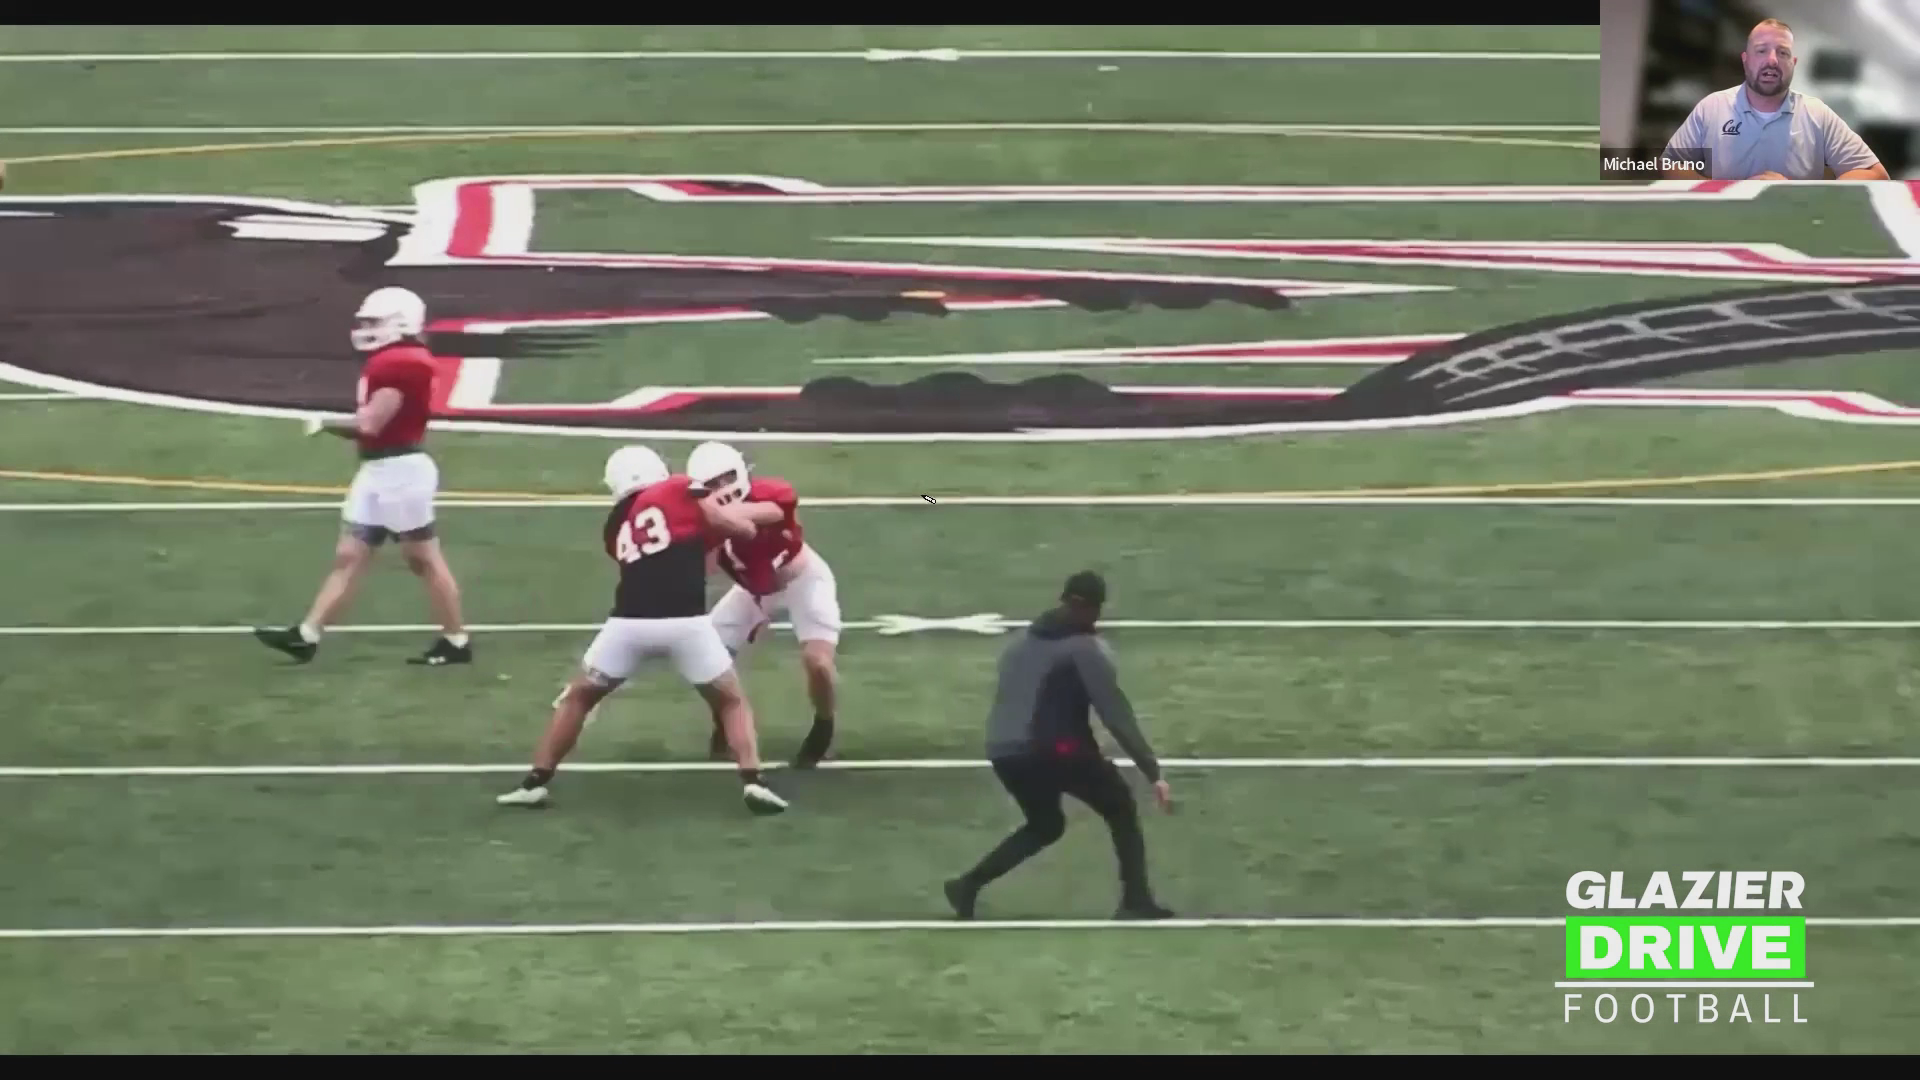
- Good and bad reps: The coach points out a tight end who crosses his feet and flares his elbows, which shows why the drills matter. The tight end still climbs and fits, but without explosive hands.
- Stretch block with jet motion: Using motion and a tight end who is off the line of scrimmage moves the linebackers and safeties and creates space. The tight end secures his gap, and if the gap isn’t there, he climbs to the second level and fits square with his elbows tight.
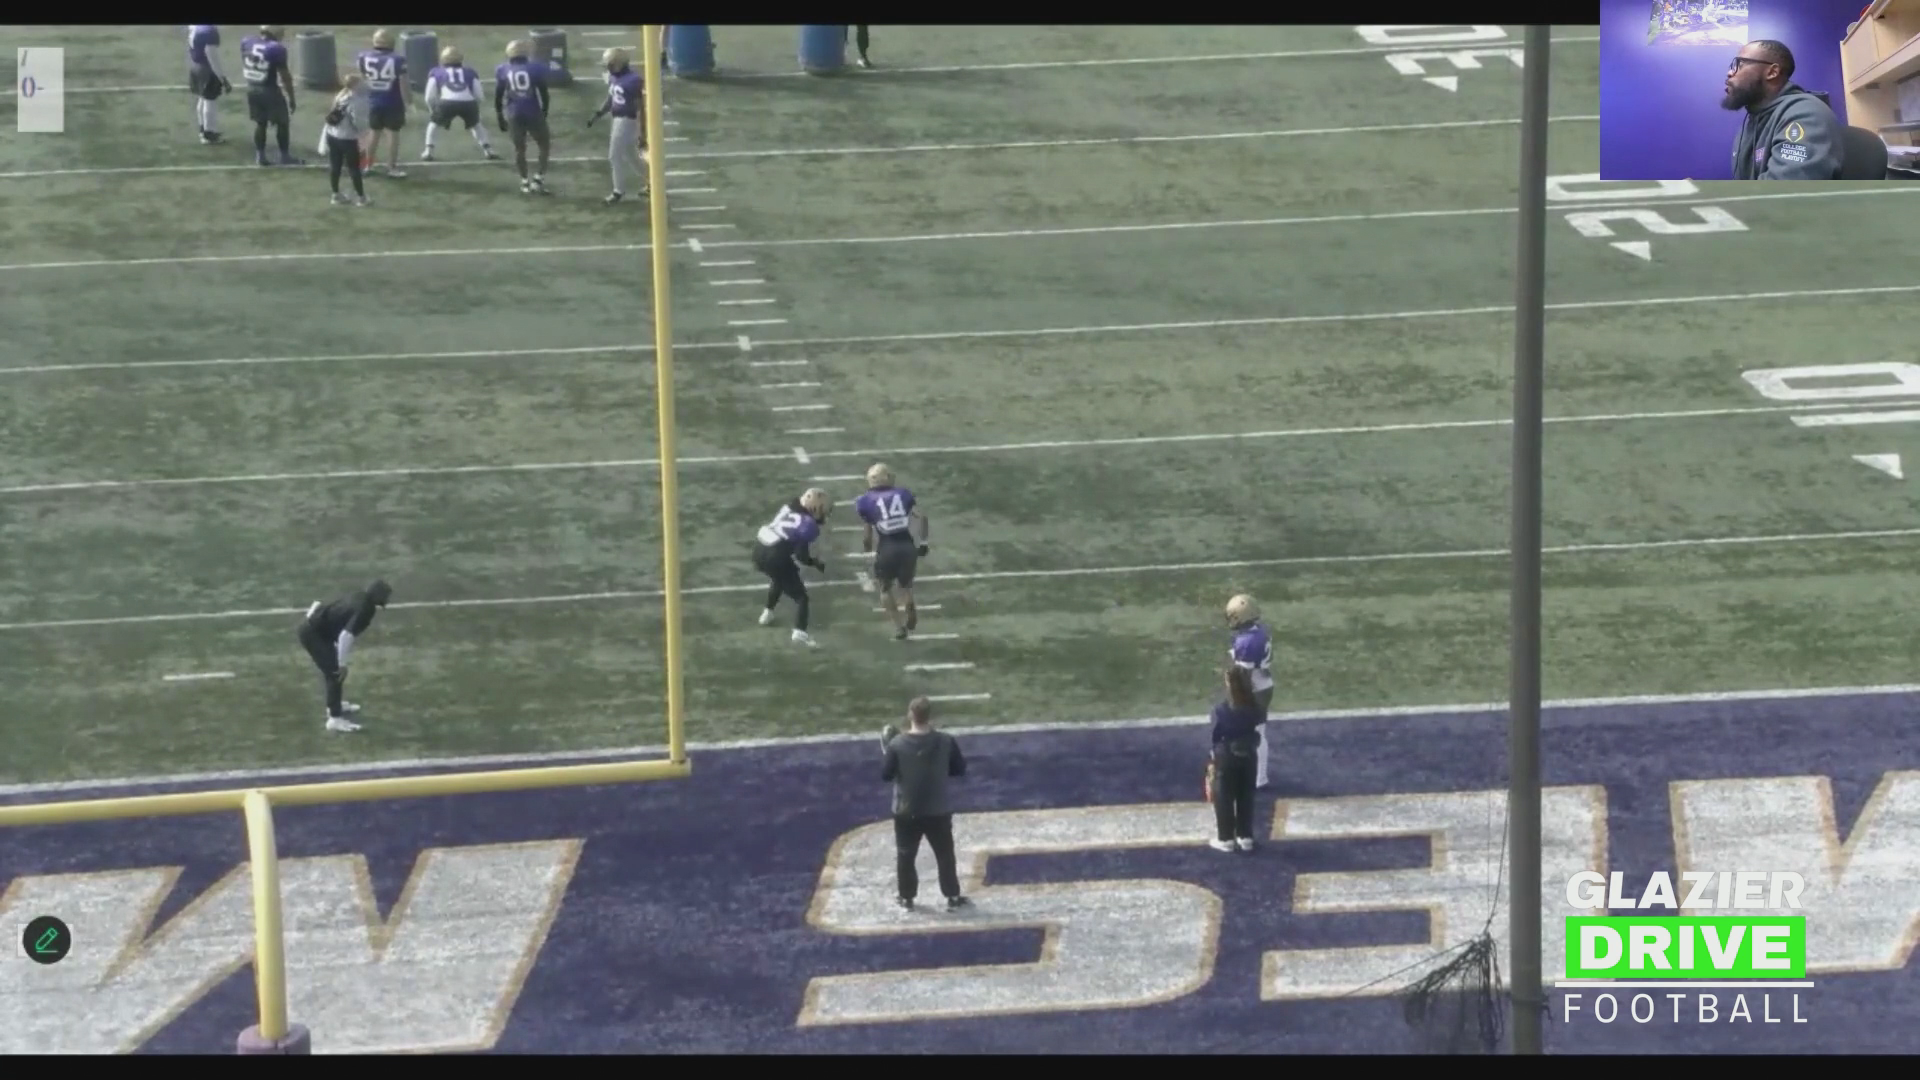
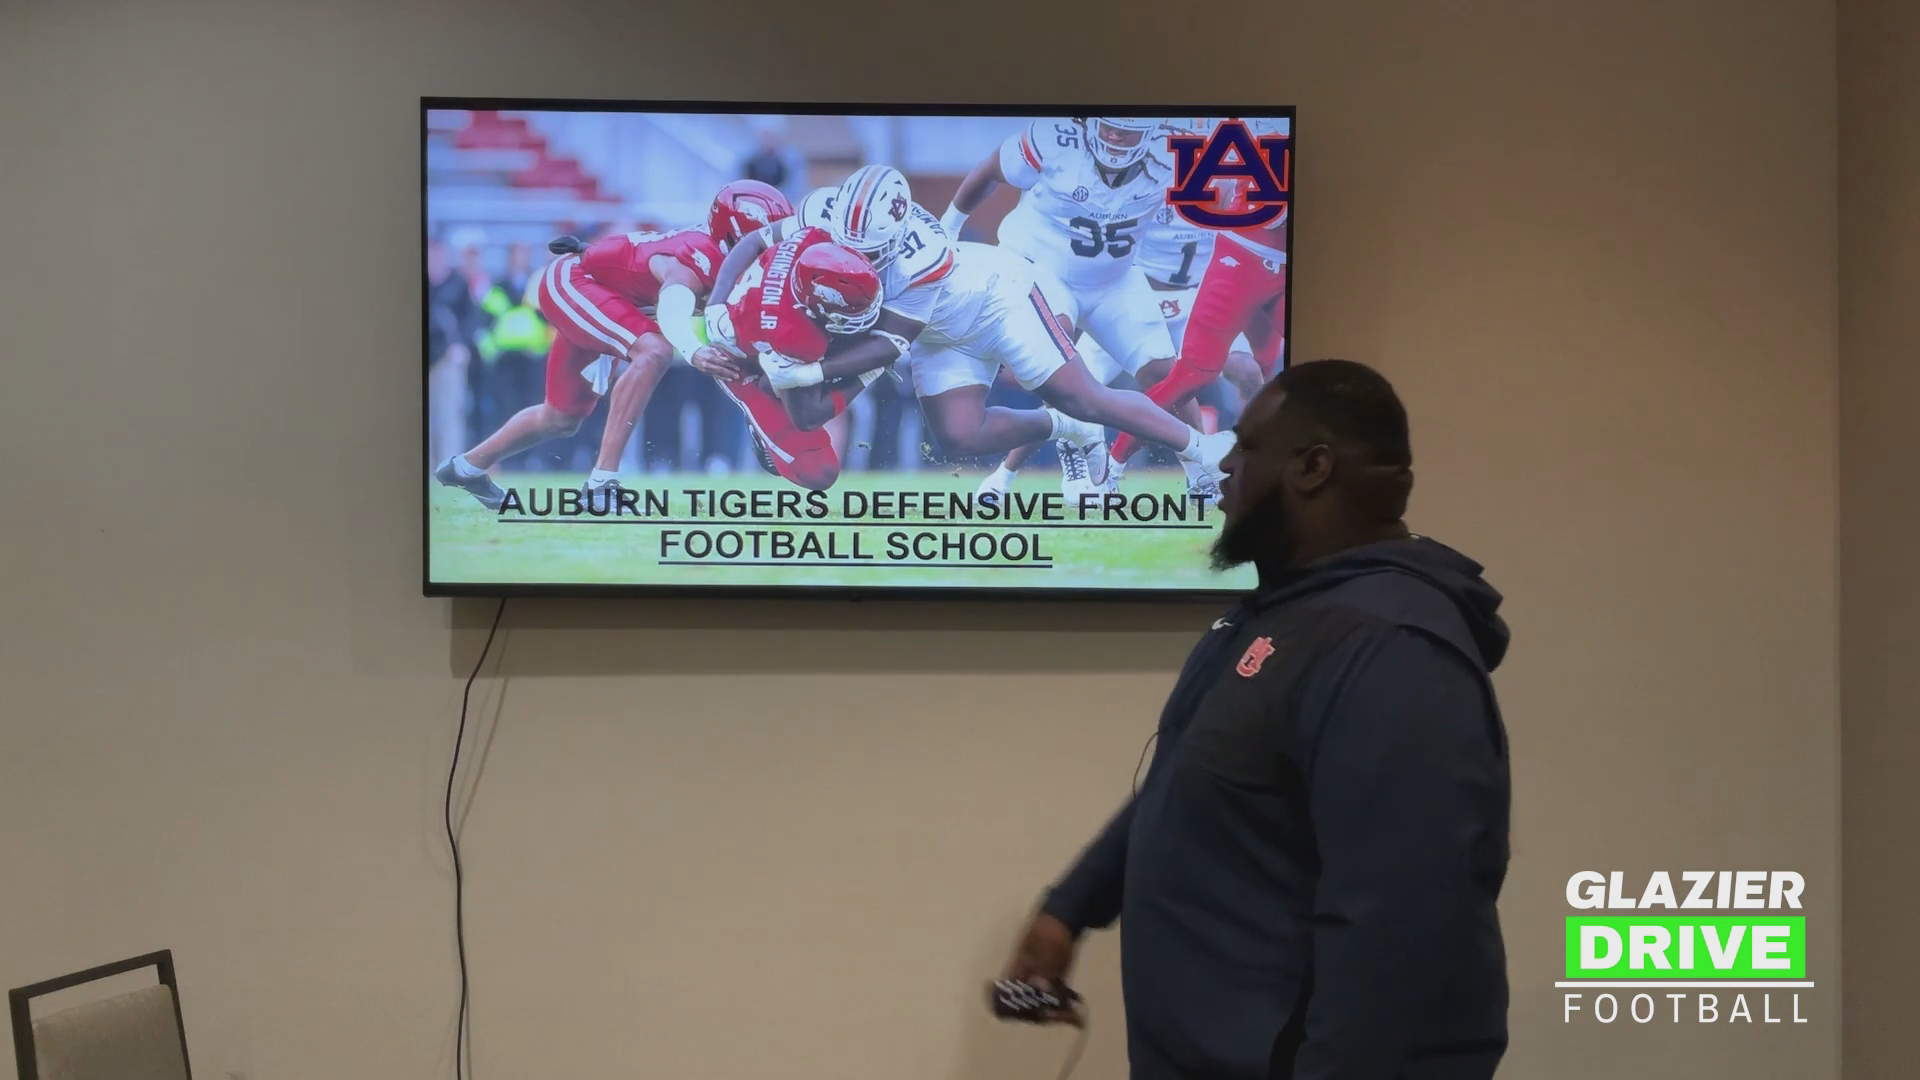
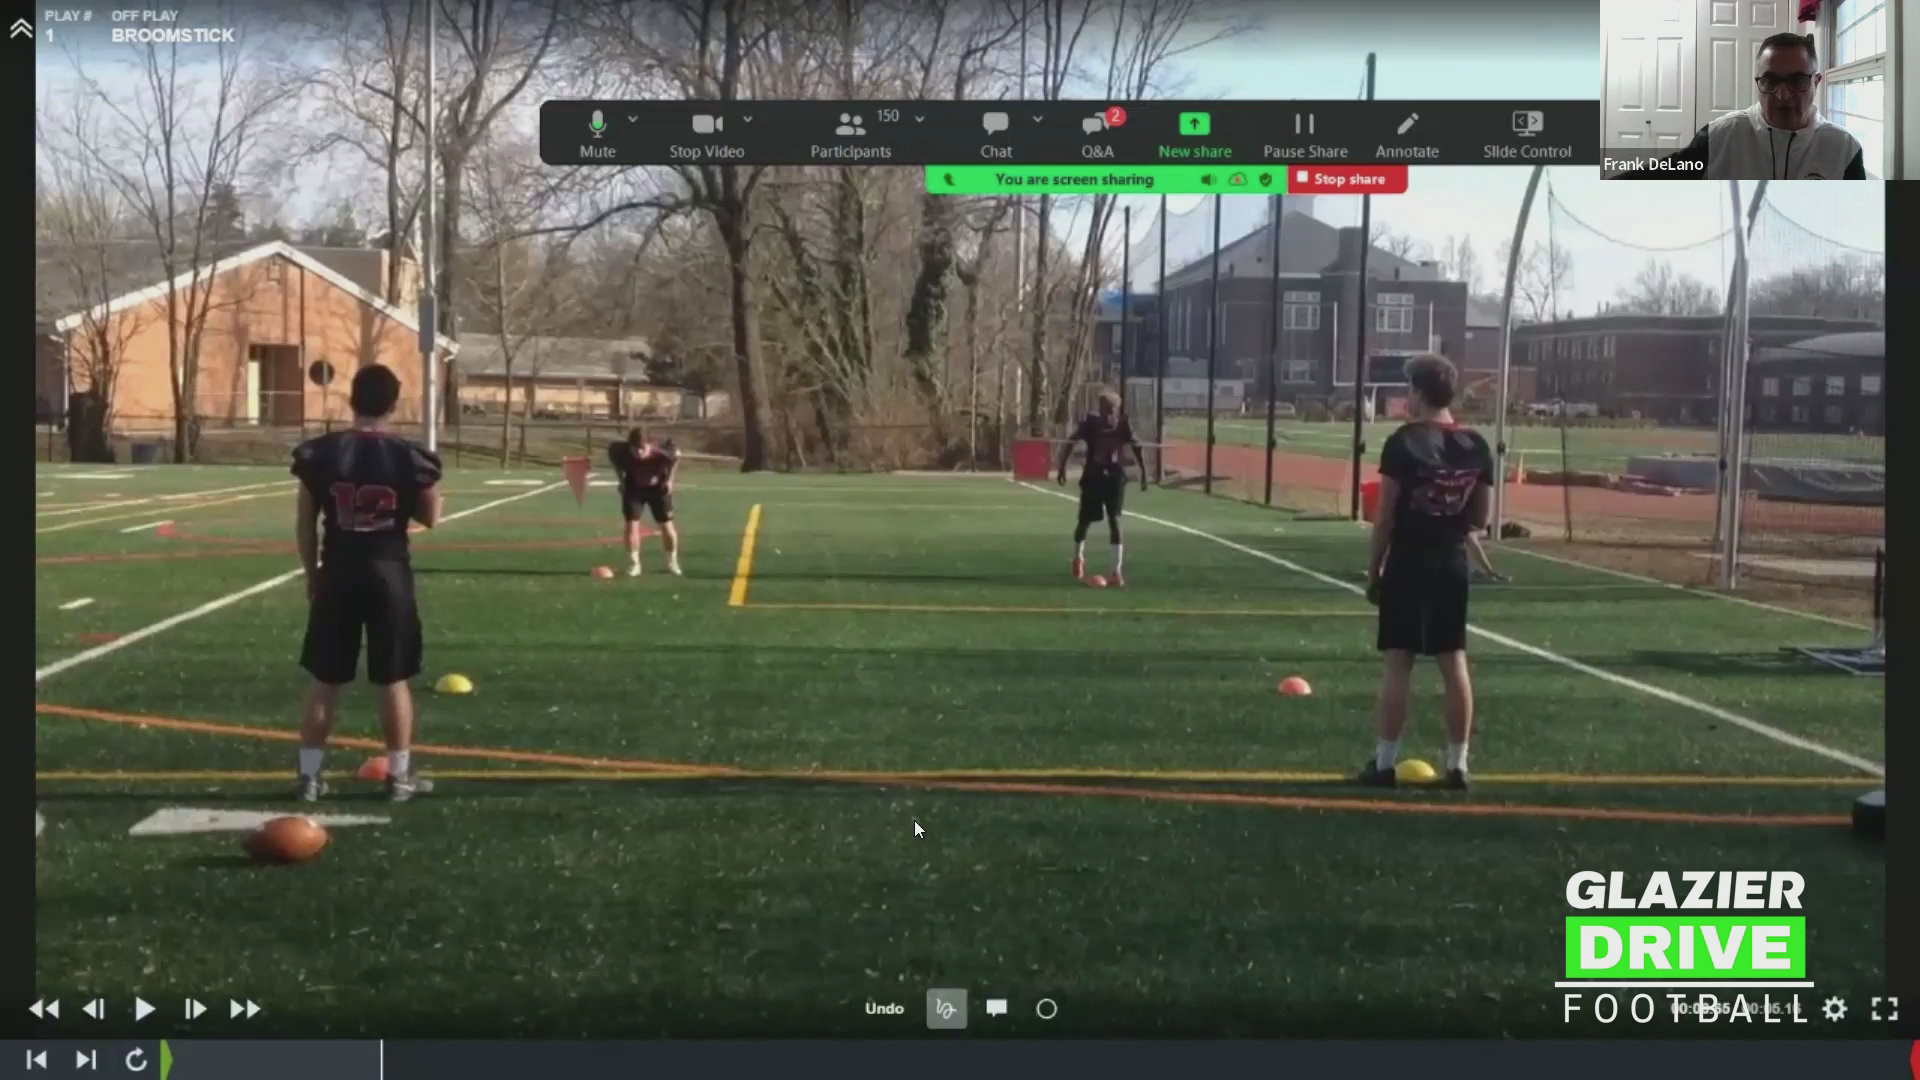
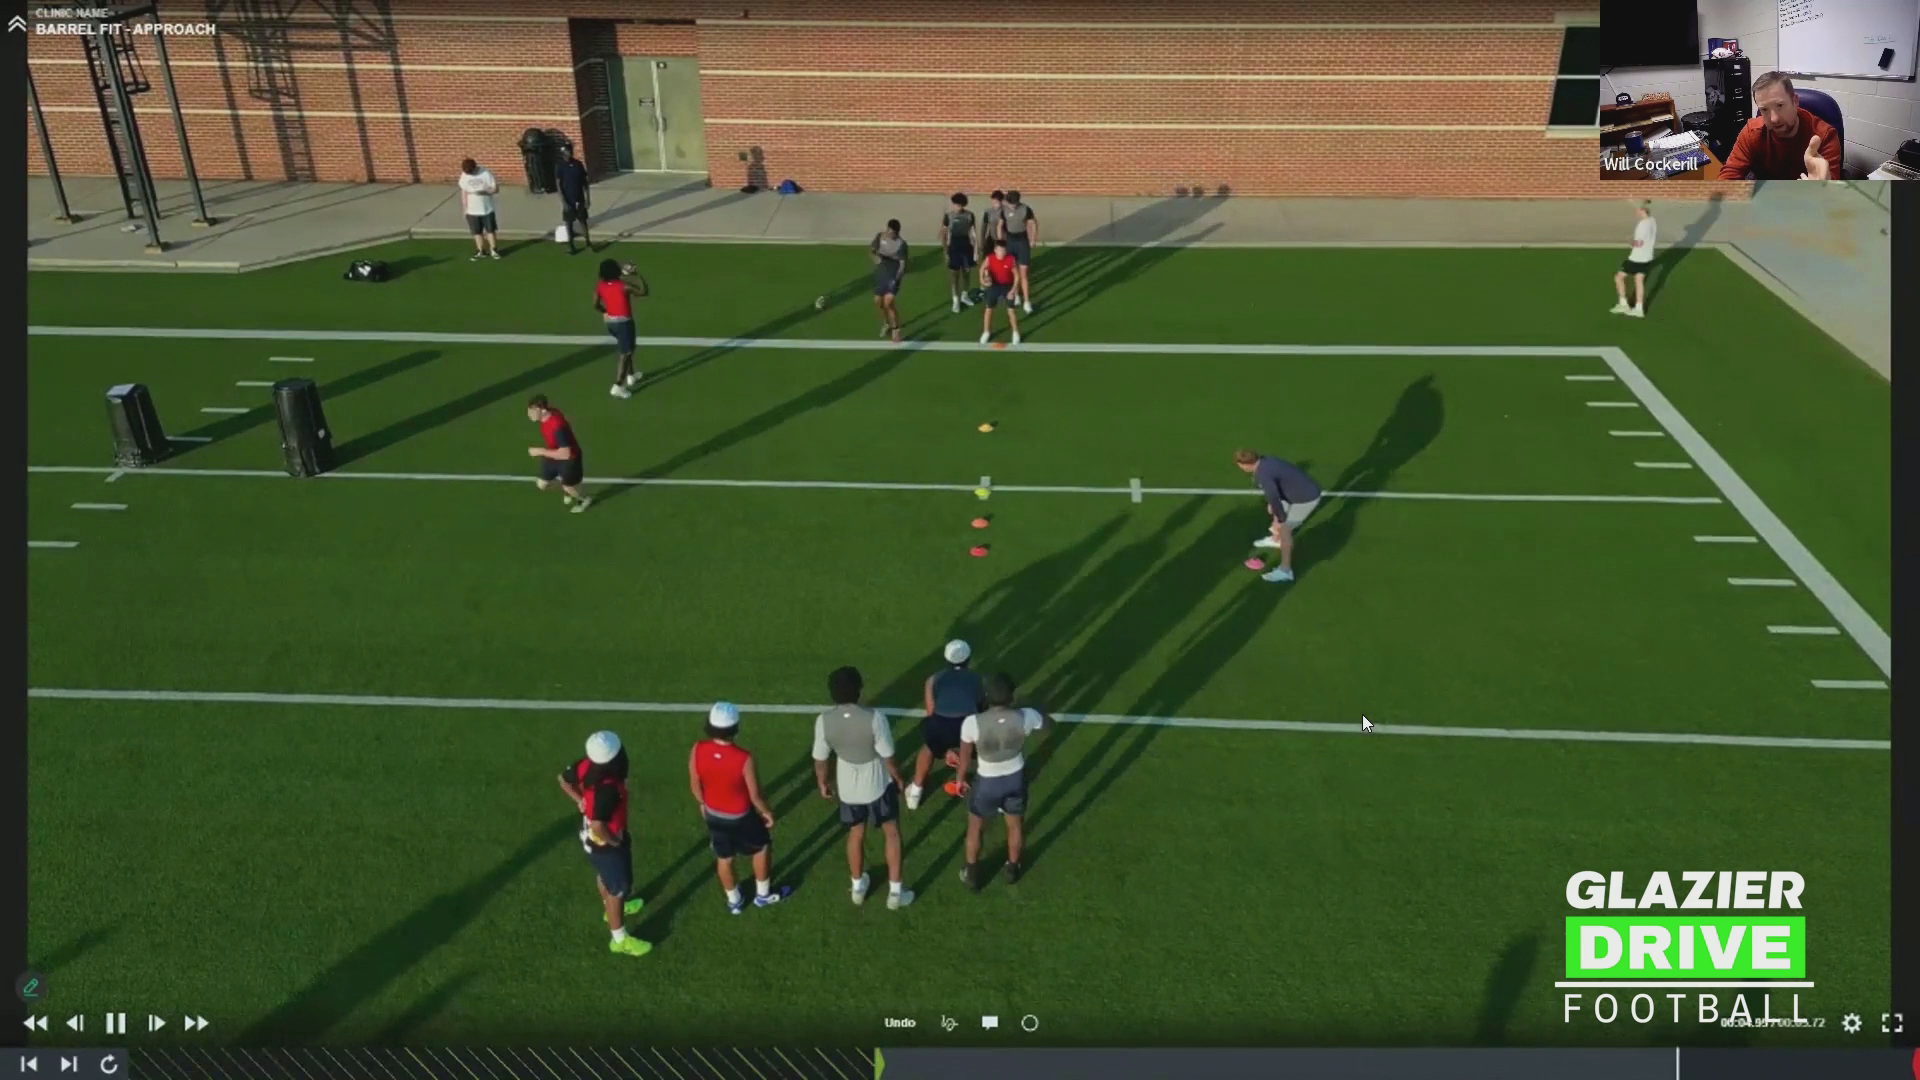
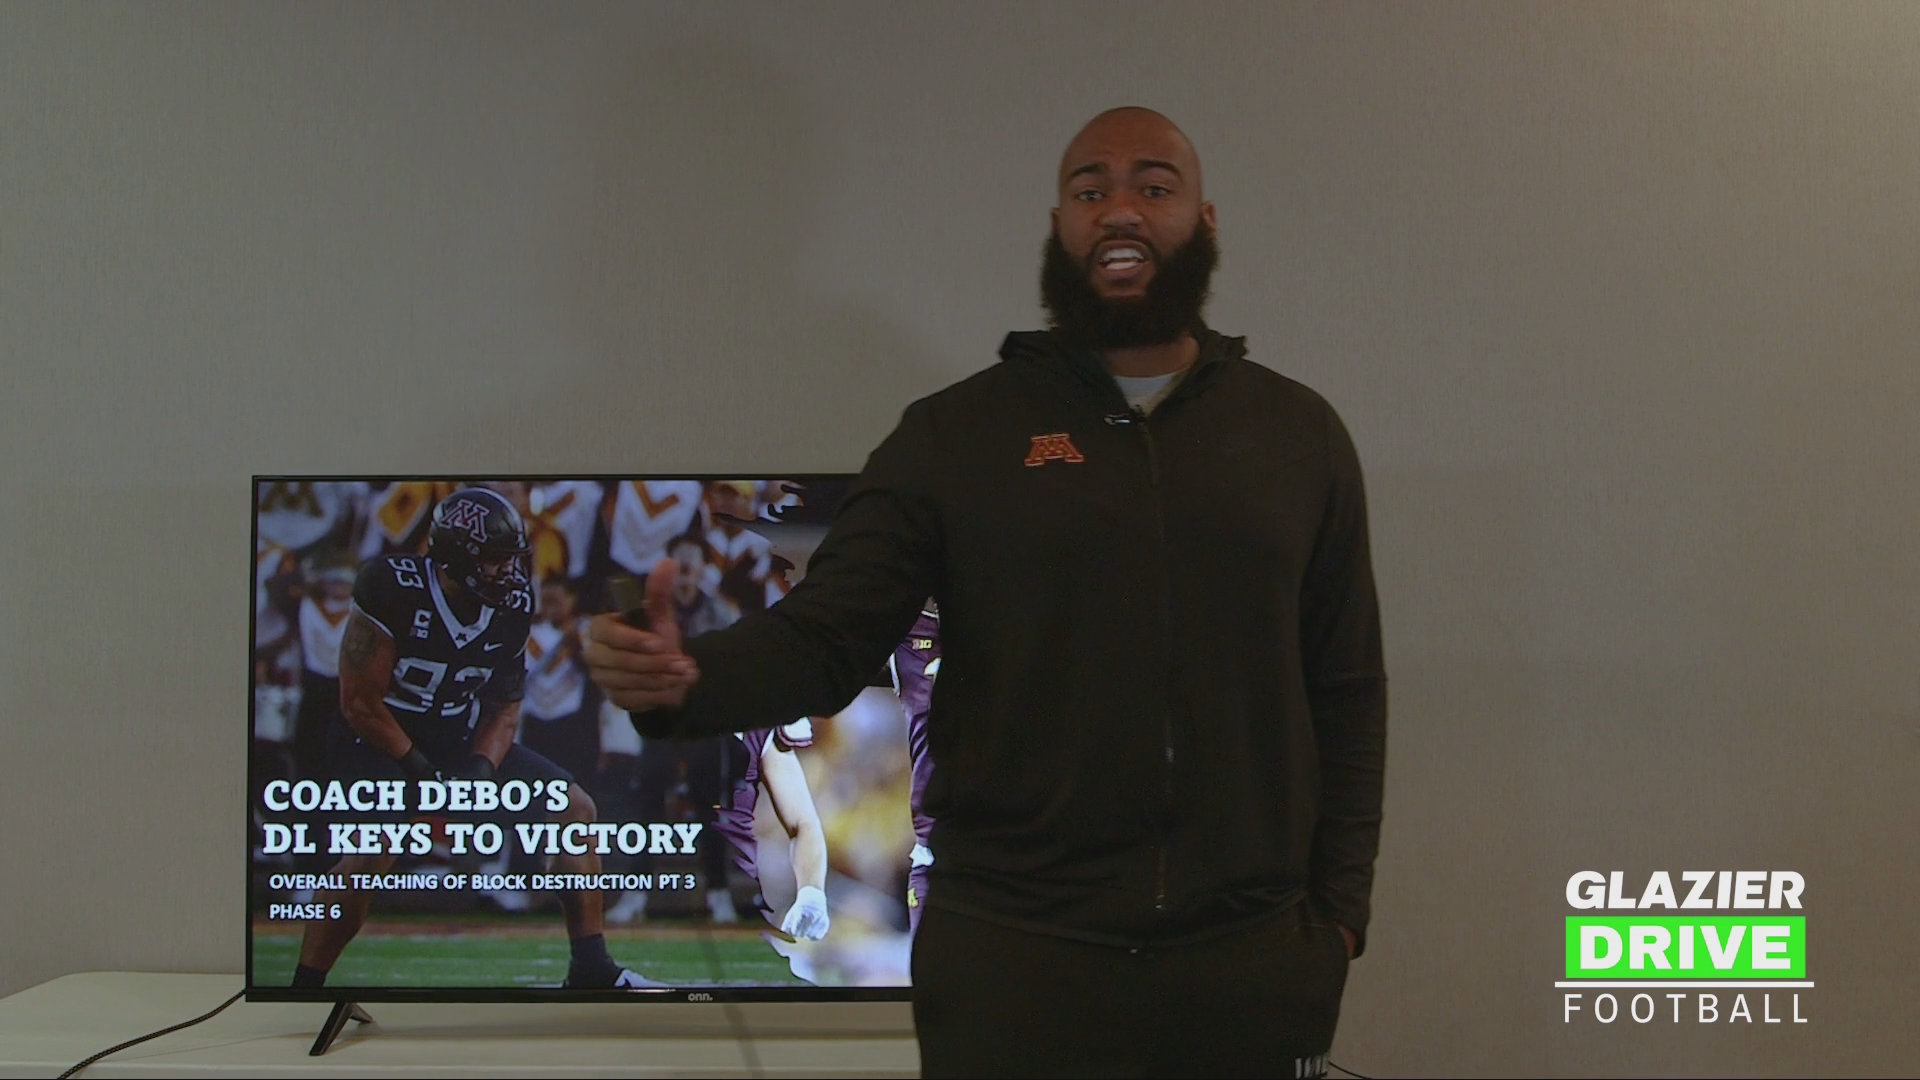
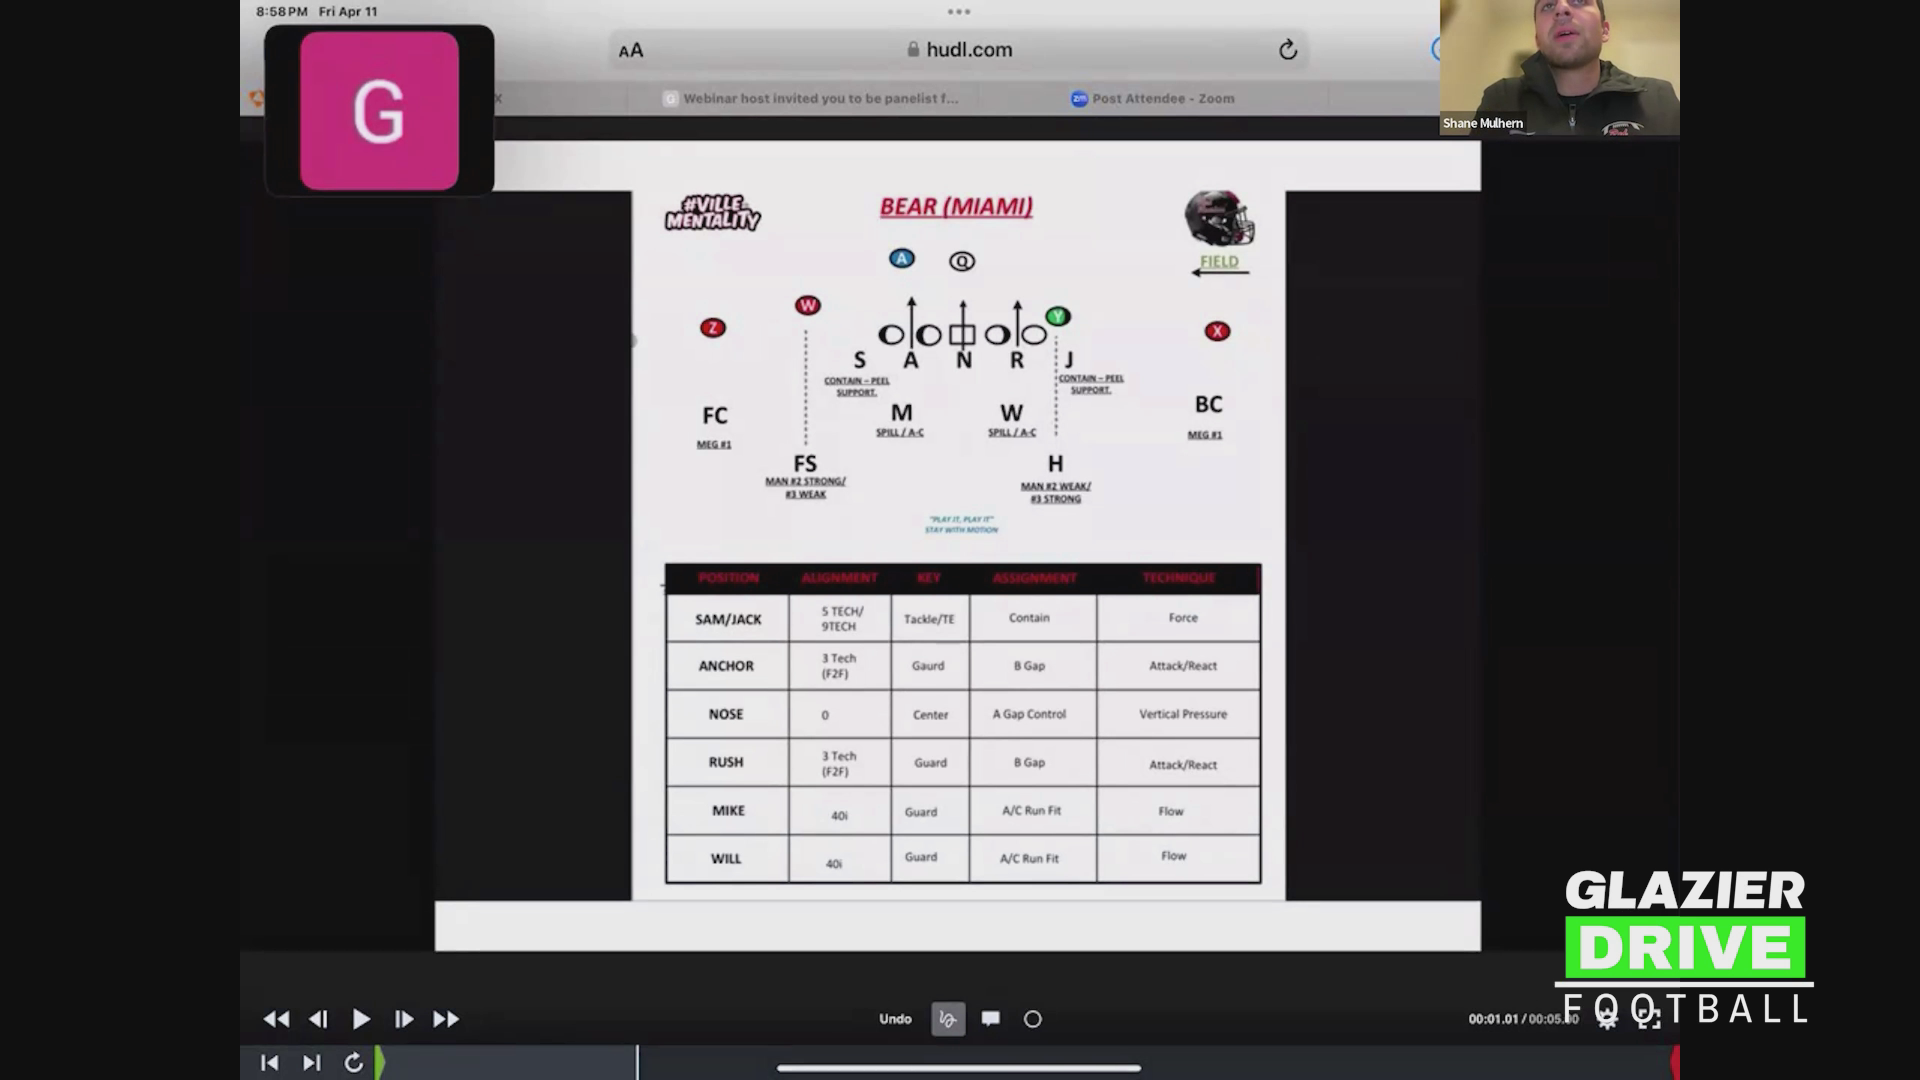
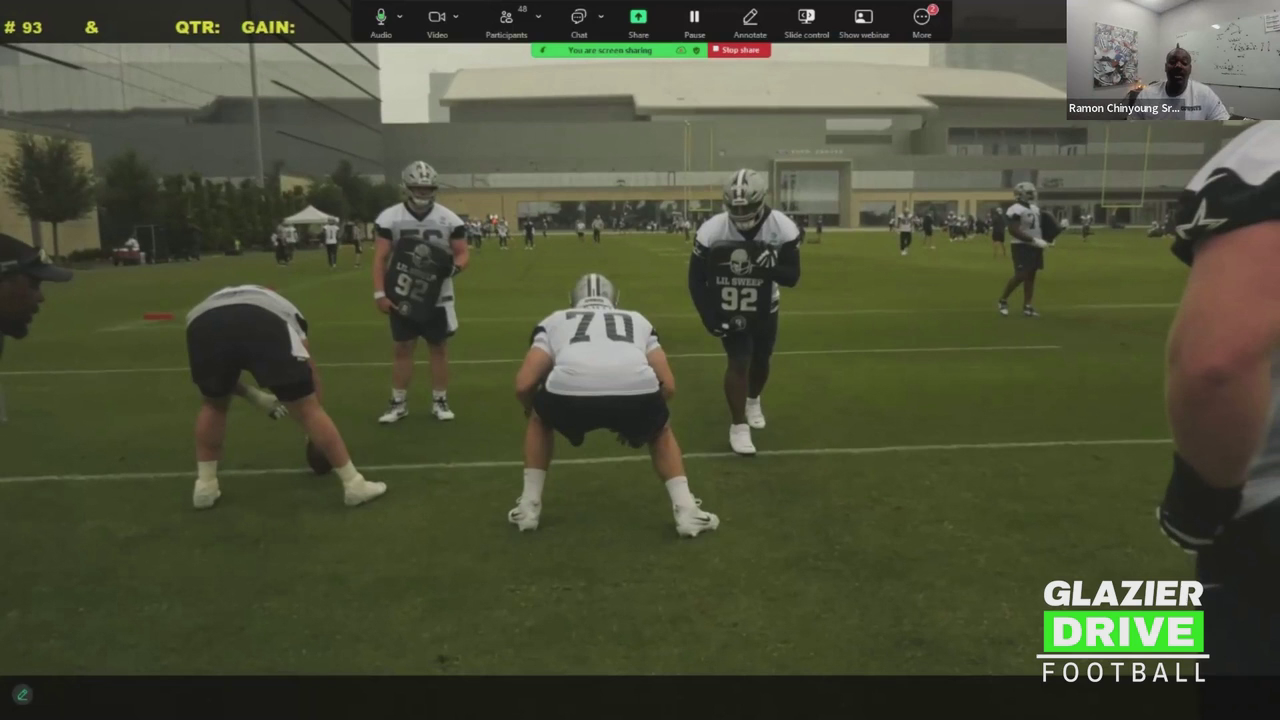
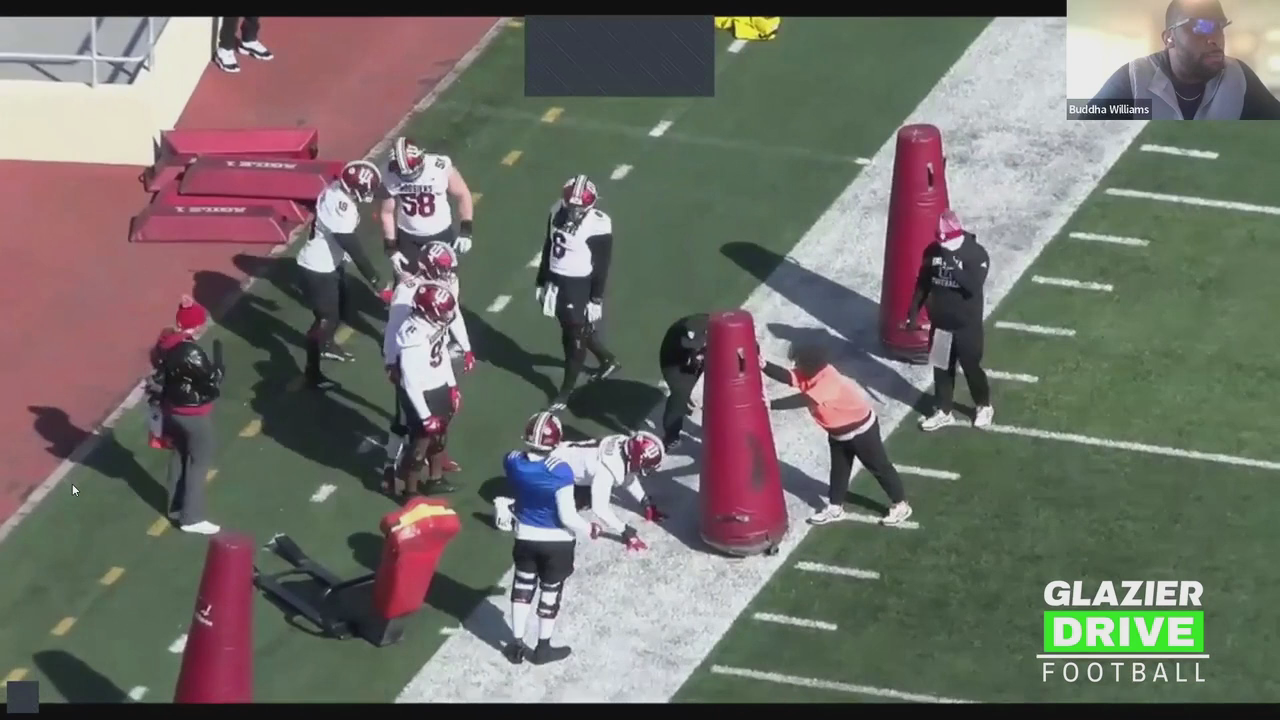
How to Teach Attack-React to Your D-Line (Six-Point to Drive Sled)
Vontrell King-Williams, D-Line Coach, Auburn
This video was originally posted on Glazier Connect.
Full video on Glazier Drive: Attack React Fundamentals for D-Line
SUMMARY
This video breaks down how to teach the attack-react mode of play to defensive linemen, including the technique itself, the coaching points, and a three-drill progression that builds from the ground up. The coach covers order of operations, alignment, keys, stance, hand placement, and the "shank" variation used at Auburn.
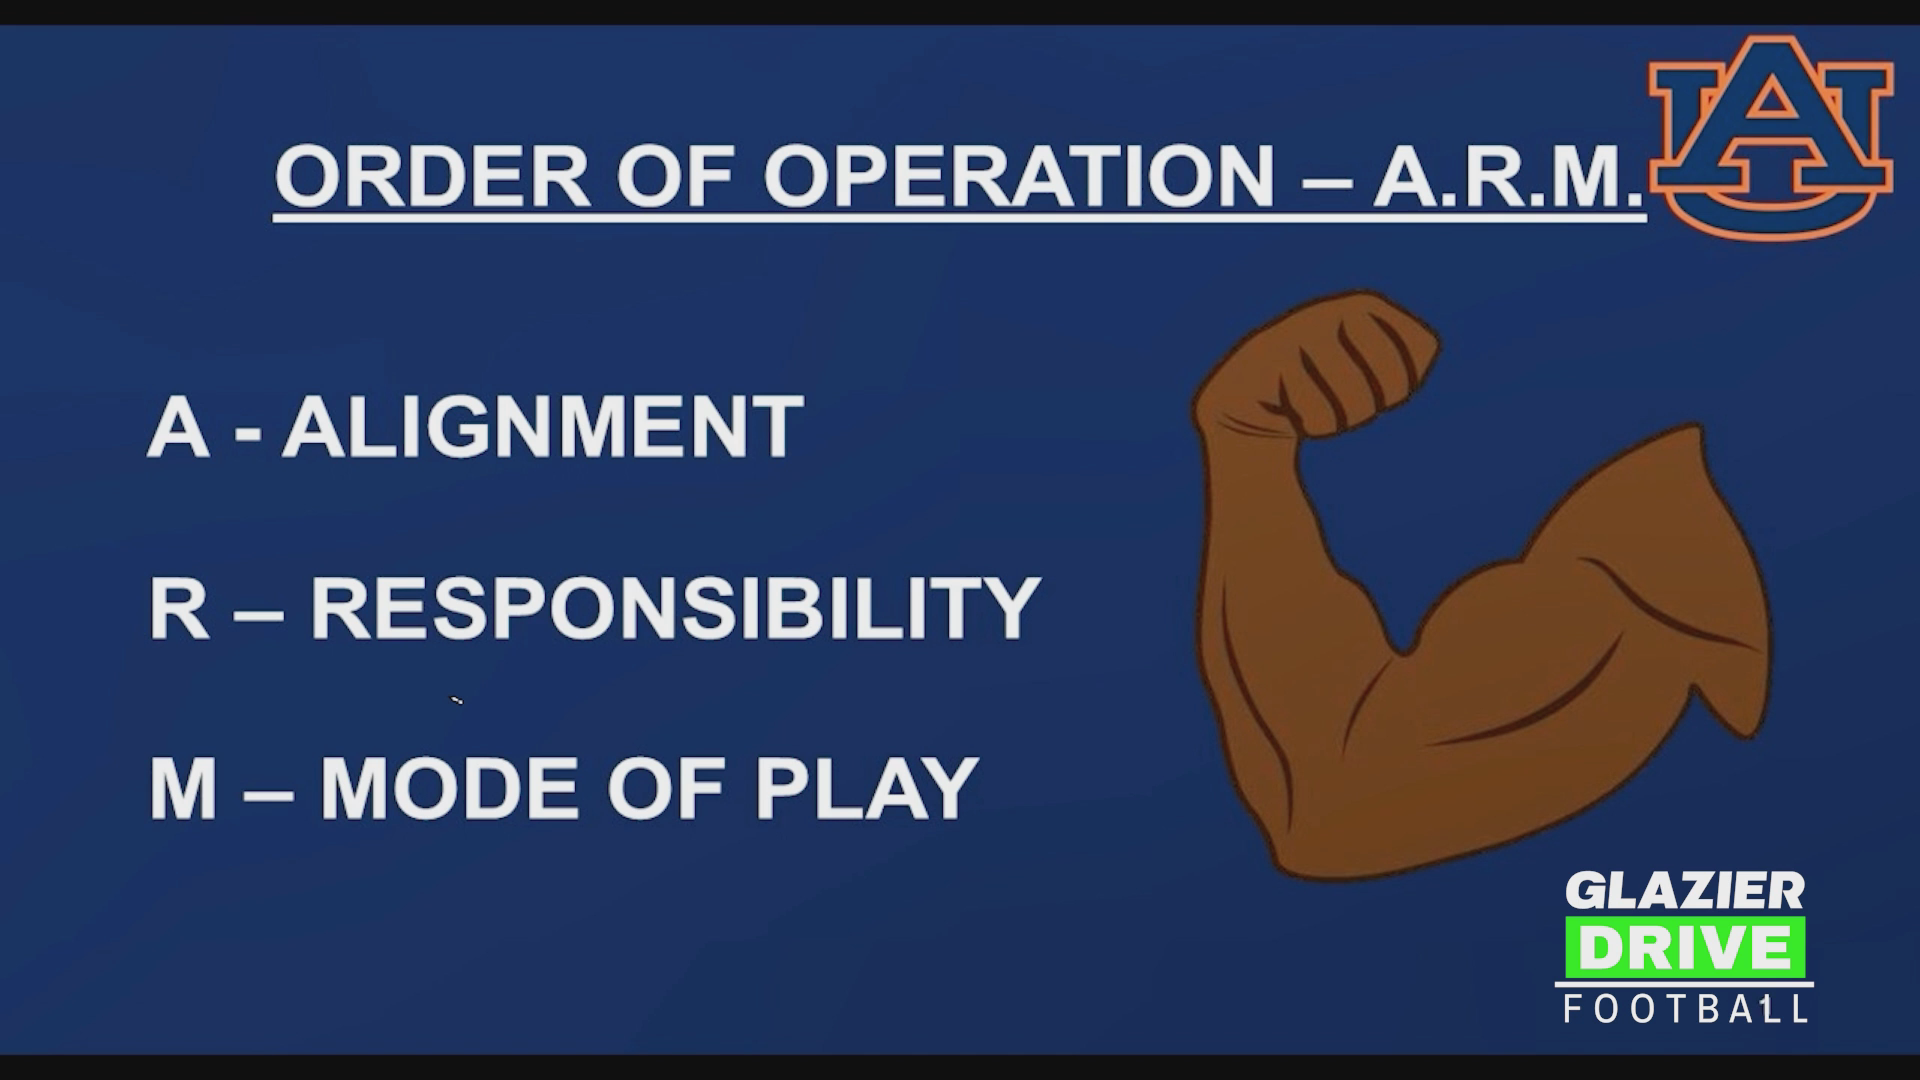
ORDER OF OPERATIONS: ARM
Every call starts with ARM: Alignment, Responsibility, and Mode of play. Players should know their alignment, what gap responsibility they have, and which mode they are using to get the call done.
ALIGNMENT FUNDAMENTALS
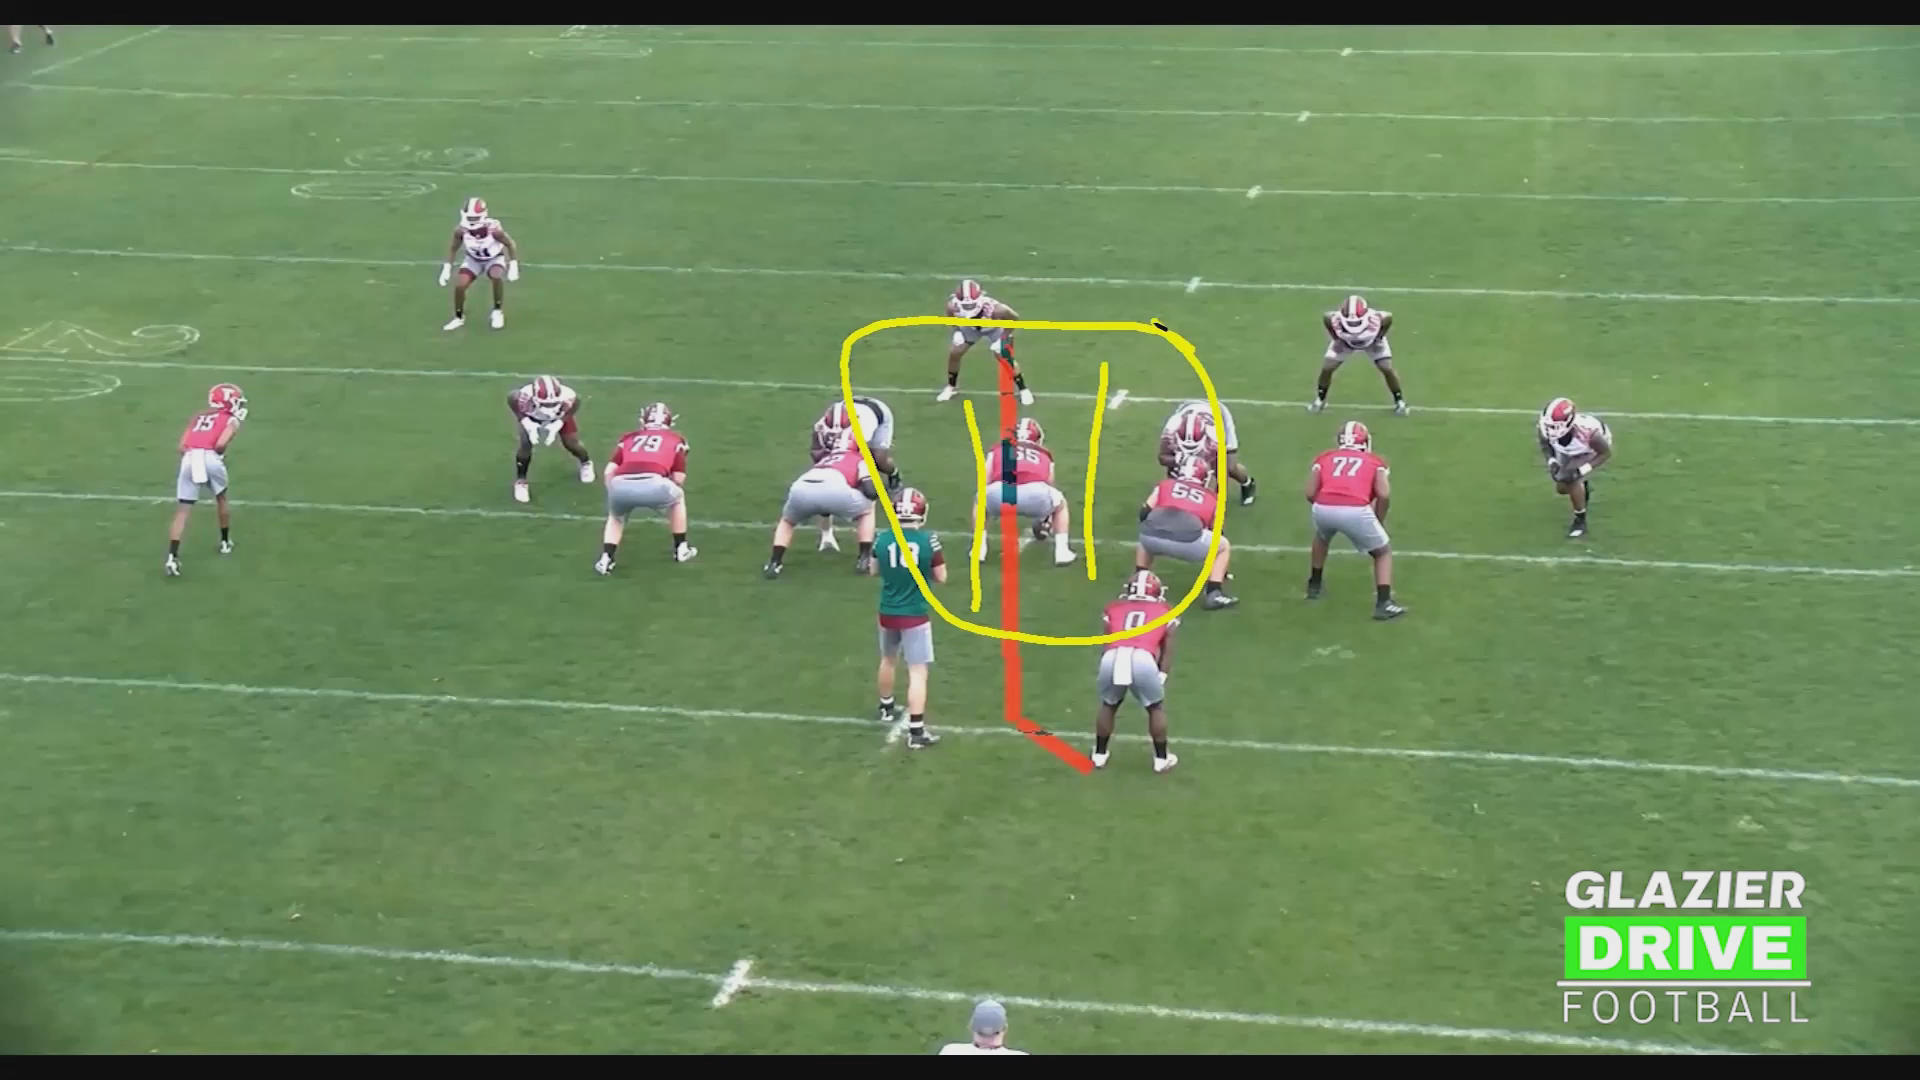
- Horizontal: Be looser or heavier on the blocker based on the alignment of the back. Away from the back, be looser (foot to foot) expecting zone to come to you. Tighter to the back, align foot to crotch because of the threat of a backside cutoff.
- Vertical: In attack-react, crowd the ball as much as possible. The coach uses "credit card alignment," maybe an inch back, so the player can come out of the hips and deliver power.
WHEN TO PLAY ATTACK-REACT
- Used on any outside shade: 1-technique, 3-technique, 5-technique, and ghost 9.
- The key is the tip of the pad of the offensive lineman. Eyes matter because the player must react with the right footwork based on the block (aggressive or downhill).
- Sequence: two-foot push from the ground, hips and hands first, footwork after.
ATTACK-REACT LAG ("SHANK")
- Same attack-react mentality, but the player lags his eyes to the adjacent gap while keeping body presence in his own, allowing him to two-gap out of a one-gap alignment.
- Example: a 3-technique with the guard coming at him lags his eyes to the A-gap while maintaining body presence in the B-gap.
- Has been especially effective out of a two-high shell, canceling gaps up front.
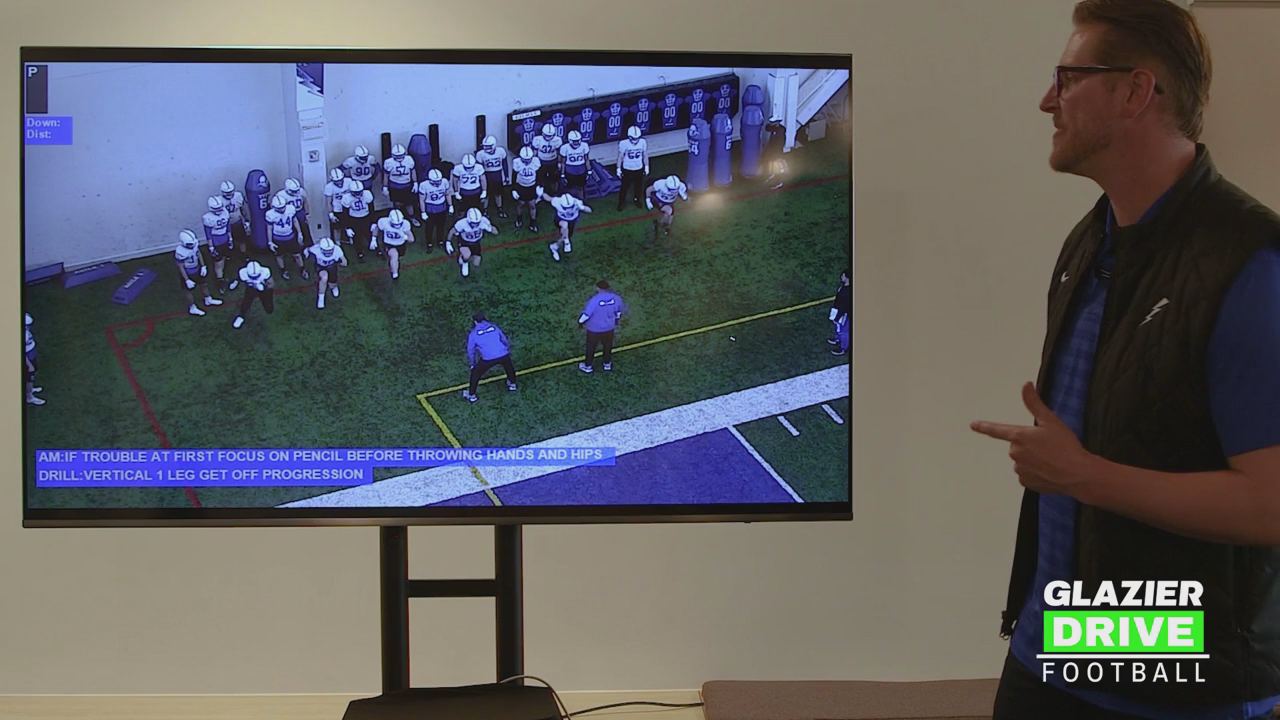
STANCE AND HAND PLACEMENT
- Toe-to-heel stance, flat back, hanging off-hand, eyes on the key.
- Feet and cleats stay close to the ground so the player can push. This is the purpose of power cleans and explosive training.
- One-gap hand placement: main hand down the sternum, gap hand on the tip of the pad.
- For shank: gap hand goes underneath the armpit to be thicker and able to two-gap.
- Thumbs up, elbows in, eyes below the hands, achieved with good pad level and forward body lean.
THE PEN ANALOGY
Think of a pen being pressed down: it coils up, then explodes. Players should load their full body weight and explode into the blocker, rather than playing like offensive linemen who "wall" off the ball. The goal is to be the aggressor and play like a spring.
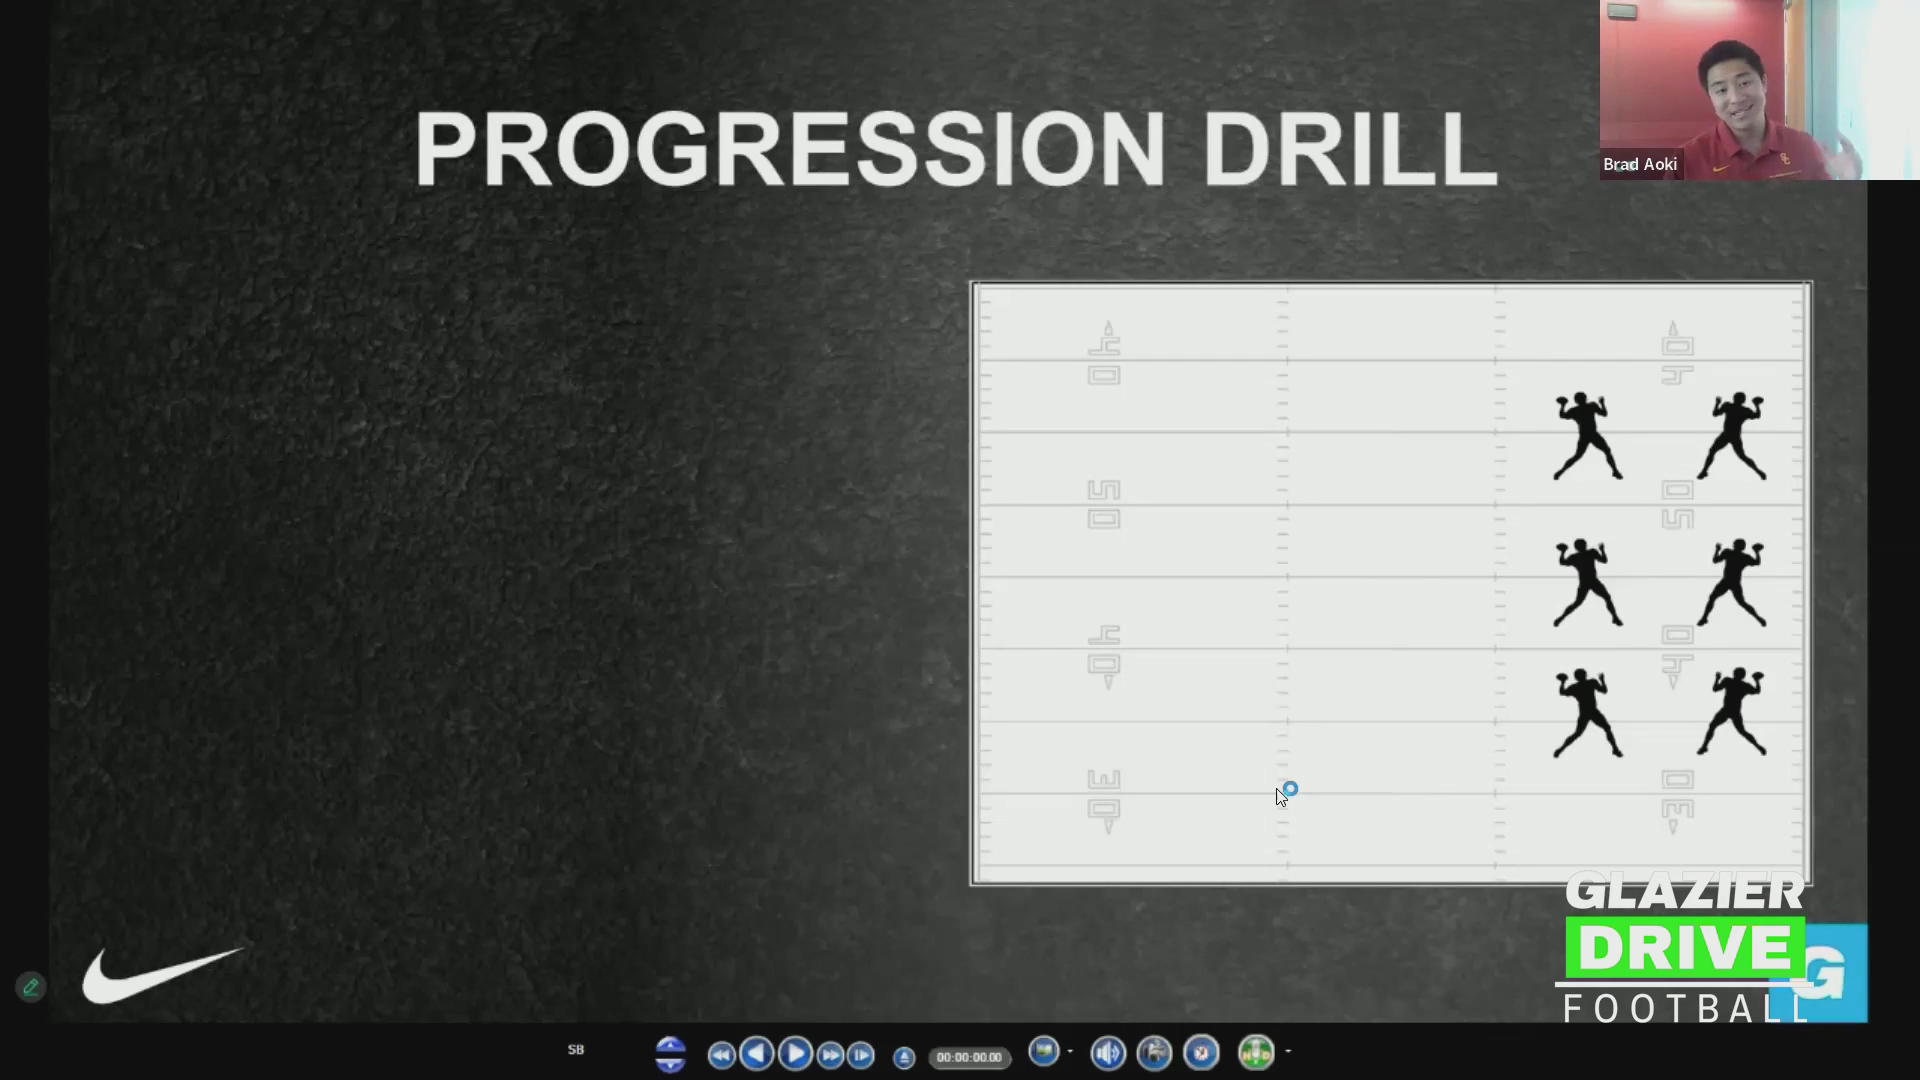
TEACH PROGRESSION
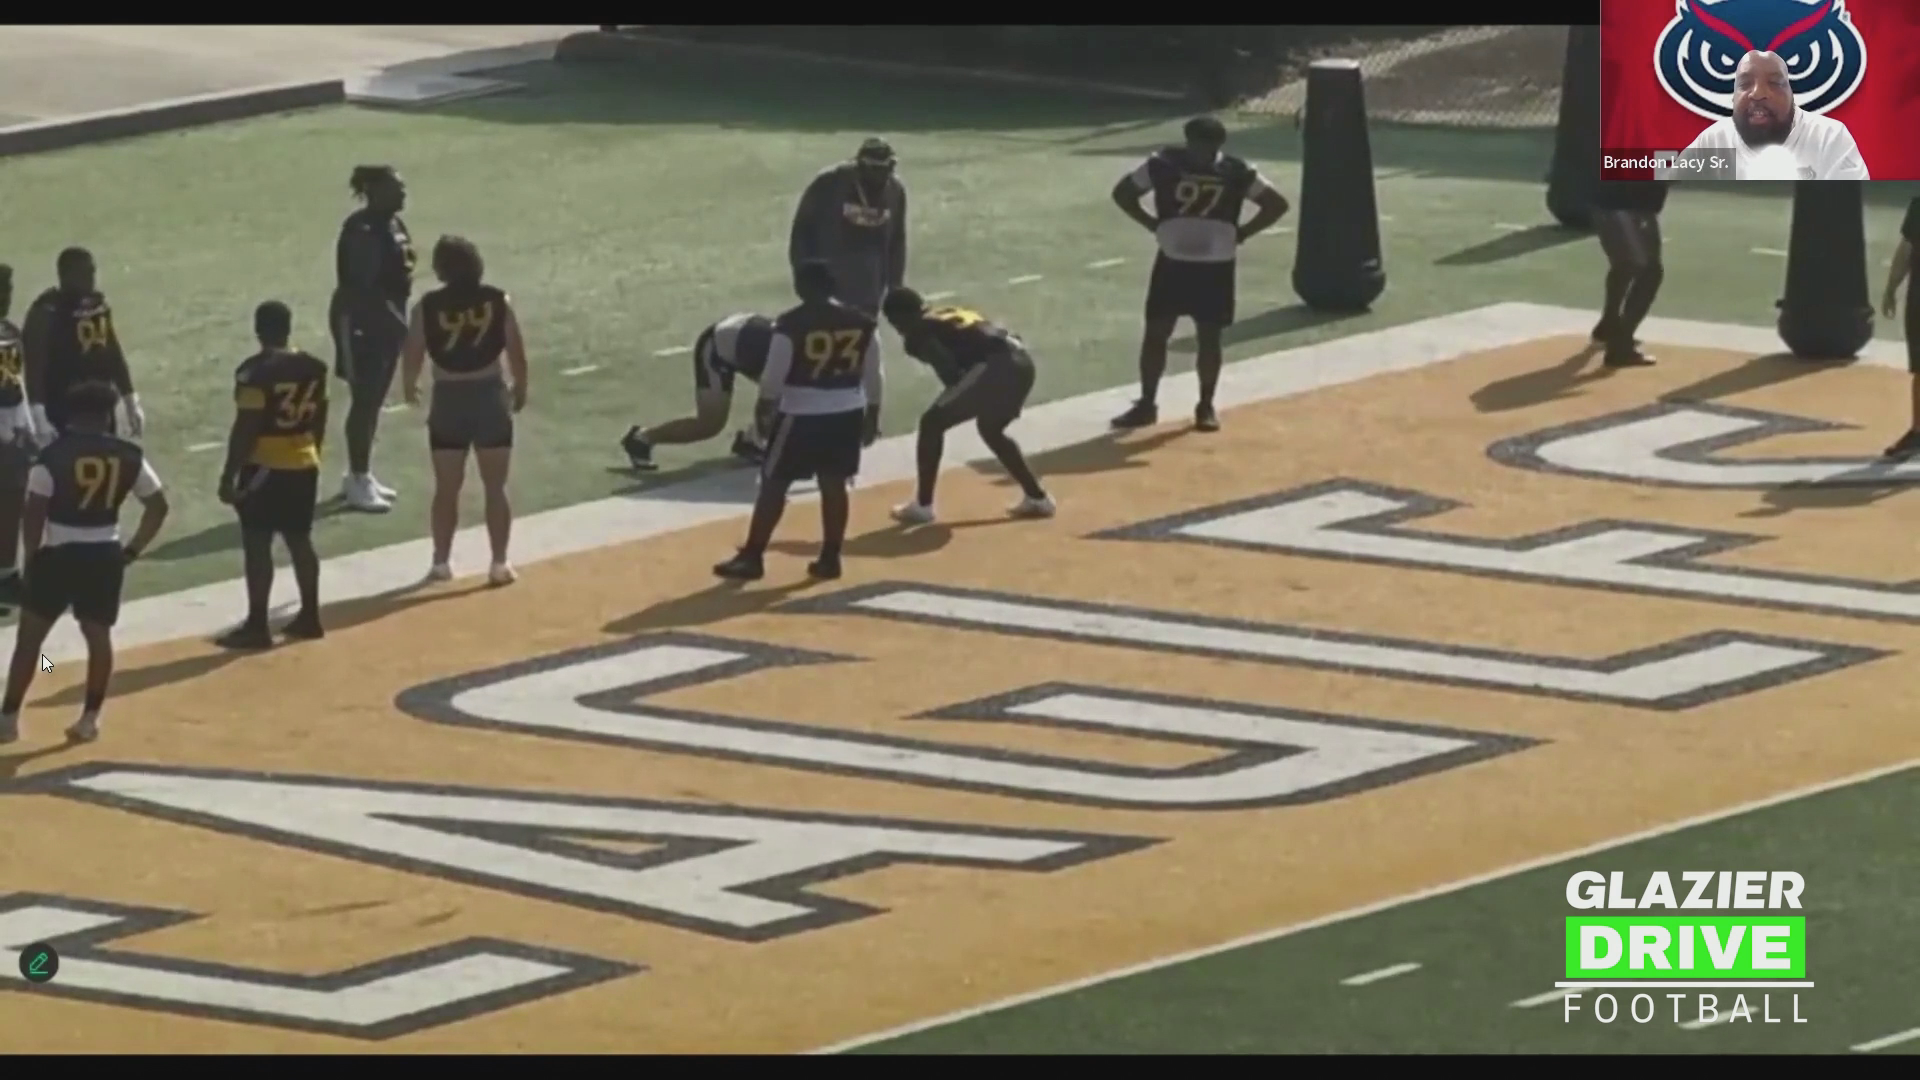
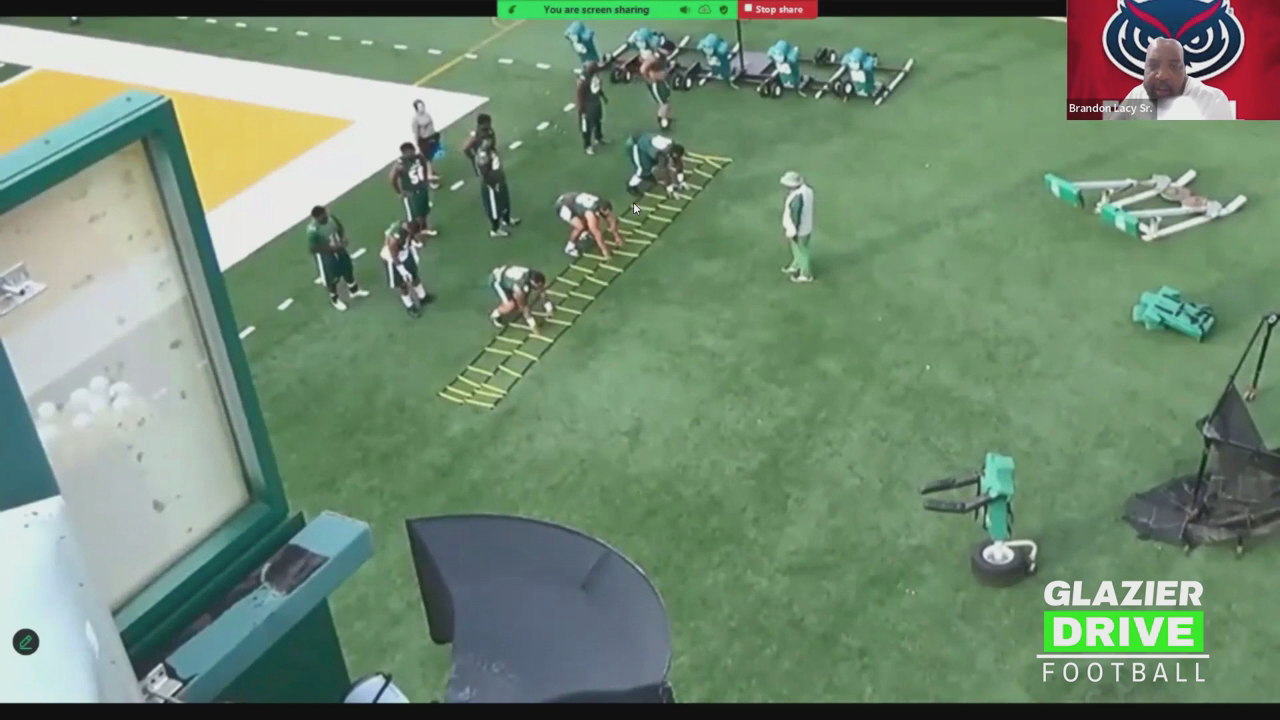
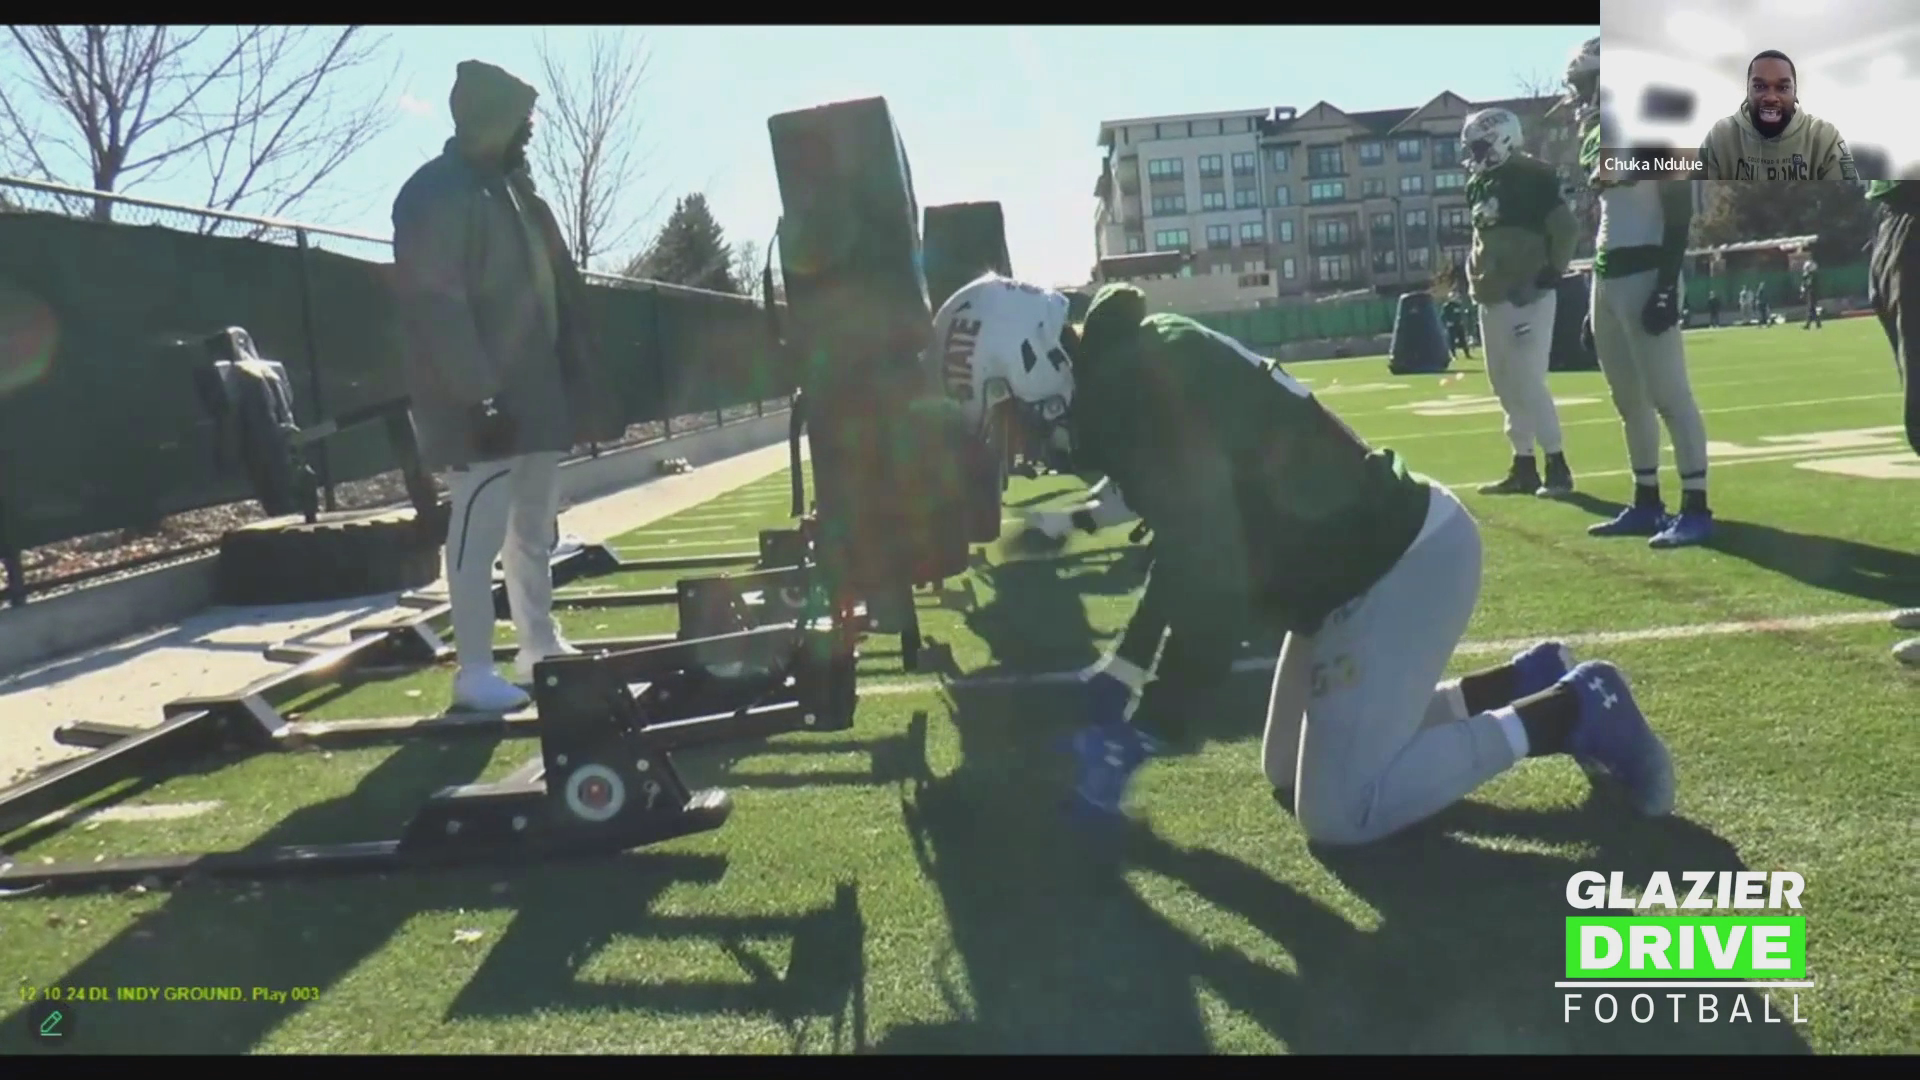
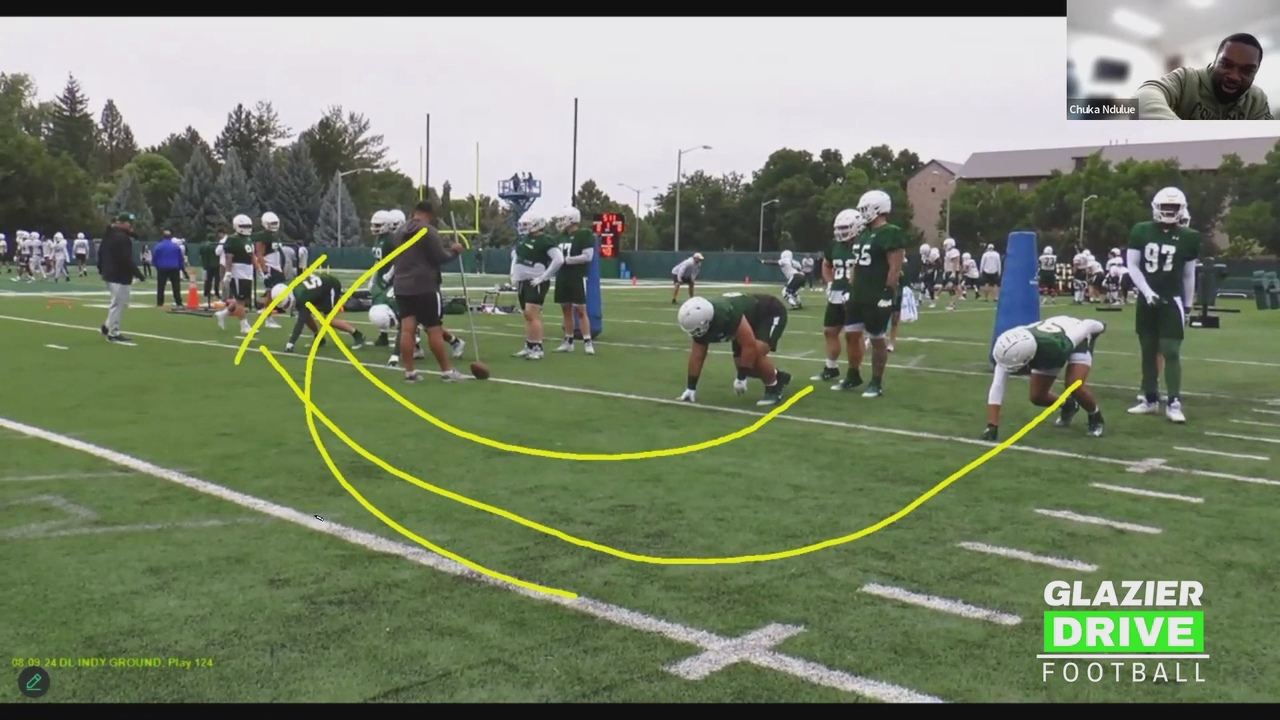
- Six-Point Explosion
- Six points on the ground: two fingertips, two knees, two toes.
- Toes must be curled into the ground so the player can push. If not, have a partner hold the feet or use a springboard. Otherwise the drill is a waste.
- Coaching points: explode out, not up. Eyes up, chin up, neck braced. Hands go straight from the ground to the man with no wind-up.
- The "penny test": a penny placed on the player's backside should not move, proving he is coming out of his hips and not lifting his butt.
- Three-Point Layout
- Same order of operations, now out of a stance with the feet locked into the ground.
- Eyes up, chin up, neck braced, hands direct to the target, elbows in, thumbs up, full lock-out.
- Equipment note: no sled required. A goalpost works.
- Drive Sled
- Addresses a common flaw: linemen strike well, then relax and peek for the ball while the offensive lineman keeps driving.
- Teaches players to keep driving their feet with a solid base after contact, finishing the block until the ball carrier commits.
- Feet should never get too close together, preserving power and extension. The player releases on the whistle.
KEY TAKEAWAYS FOR COACHES
- Win the block first, then find the ball. The player isn't done with the offensive lineman until the ball carrier has committed.
- Push from the ground. Foot contact and strong toes are the foundation of hip explosion.
- Hands go straight to the target, with no wind-up.
- You can run these drills without a fancy sled. Use a goalpost or a partner.
- Use the shank/lag variation to two-gap from a one-gap alignment.
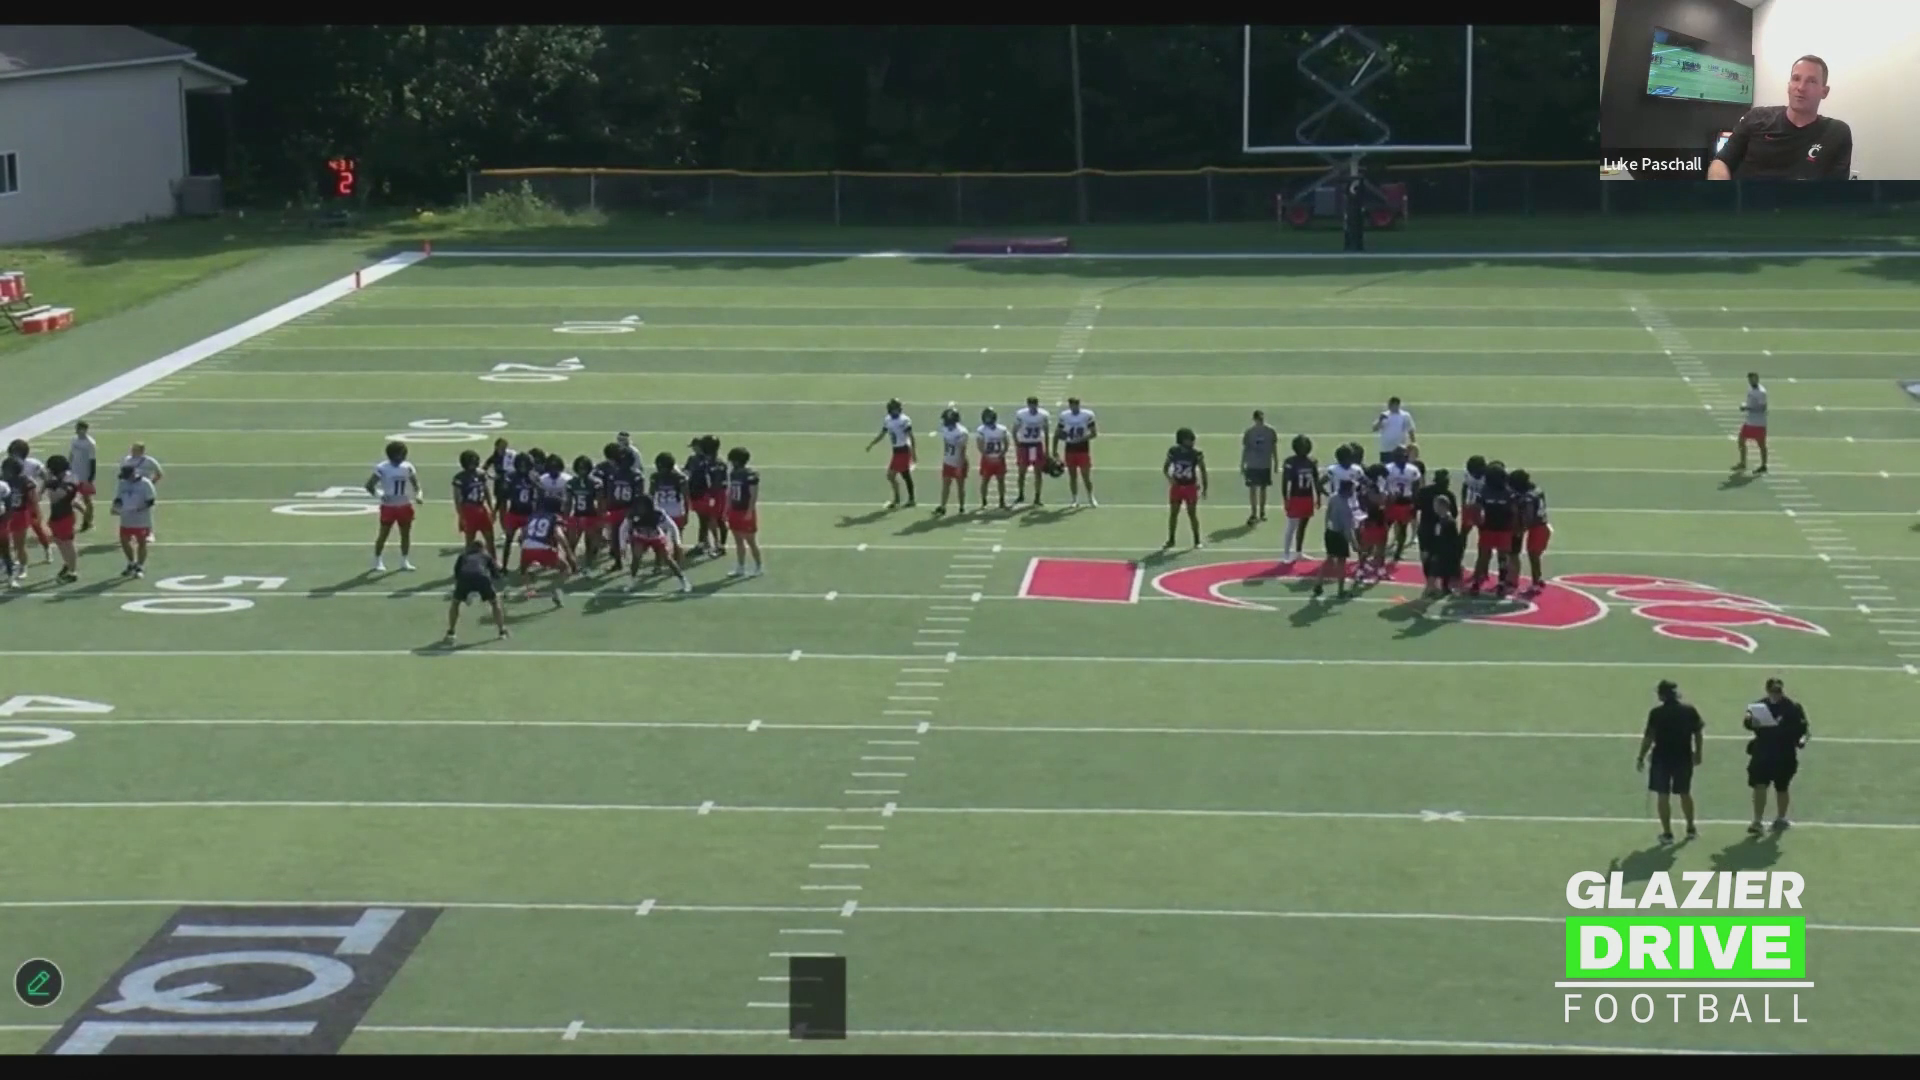
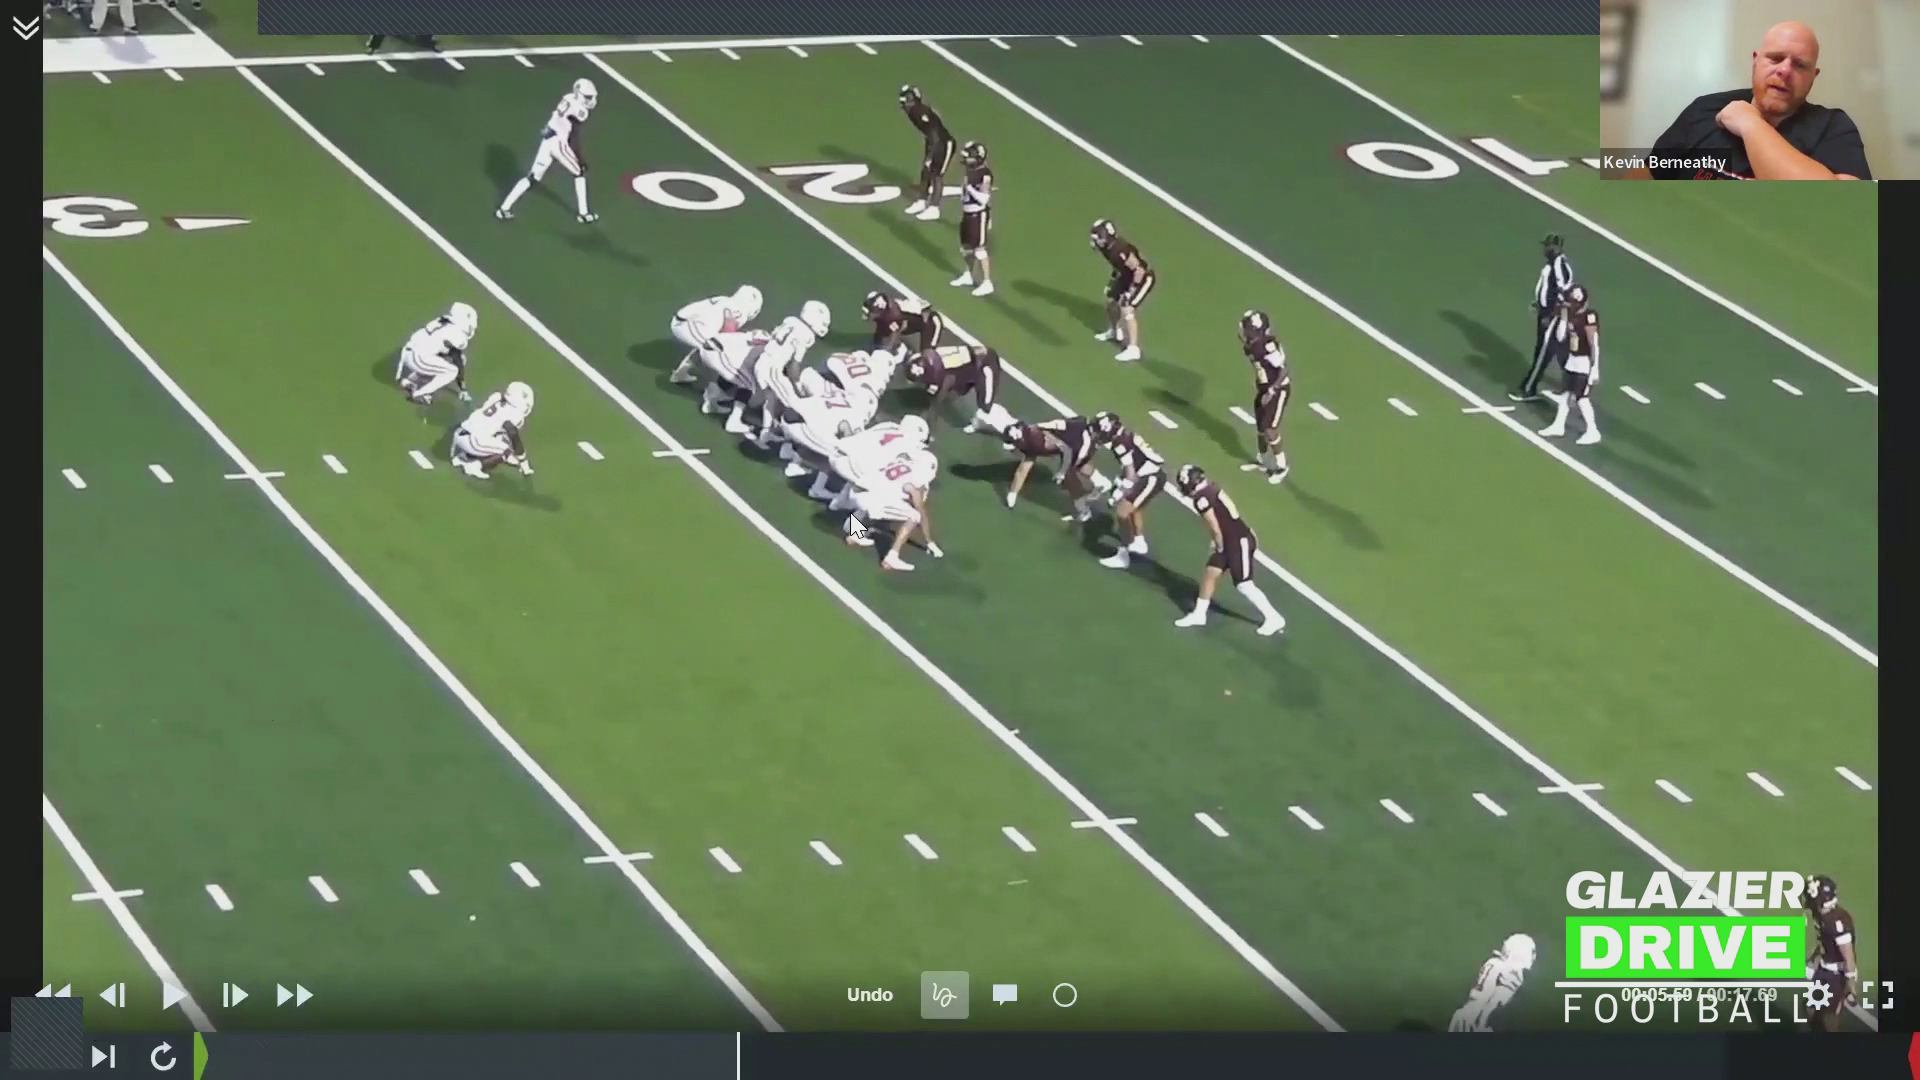
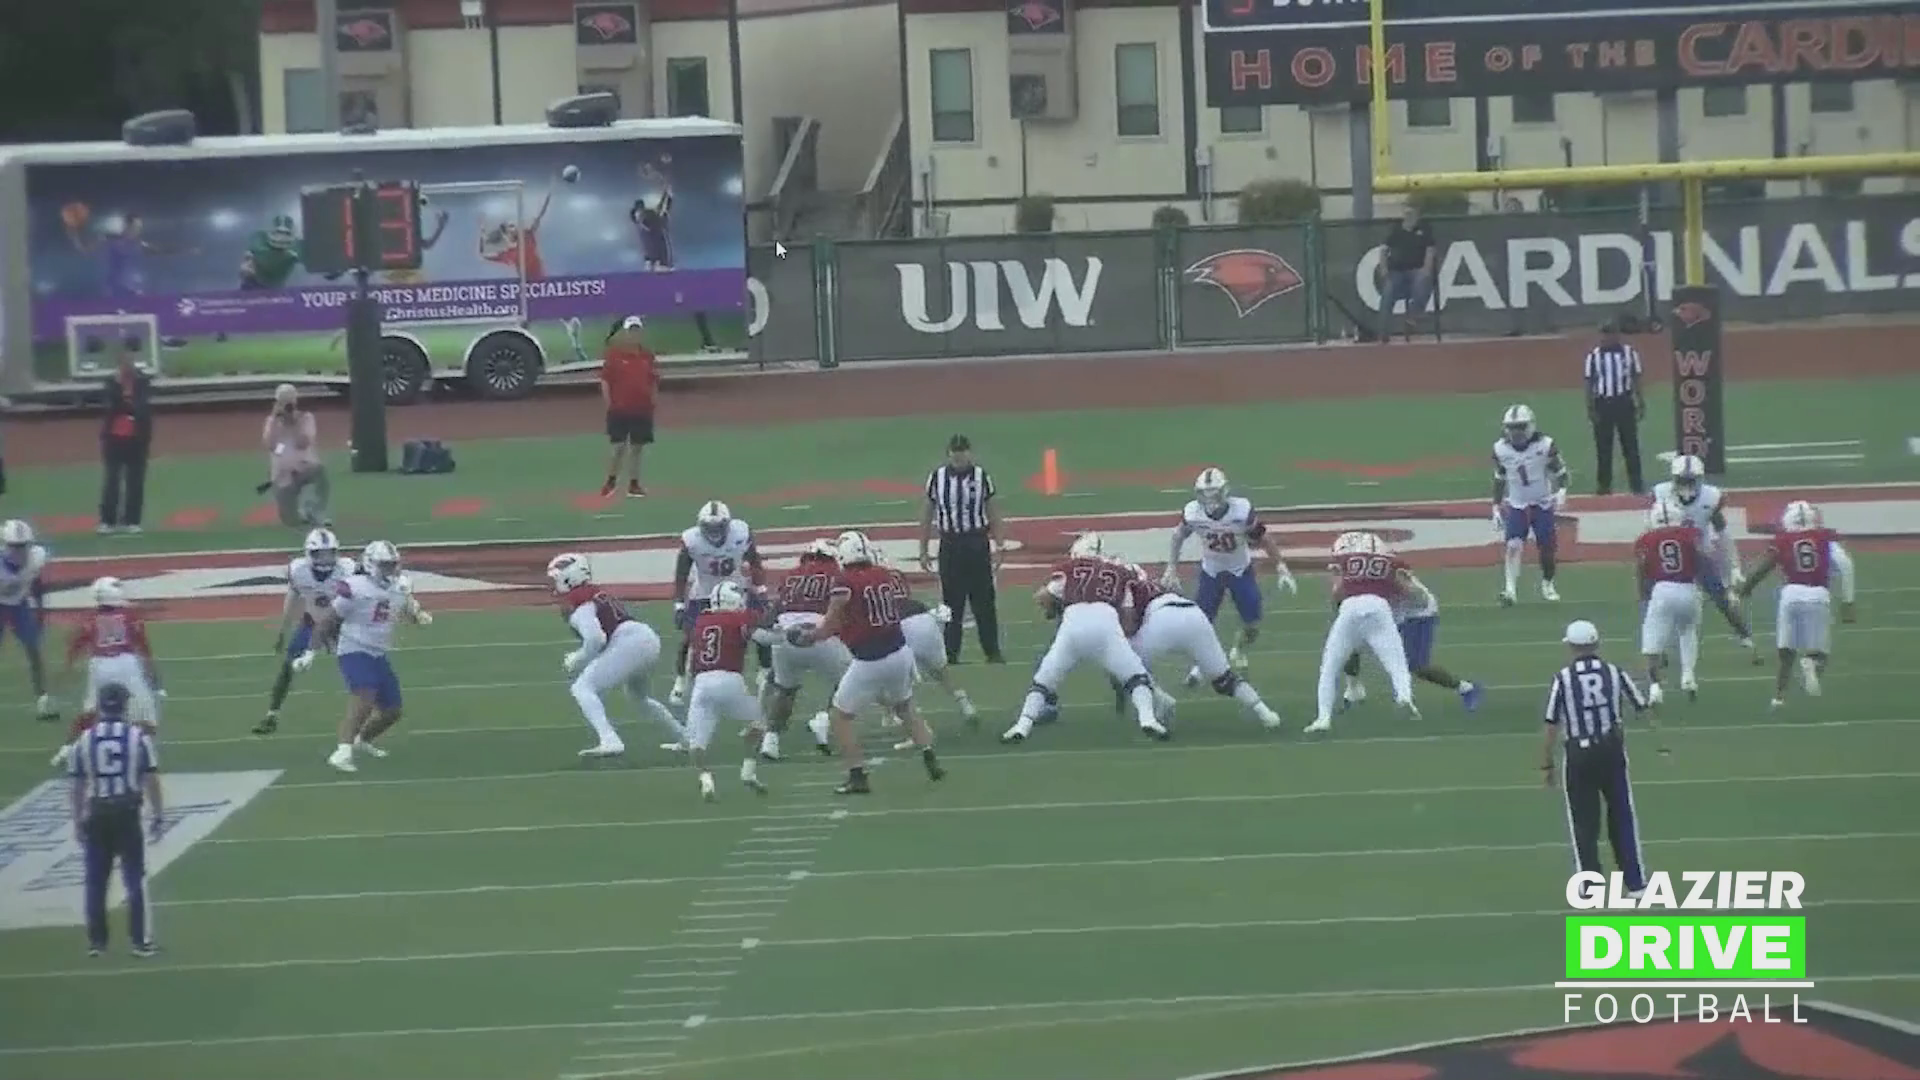
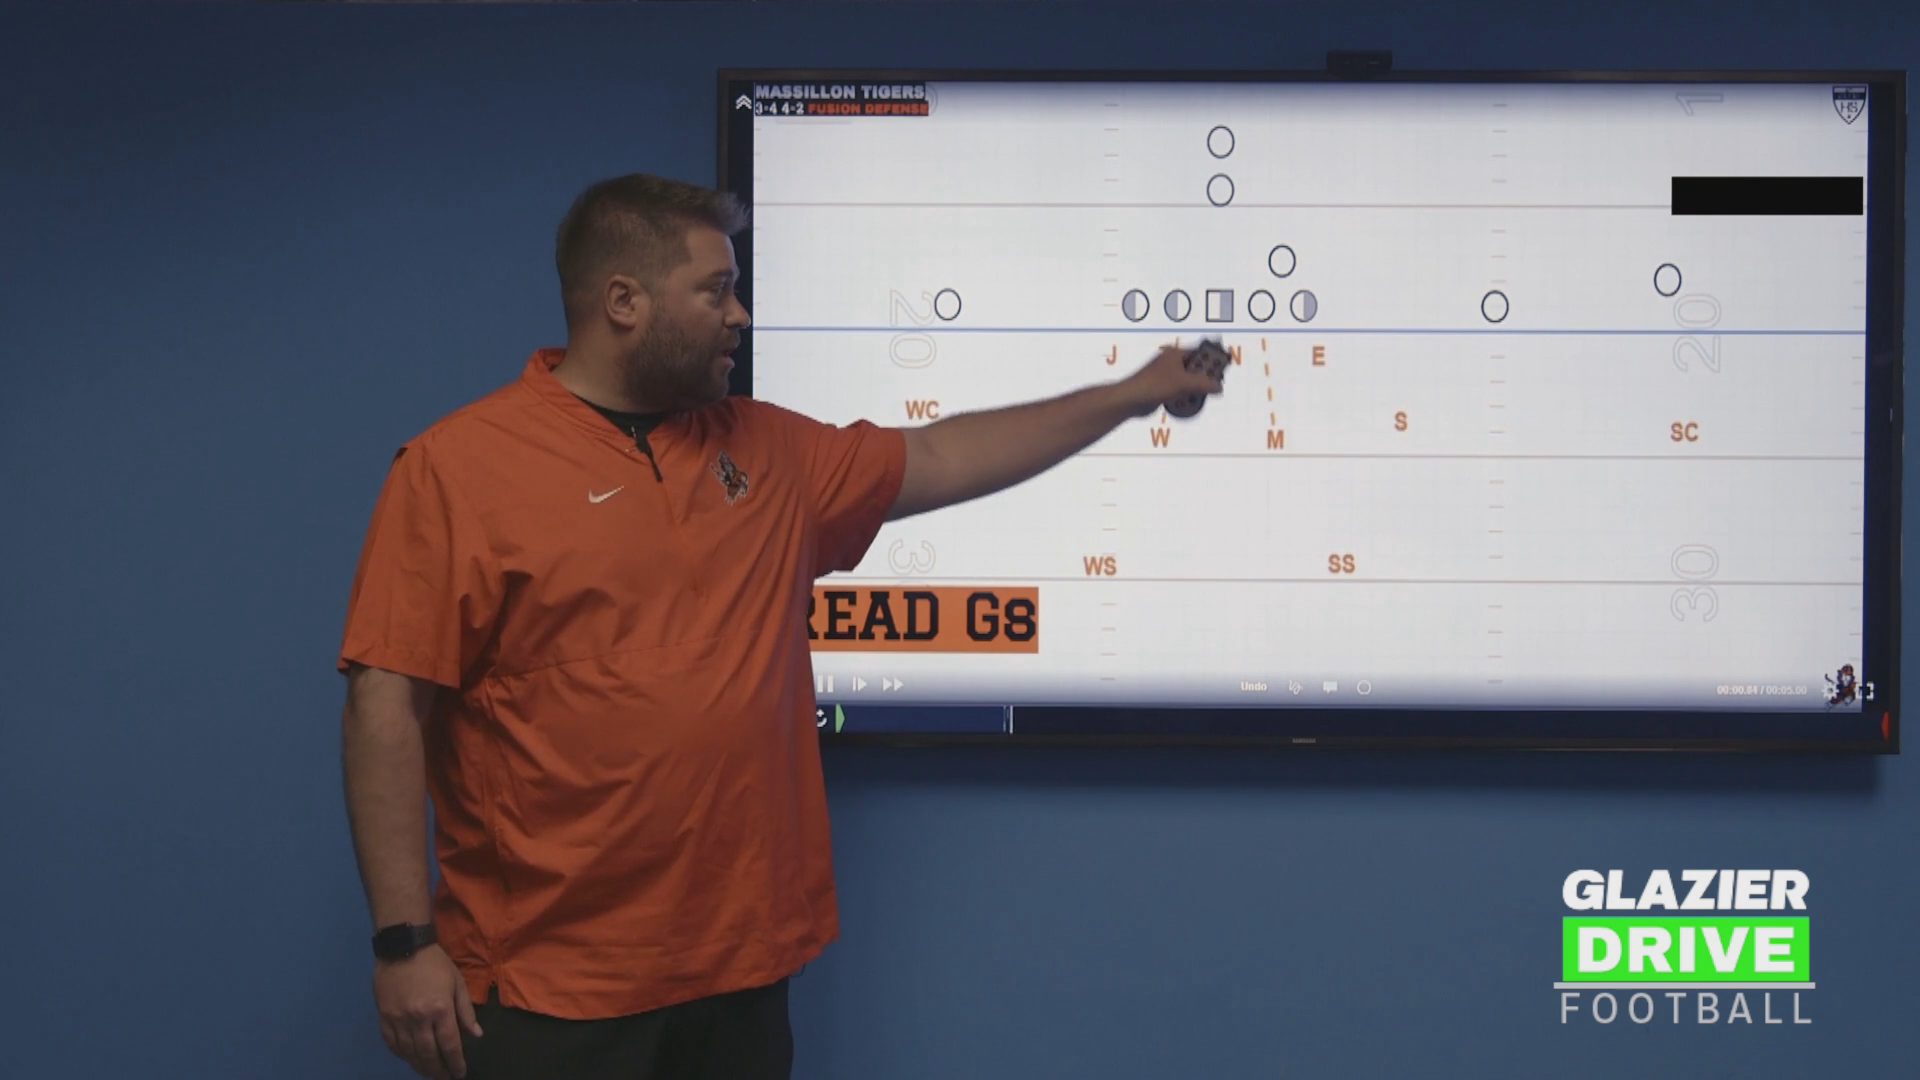
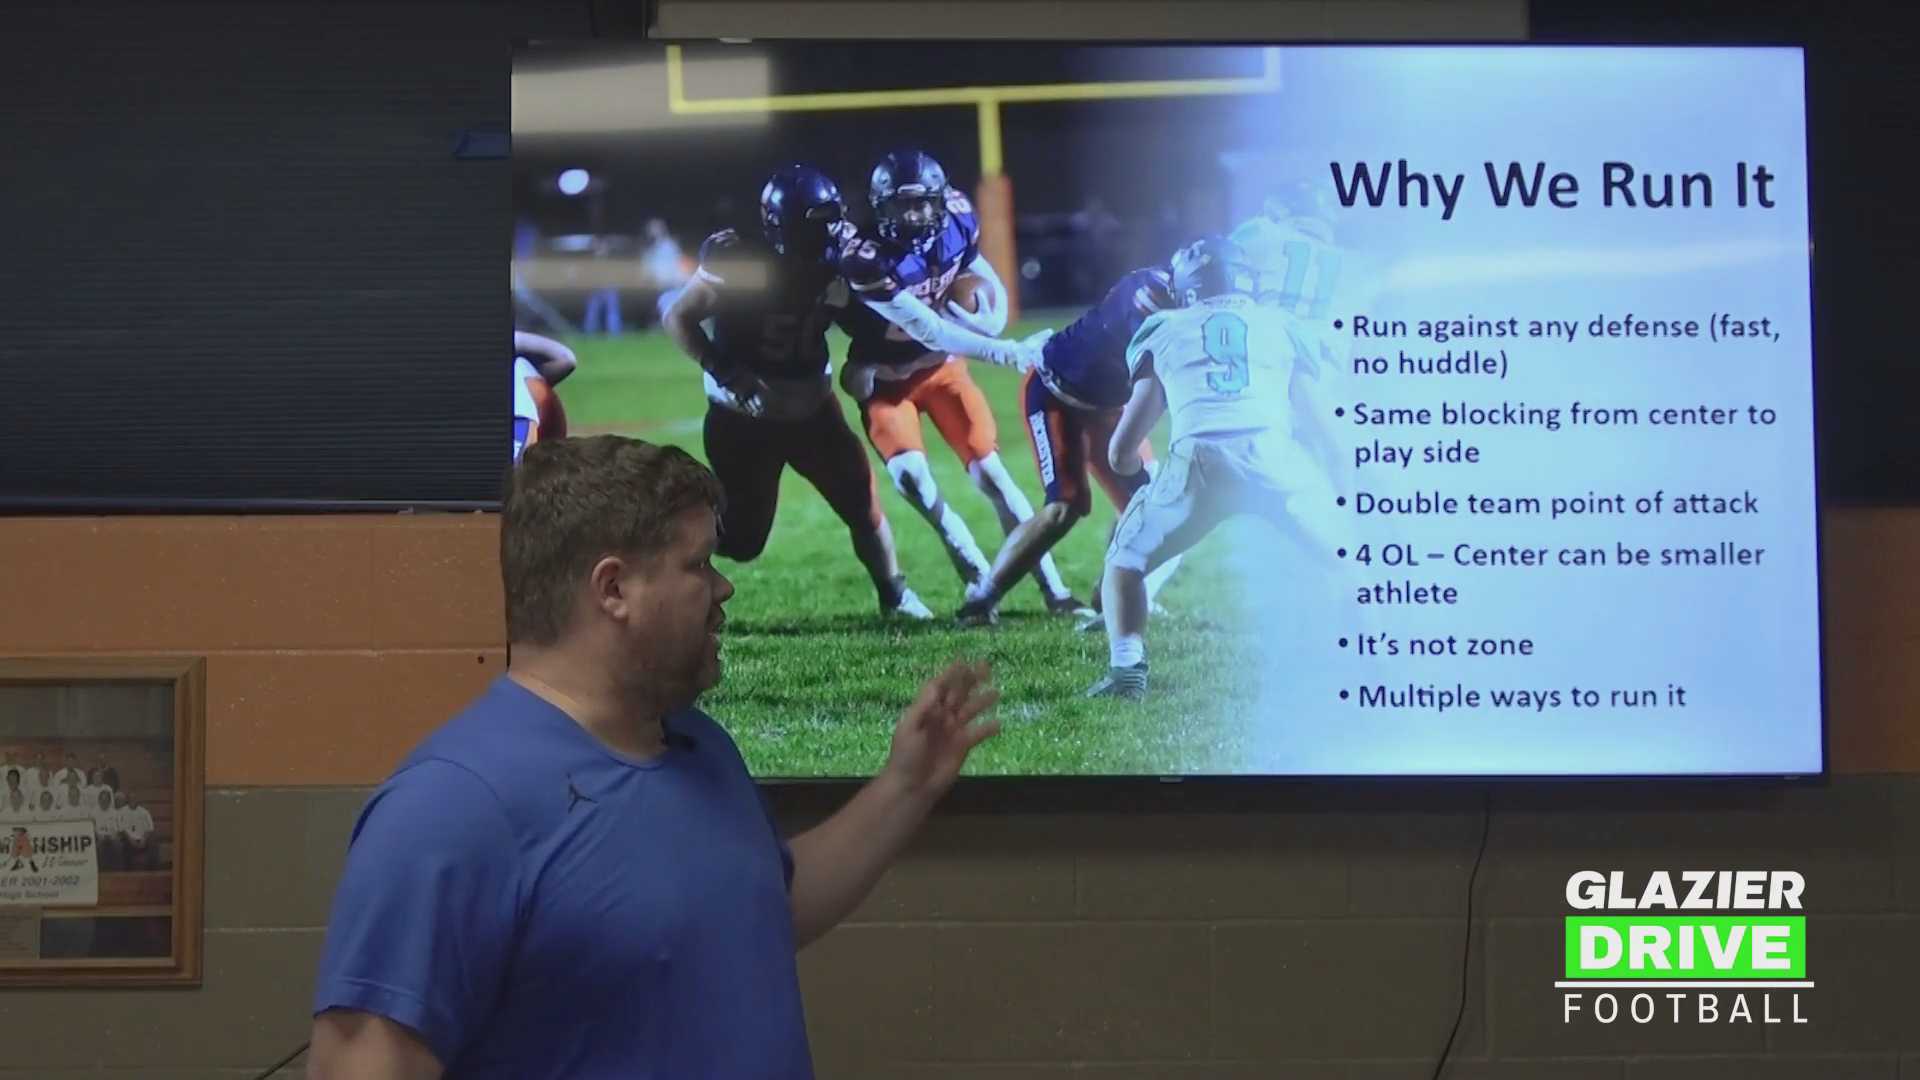
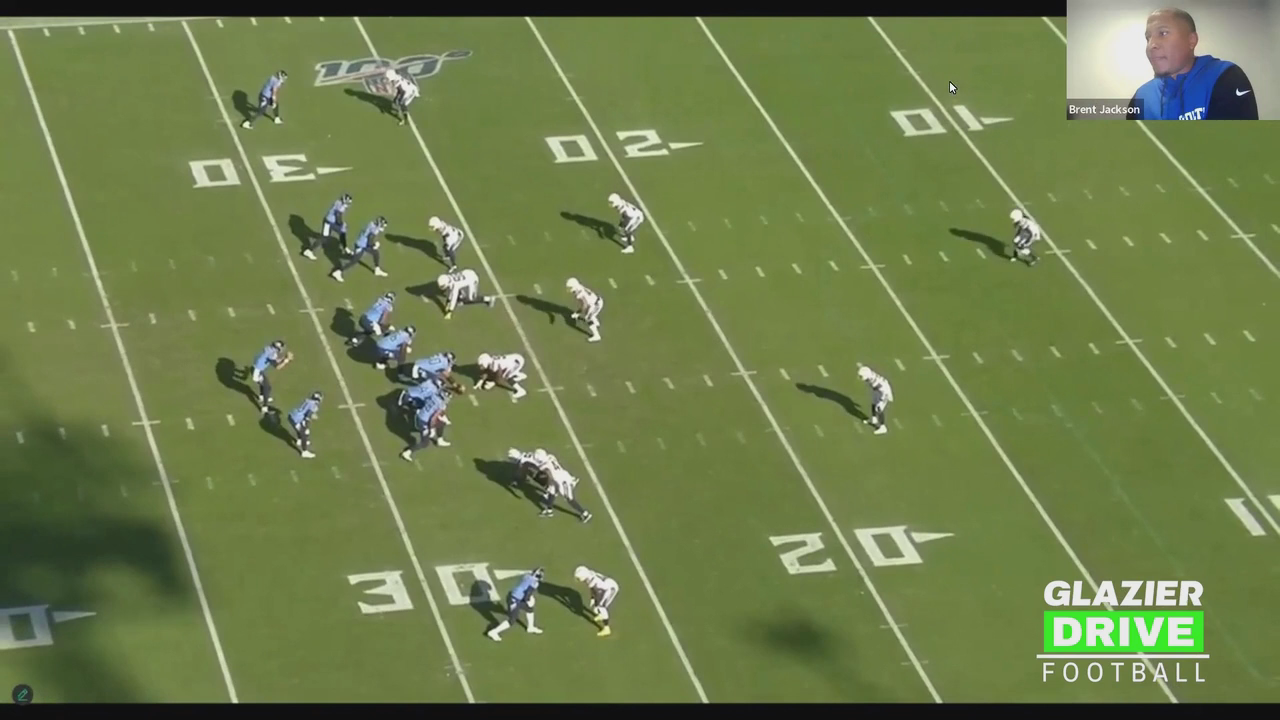
Win the Point of Attack: Wide Zone Tackle Technique Made Simple
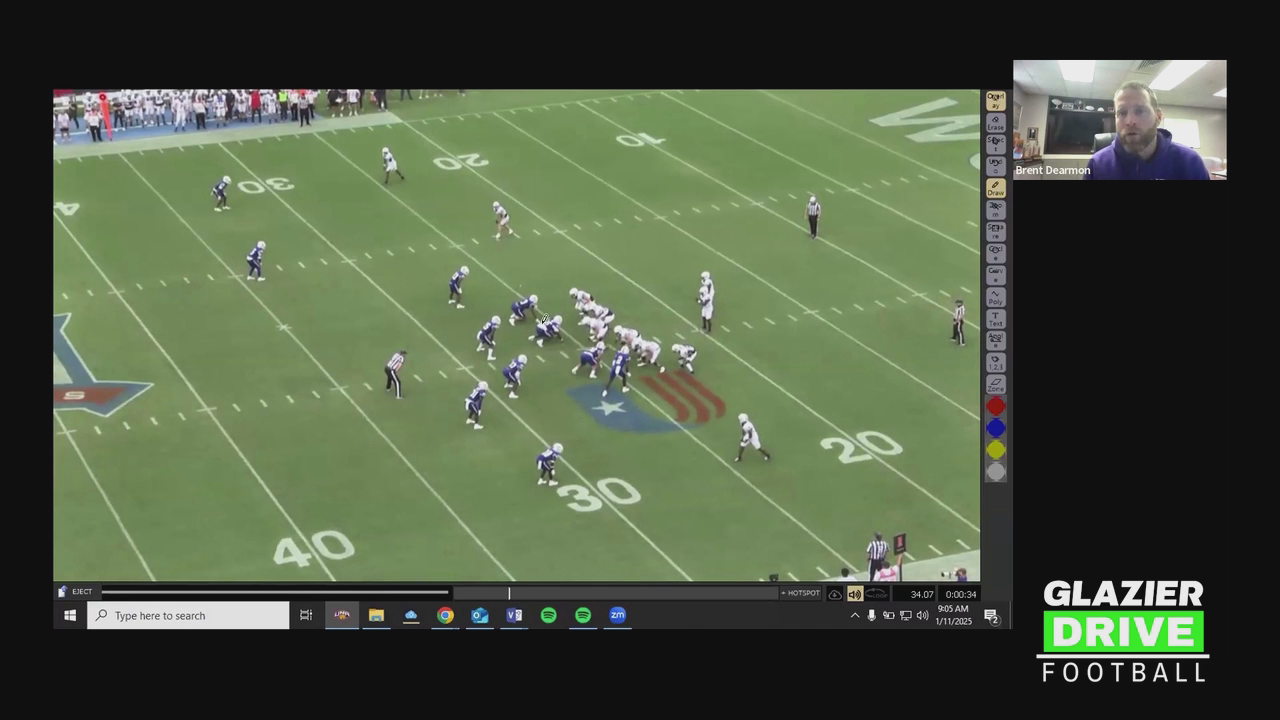
Joel Rodriguez, Run Game Coord/O-Line Coach, Akron
Full video on Glazier Drive: O-Line Wide/Mid Zone Technique, Drills, & Coaching Points
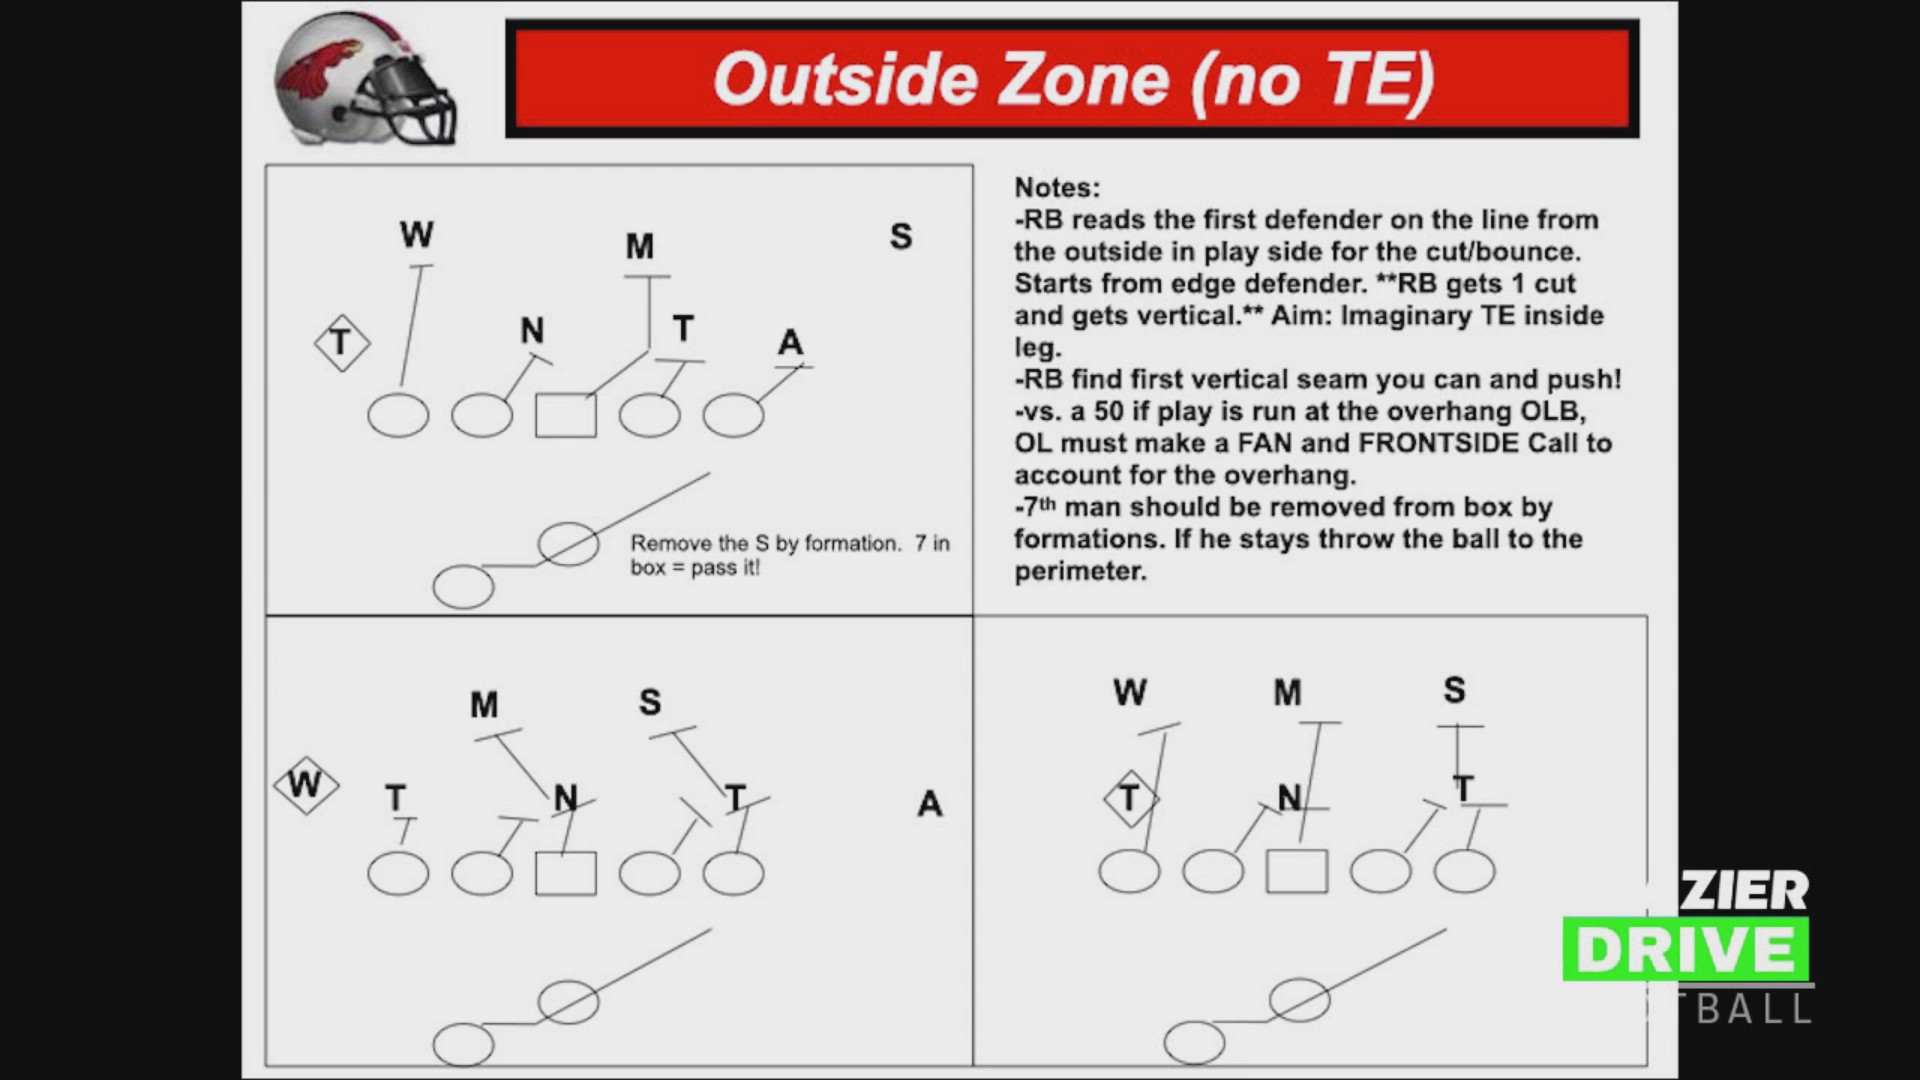
SUMMARY: PLAYSIDE TACKLE FOOTWORK ON WIDE ZONE
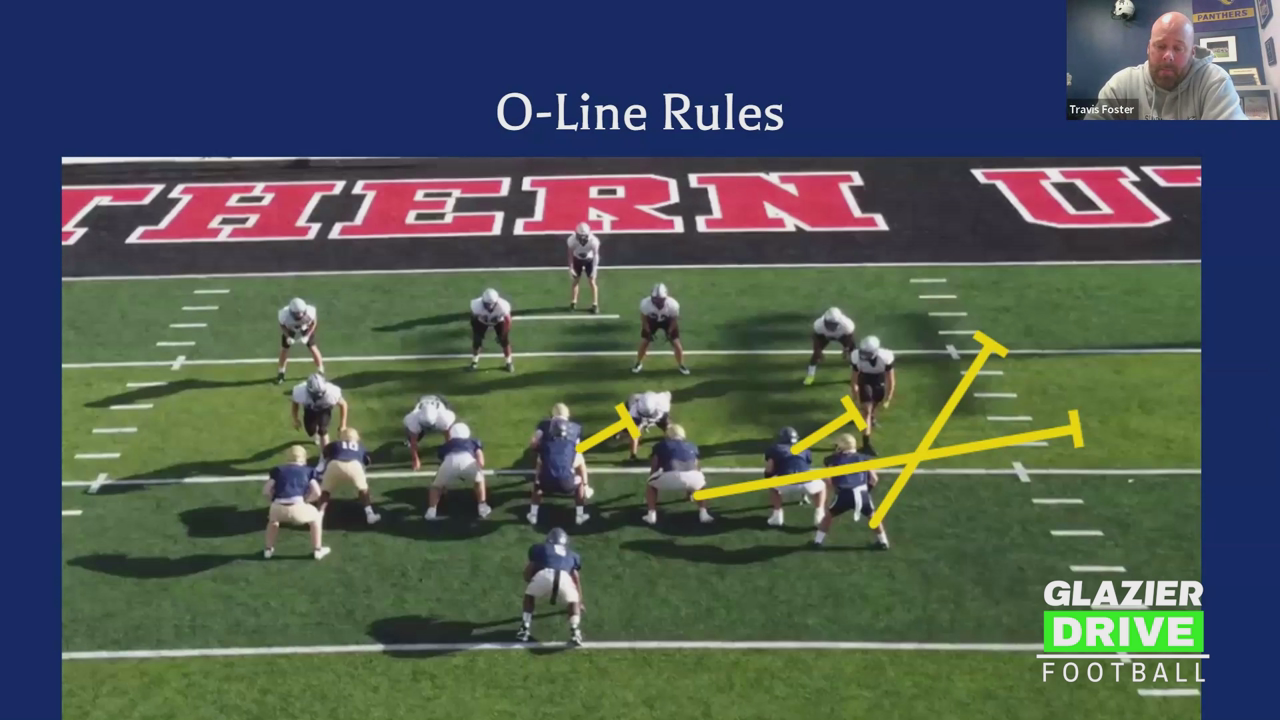
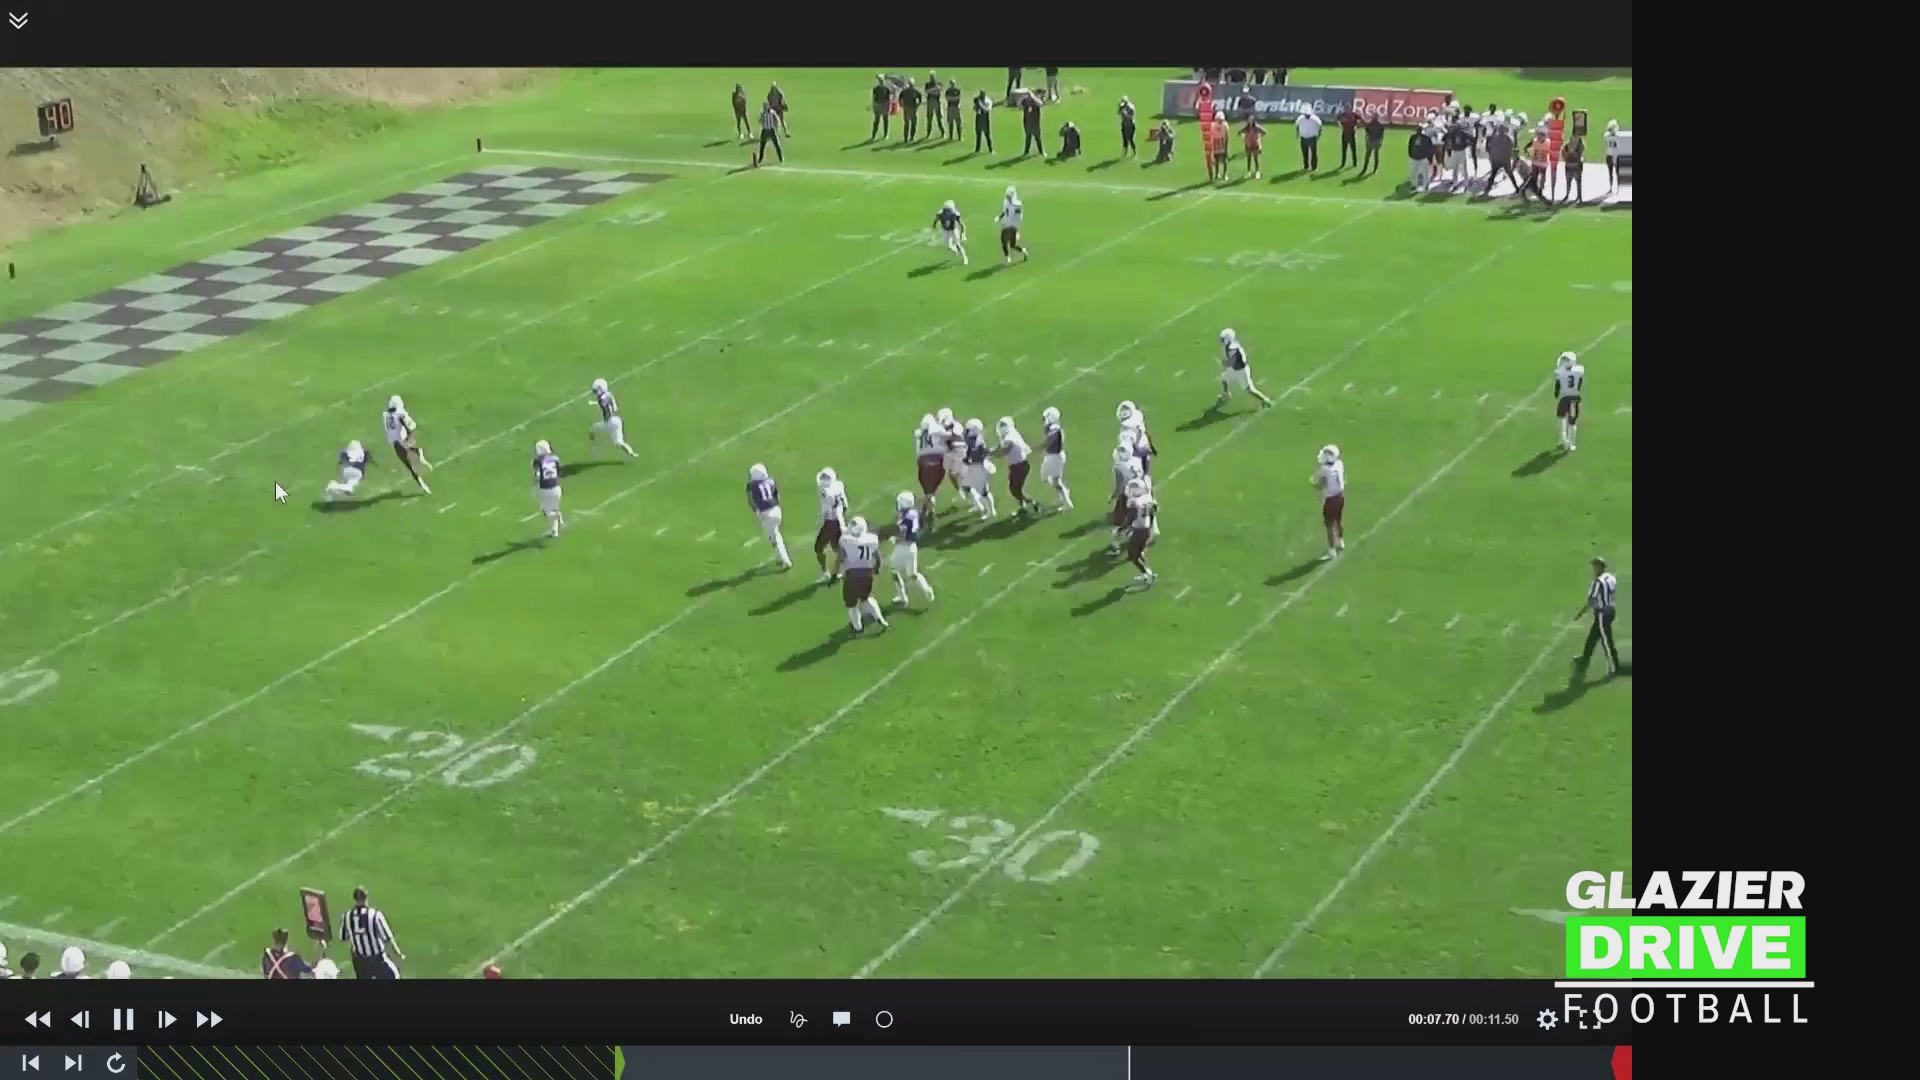
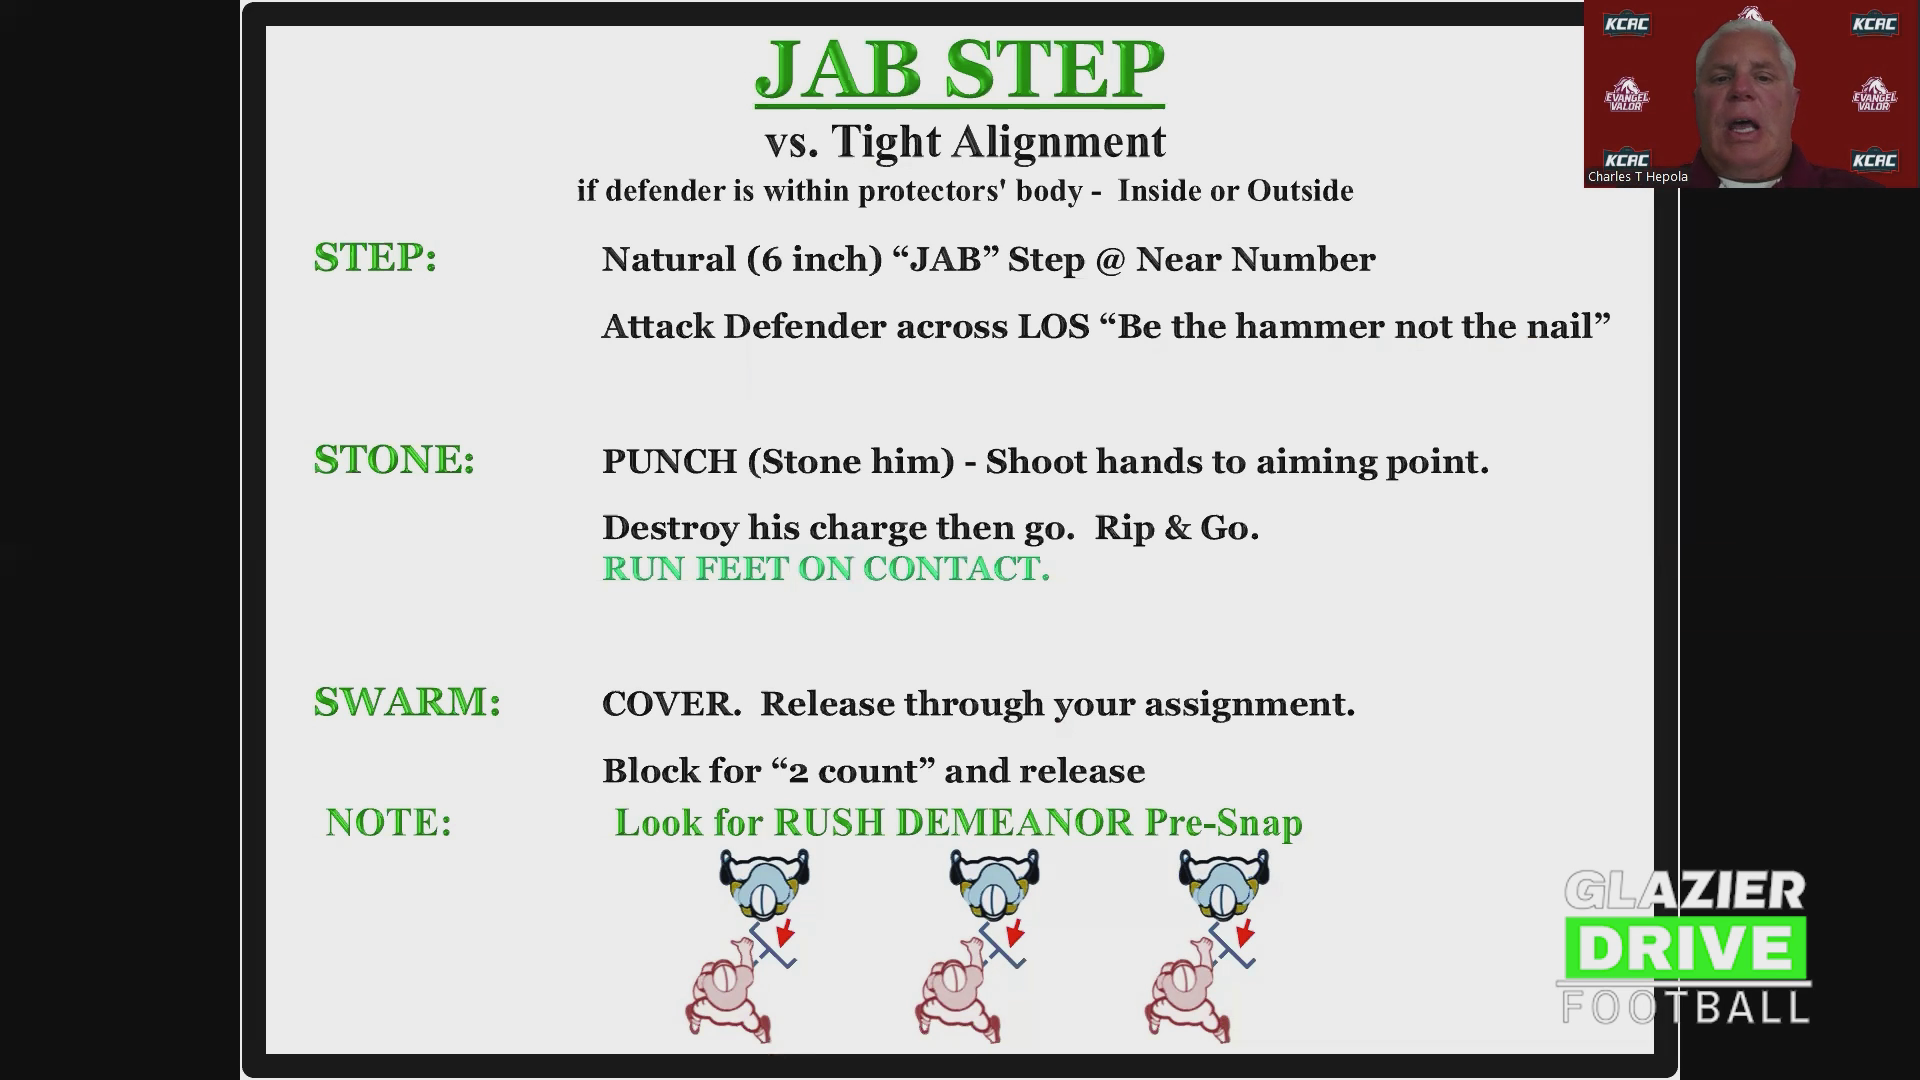
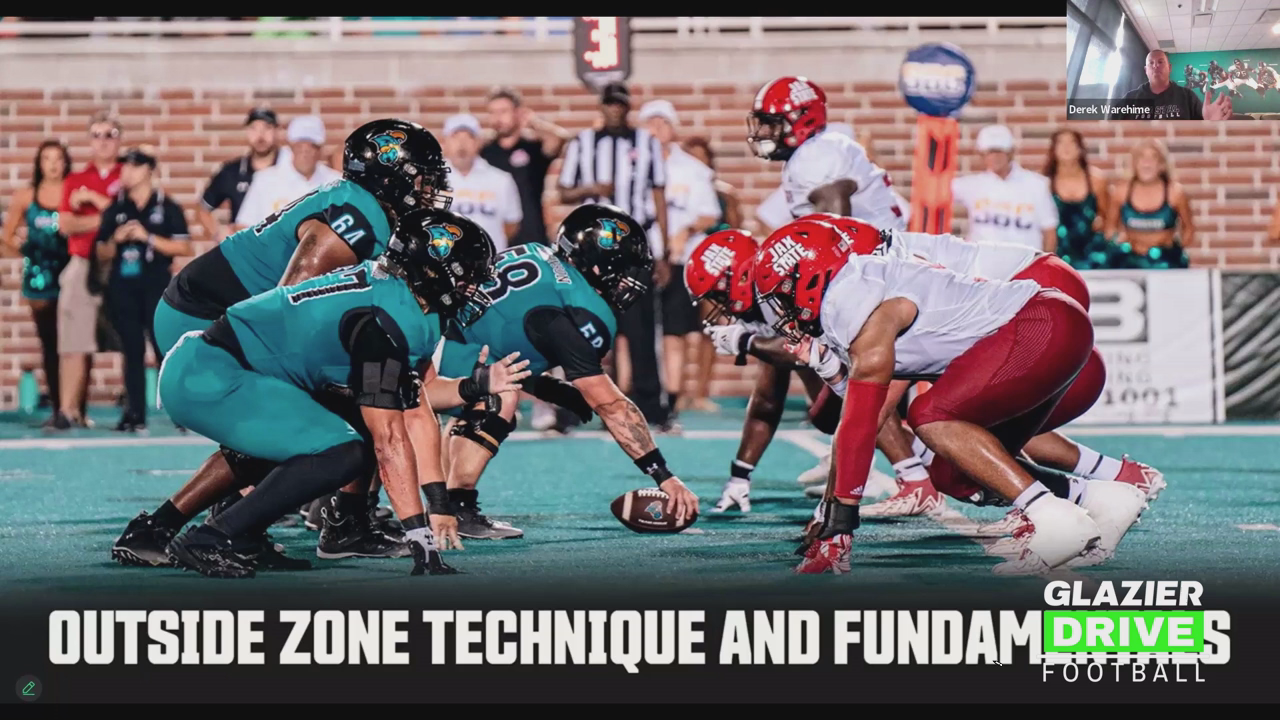
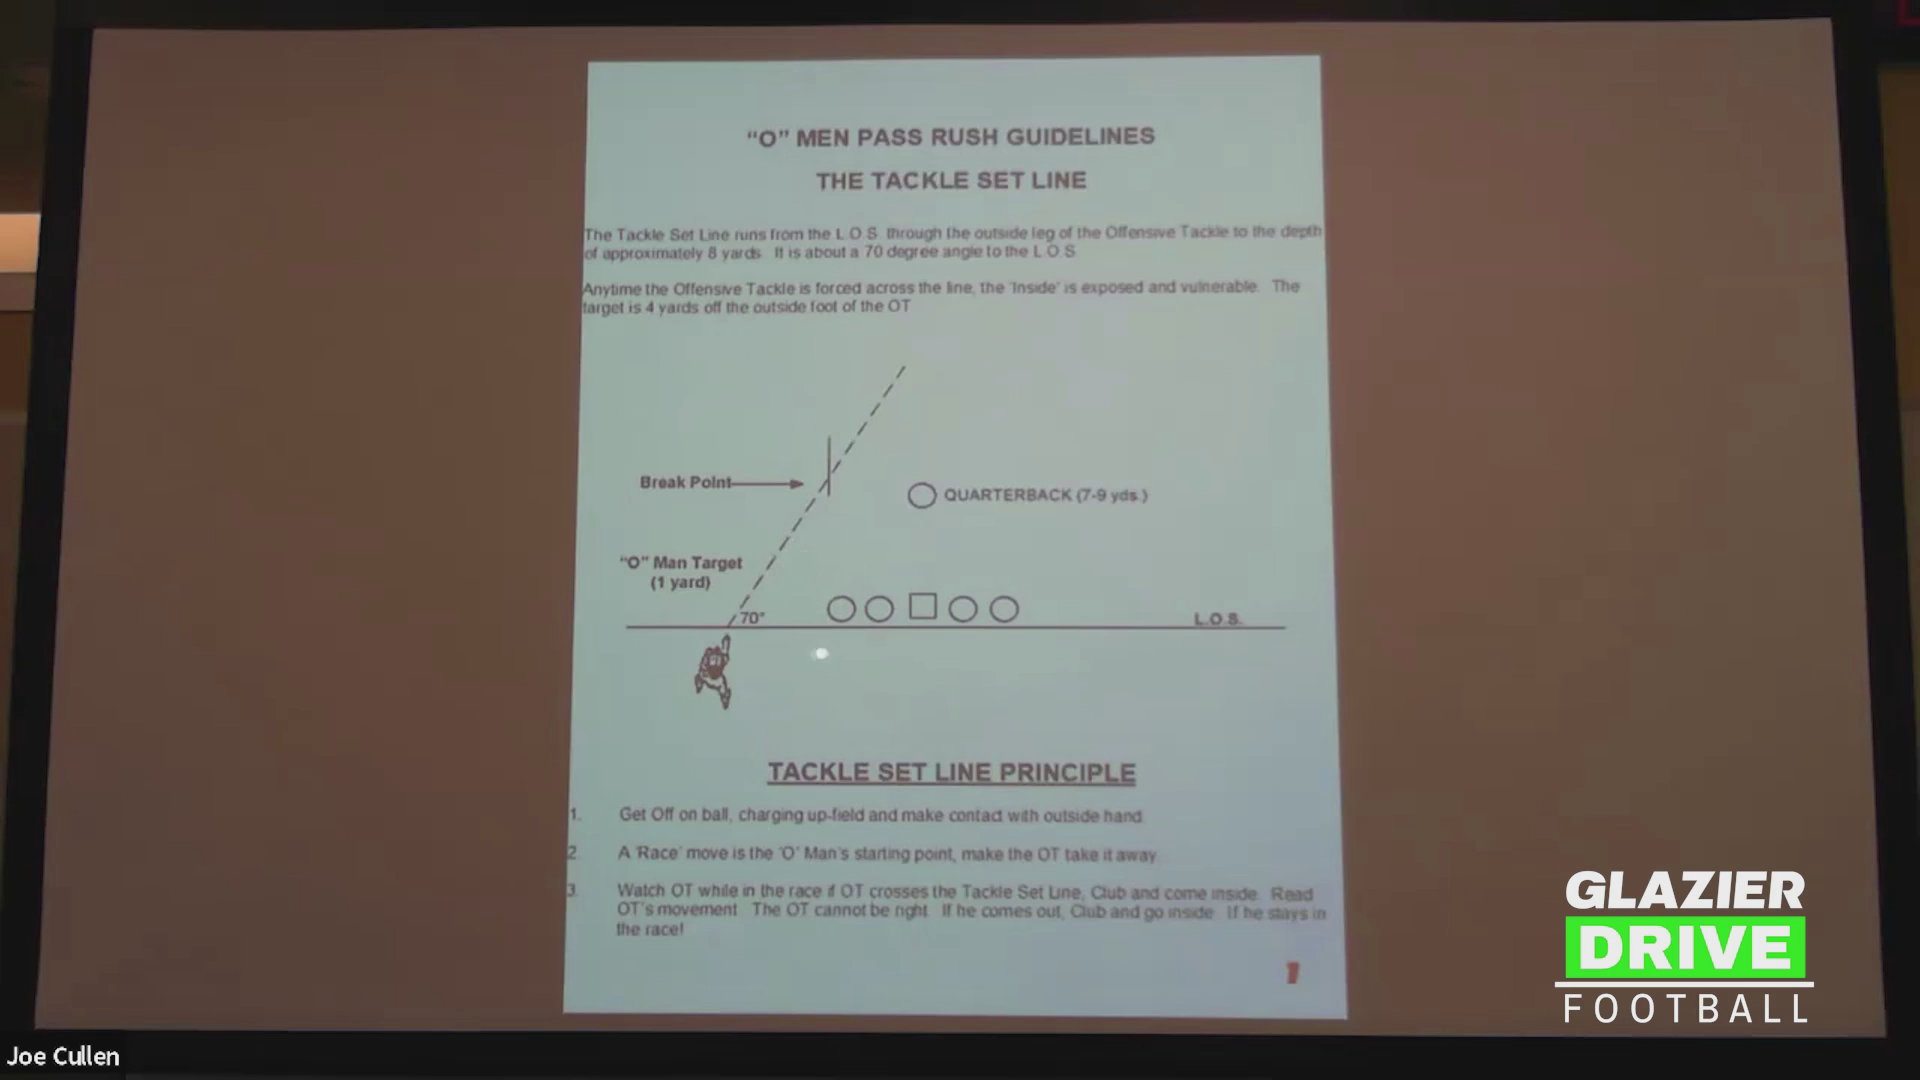
This coaching clip breaks down how the playside tackle handles the defender aligned on his outside shoulder (the "green" situation) in the wide zone scheme. The tackle is almost always involved in the block the tailback is reading, since the read spot sits right at his feet. The core teaching is to choose footwork based on how tight or wide the defender is, keep the aiming point constant, and never allow the defense to set the edge.
GREEN RULE AND THE READ SPOT
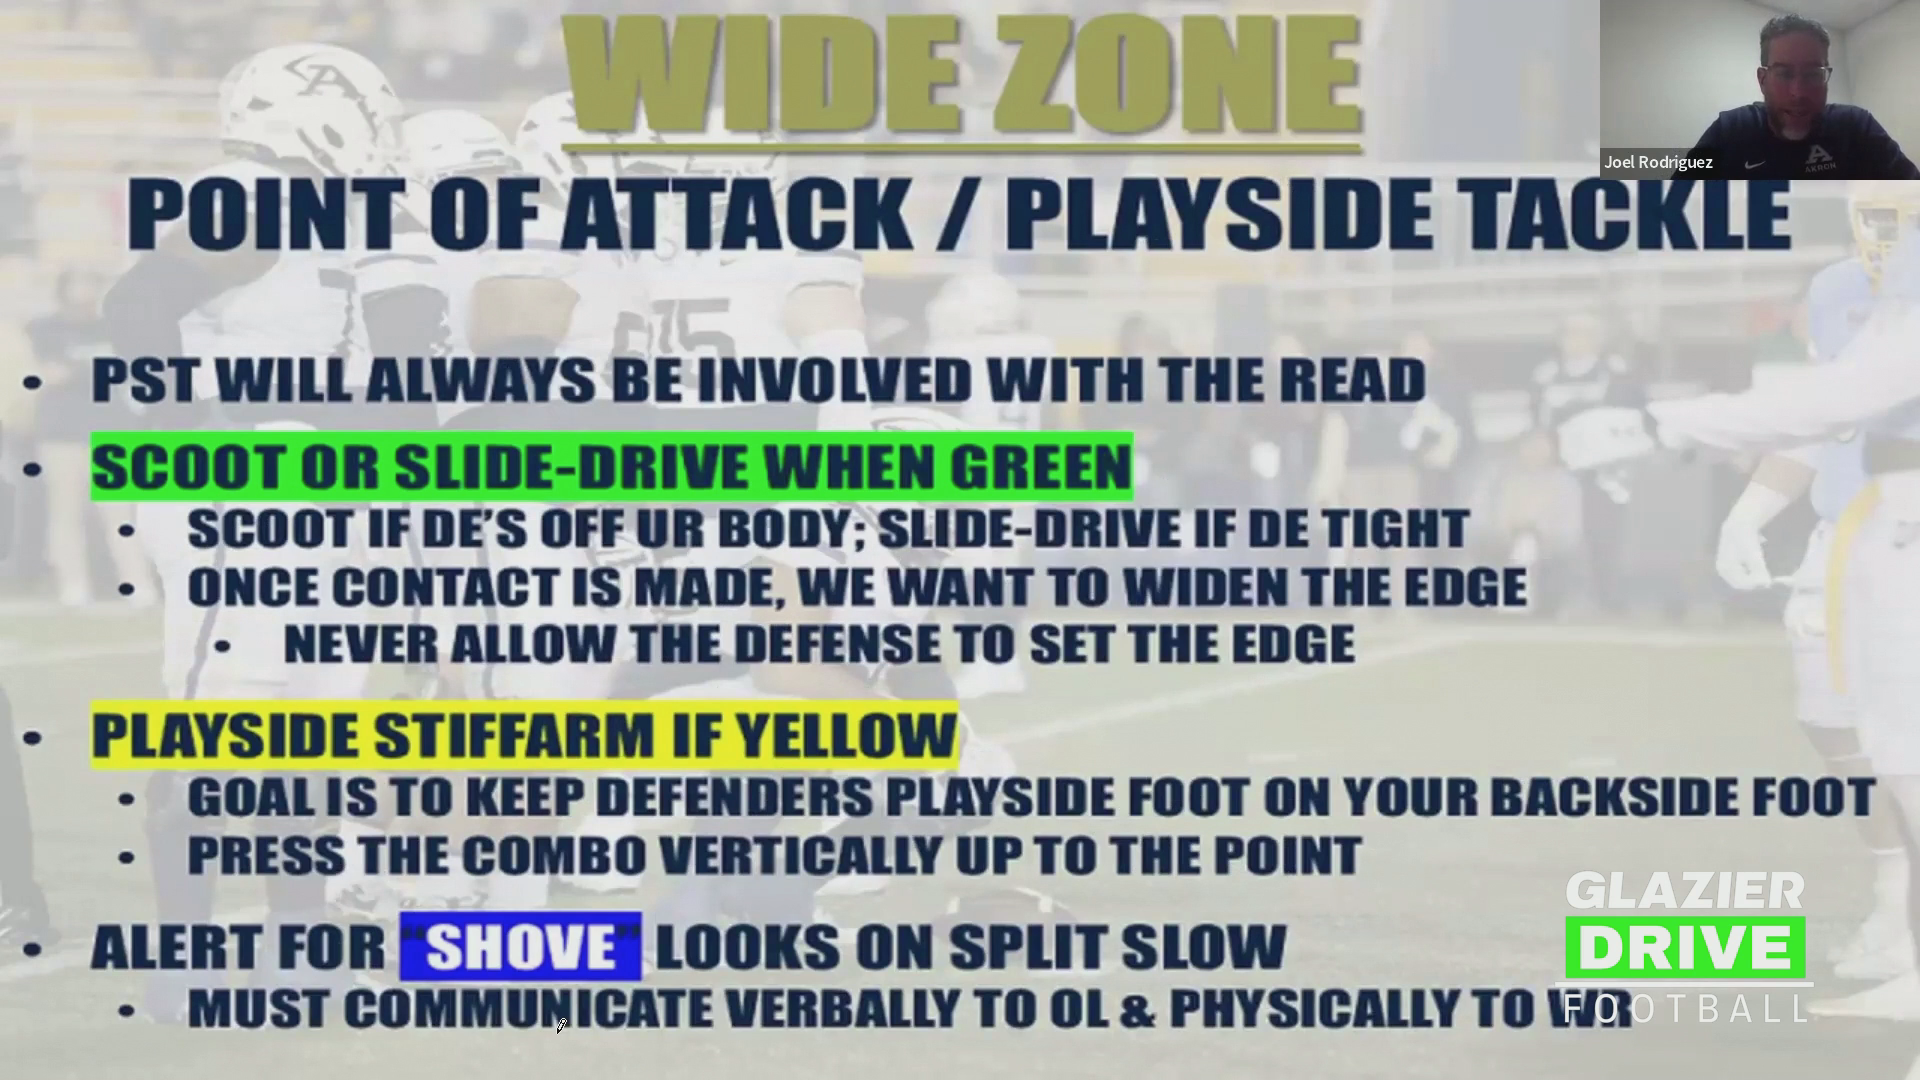
The playside tackle's outside foot is the read spot. "Green" means a defender is on his playside shoulder or in his playside gap. In that case the tackle uses either a slide drive or a scoot, depending on the defender's alignment and width.
SLIDE DRIVE FOOTWORK
- Use when the defender is tight, close enough that the tackle could nearly touch him from his stance, or when the tackle expects the defender to work behind him.
- First step is a two to three inch lateral step with the playside foot.
- Second step is a downhill attack step with the backside foot, getting hips, nose, and toes square.
SCOOT FOOTWORK
- Use when the defender is aligned wider off the tackle's body.
- A two-step lateral shuffle leads into a slide drive, with a vertical fourth step into contact.
AIMING POINT
In both techniques the aiming point is the screws of the defender's facemask. A tight defender means the tackle barely has to move to find the screws. A wider defender means the tackle's footwork has to widen to reach them. The non-negotiable goal is that the defense never sets the edge on the tackle.
FINISHING THE BLOCK
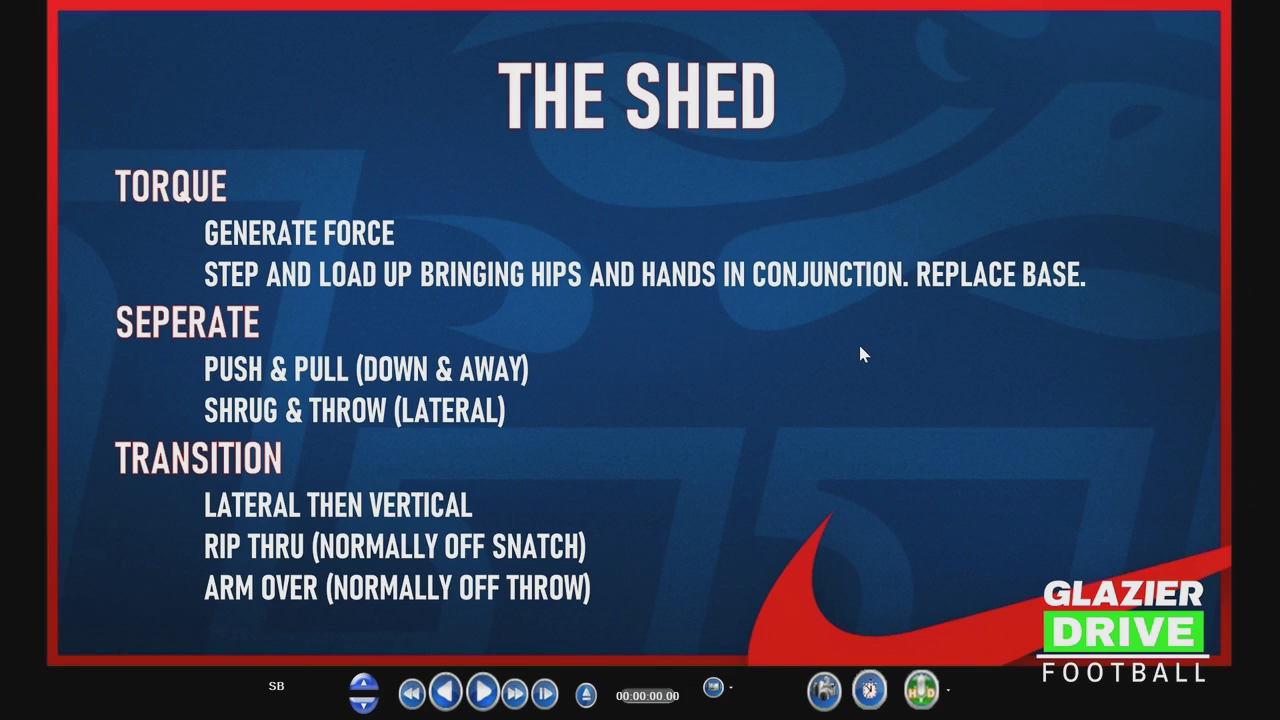
After contact, the same fundamentals from inside zone apply: race the feet, surge the hips, and step on the toes. The difference is that the track is slightly wider. The objective is to walk the defender off the read spot.
FILM EXAMPLES
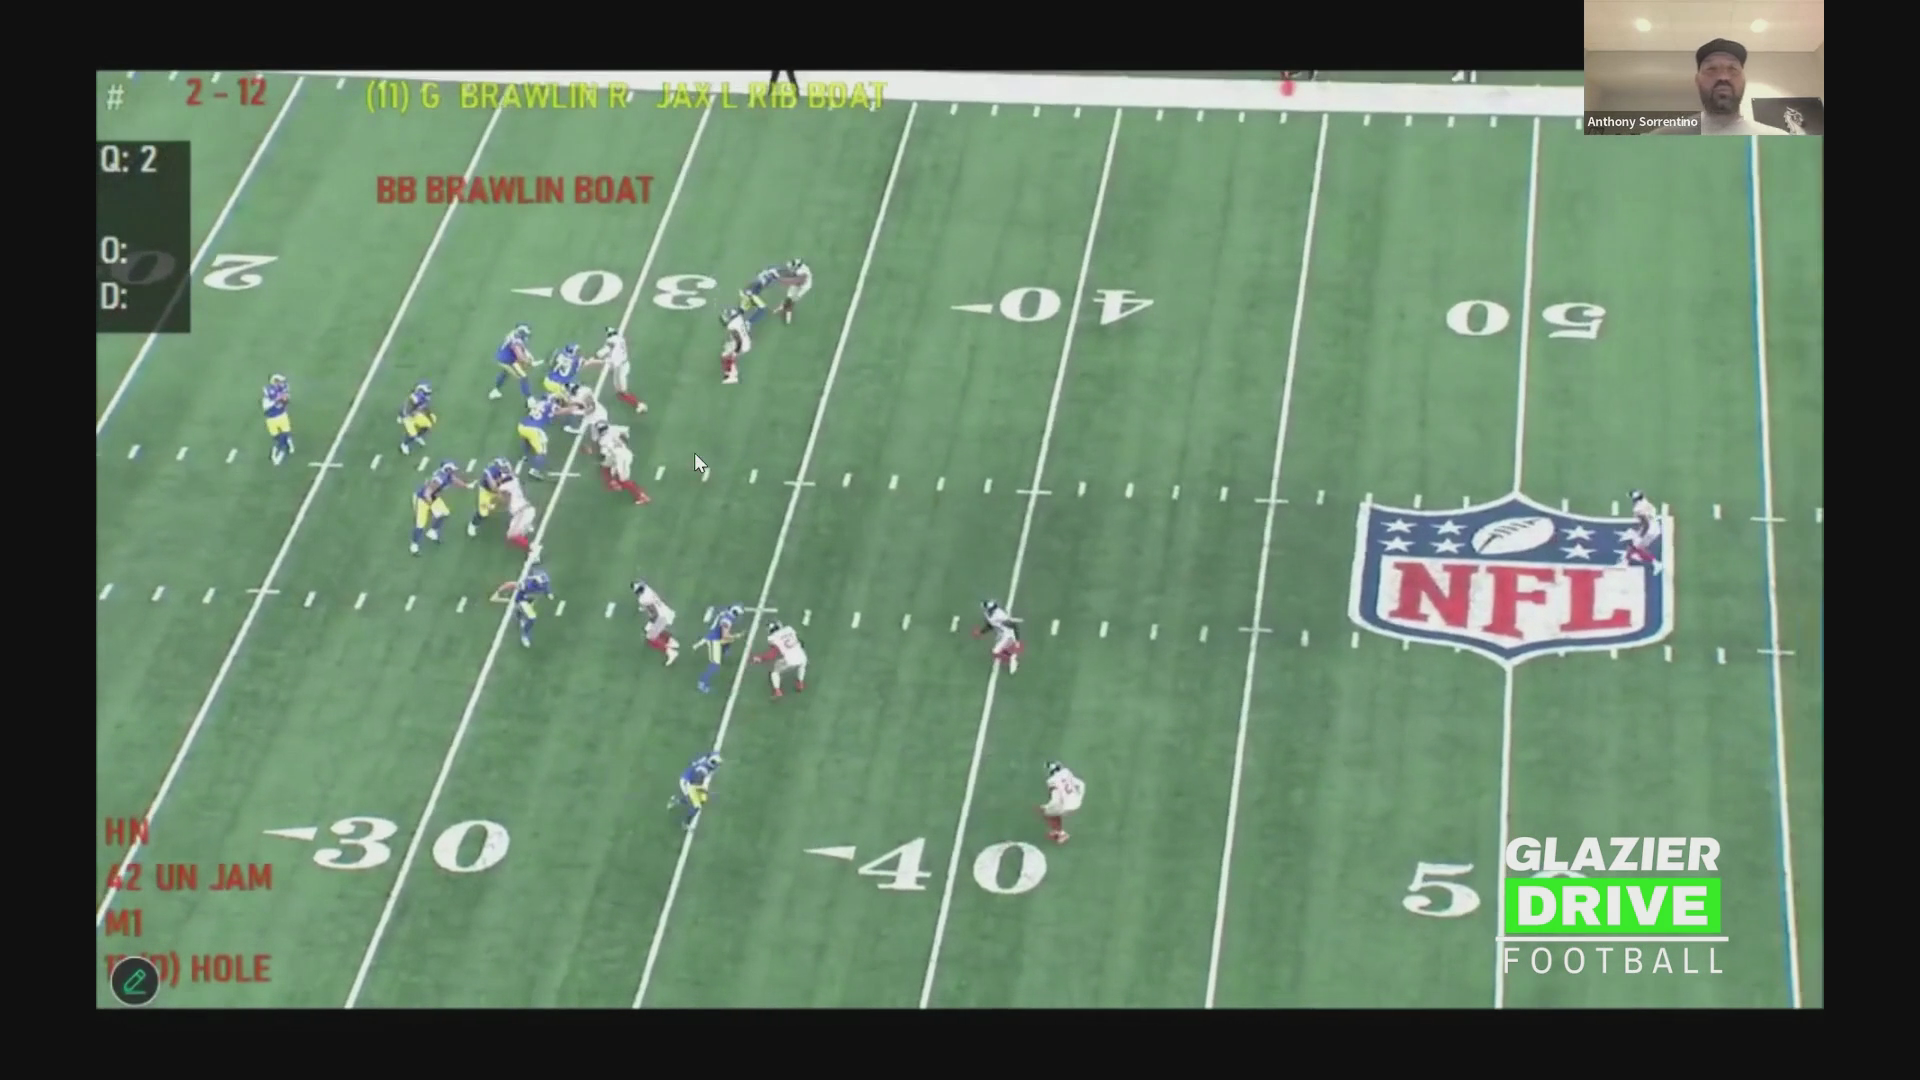
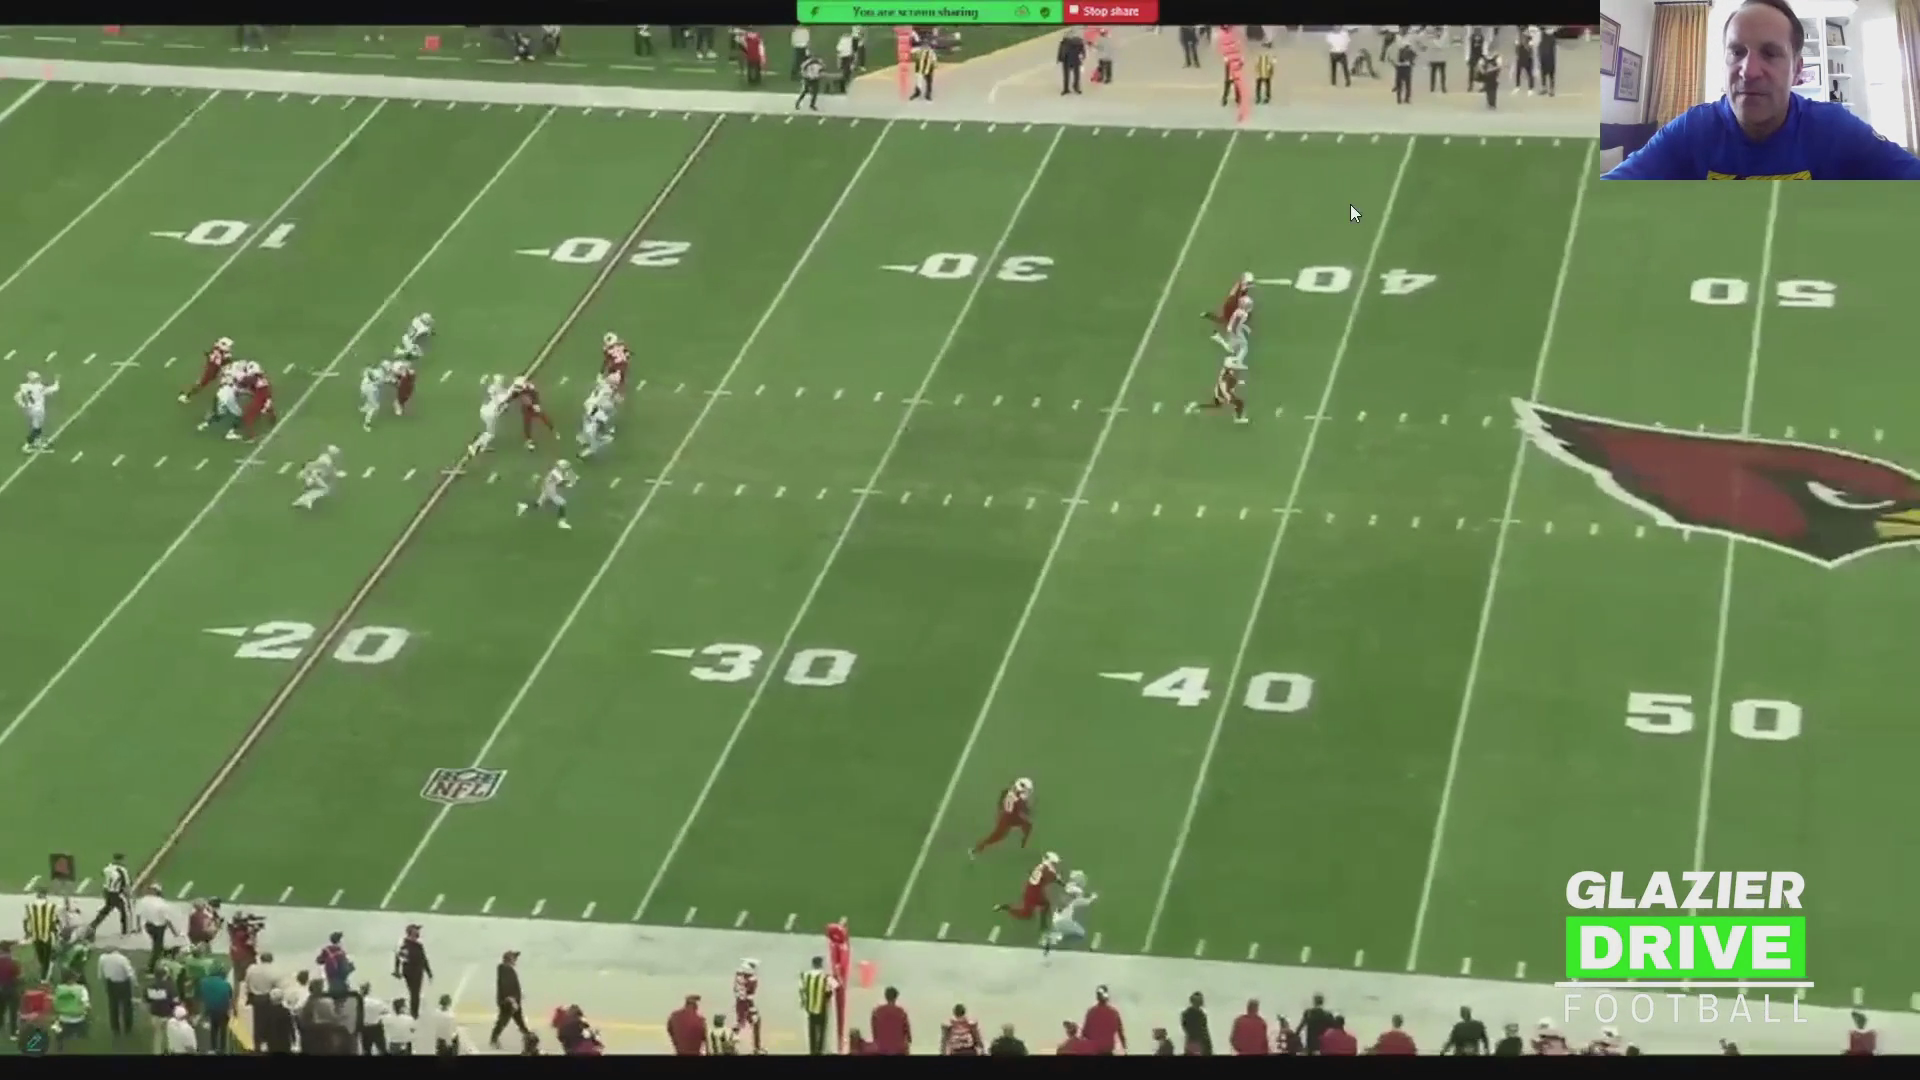
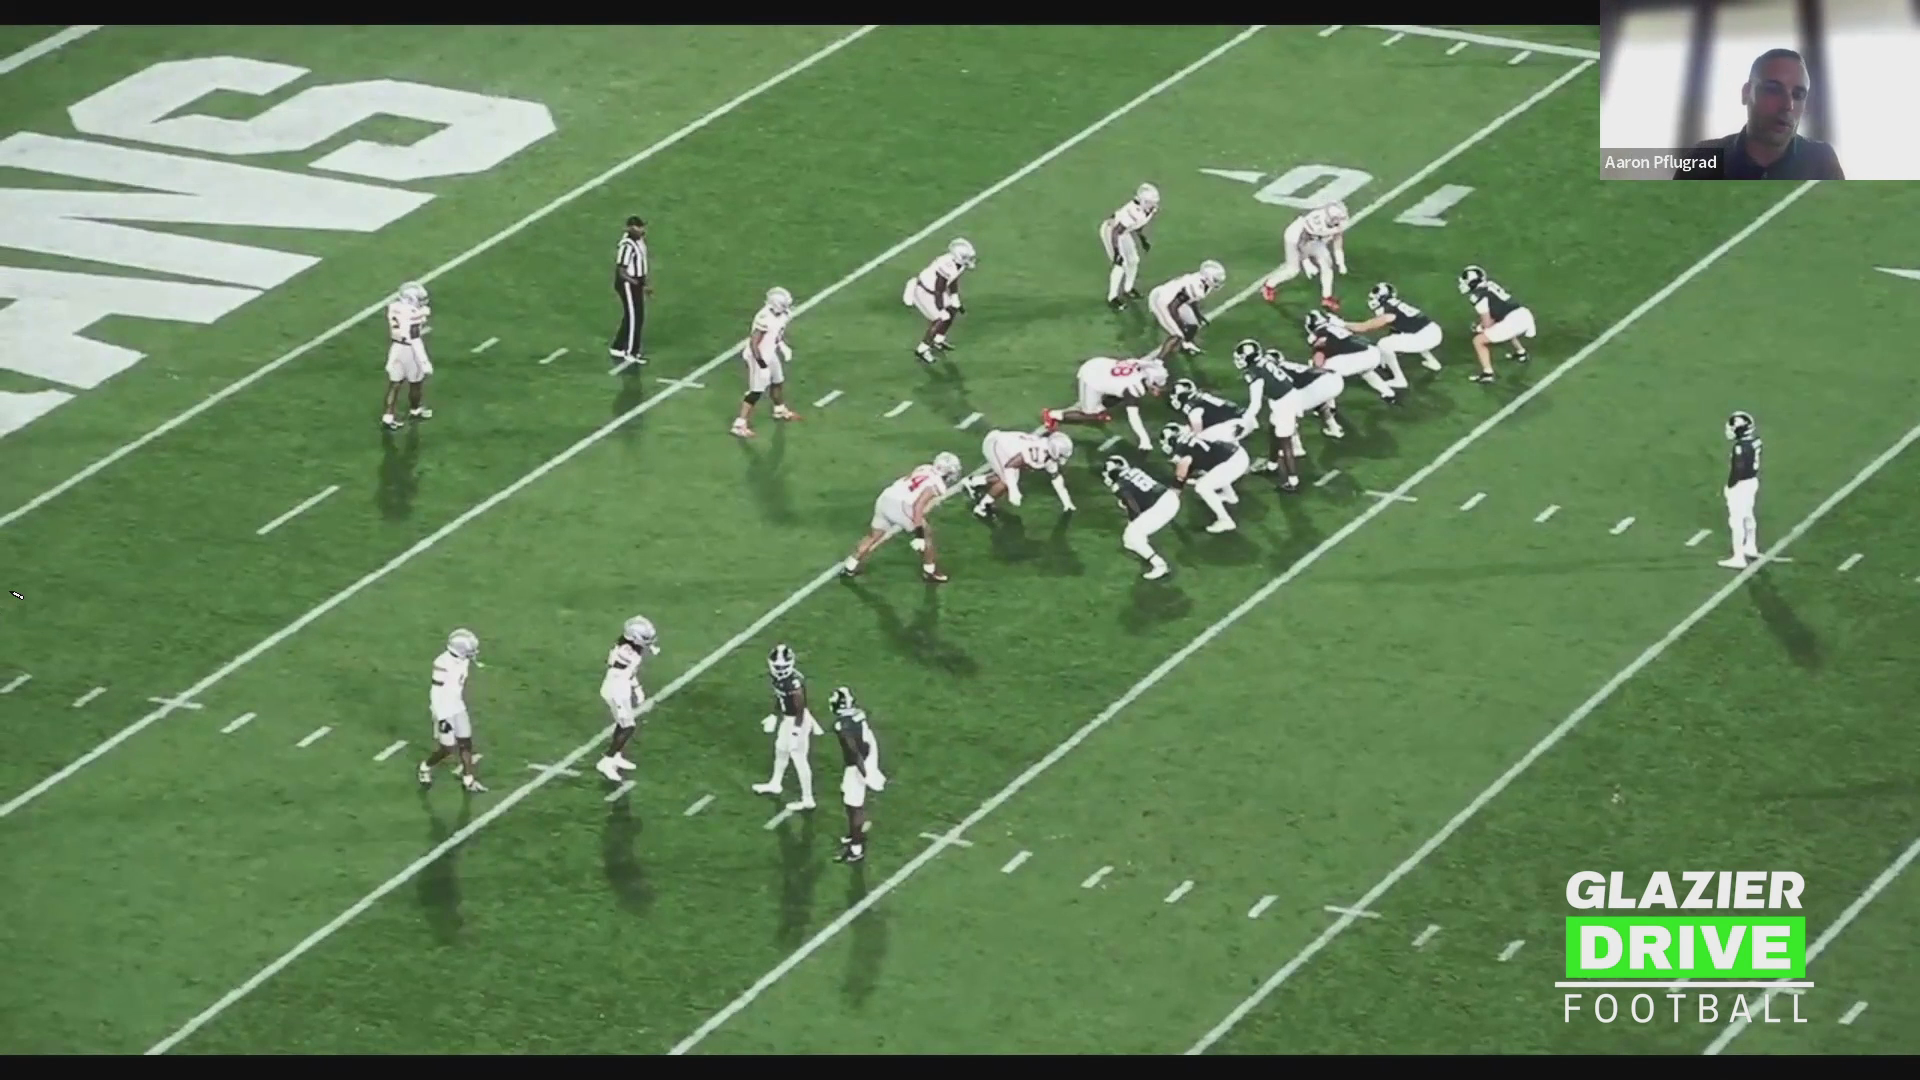
- Lions (NFL), wide zone right: The right tackle slide drives on a tight end. When the defender runs away, the tackle still blocks him on track and keeps him from reaching the edge.
- UAB game film, wide zone left: The left tackle sees a very tight end, takes a small slide drive step, gets on the screws, surges his hips, and walks the defender off the read spot.
- Right tackle, tight end who hooks himself: The tackle slide drives, stays square, and delivers the defender inside to the guard. He avoids overstepping or crossing over, which prevents opening a big B-gap for the guard to get picked off. He then climbs to the linebacker and widens him off the read spot.
- Right tackle vs. a twist game: The tackle slide drives and delivers the defender so the guard can take over and the tackle can come off to the linebacker. The tackle stays on the end and the guard makes it work. The speaker notes no alert call was made for the twist, and this is simply how they teach it.
- Left tackle, tight end: Slide drive on the screws and walk him off the read spot.
KEY COACHING TAKEAWAYS
- Match footwork to defender width: slide drive when tight, scoot when wide.
- Keep small, controlled steps and stay square. Do not overstep or cross over.
- Aim for the screws of the facemask every time.
- Win the block by moving the defender off the read spot and never letting him set the edge.
- Deliver the defender cleanly to the guard when the situation calls for it, then climb to the second level.
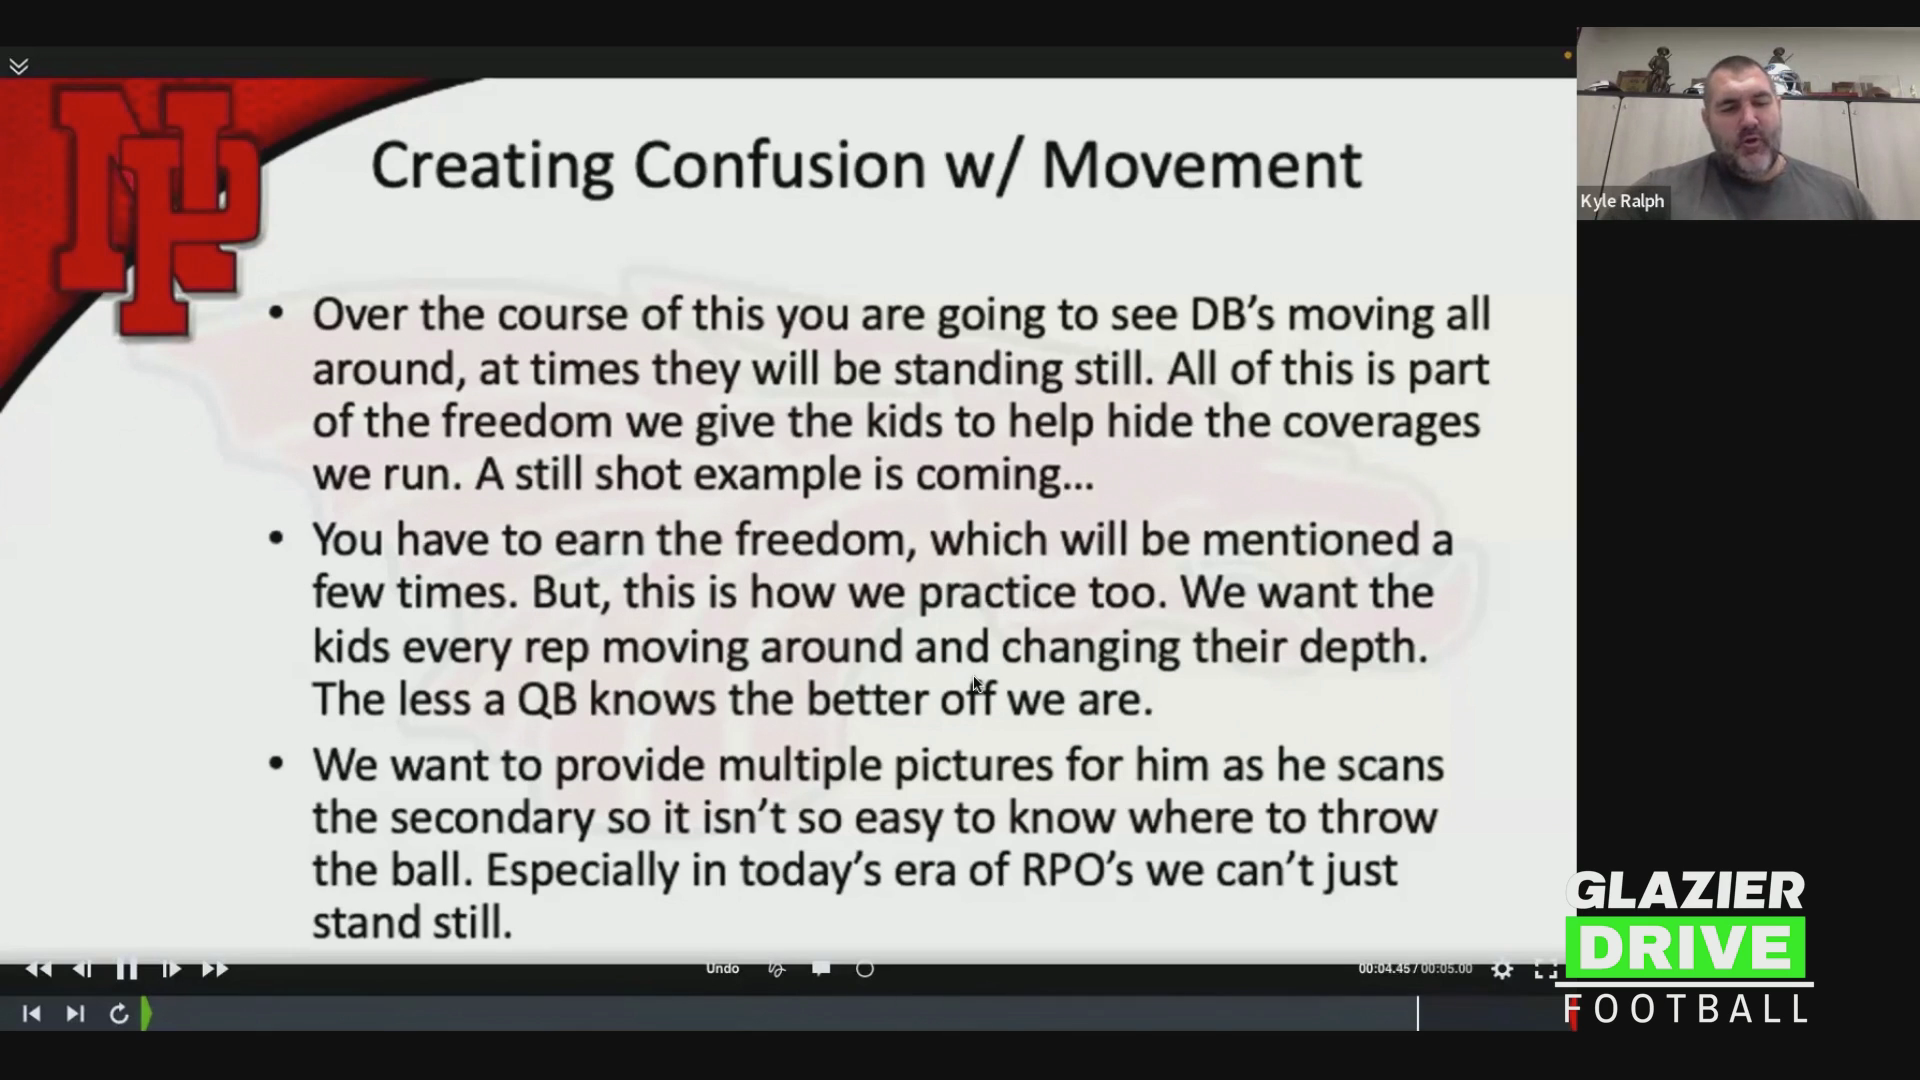
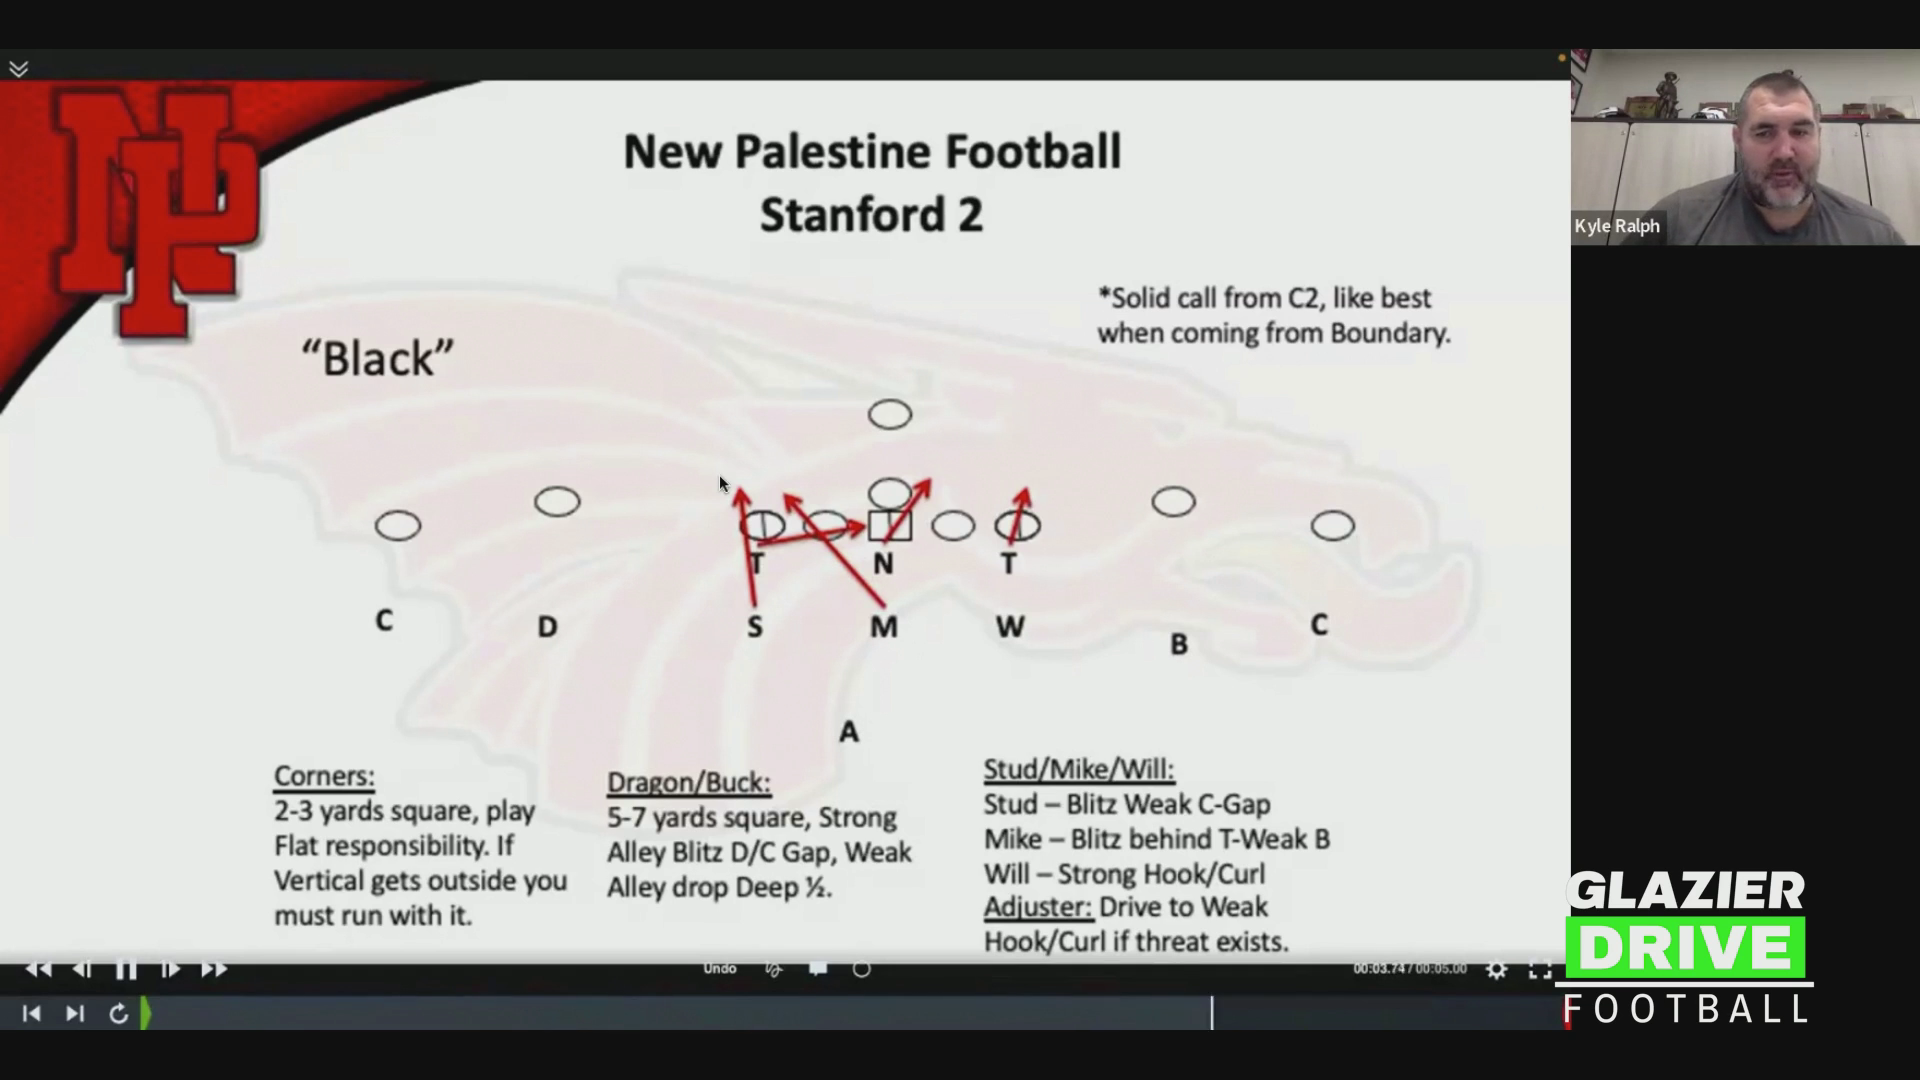
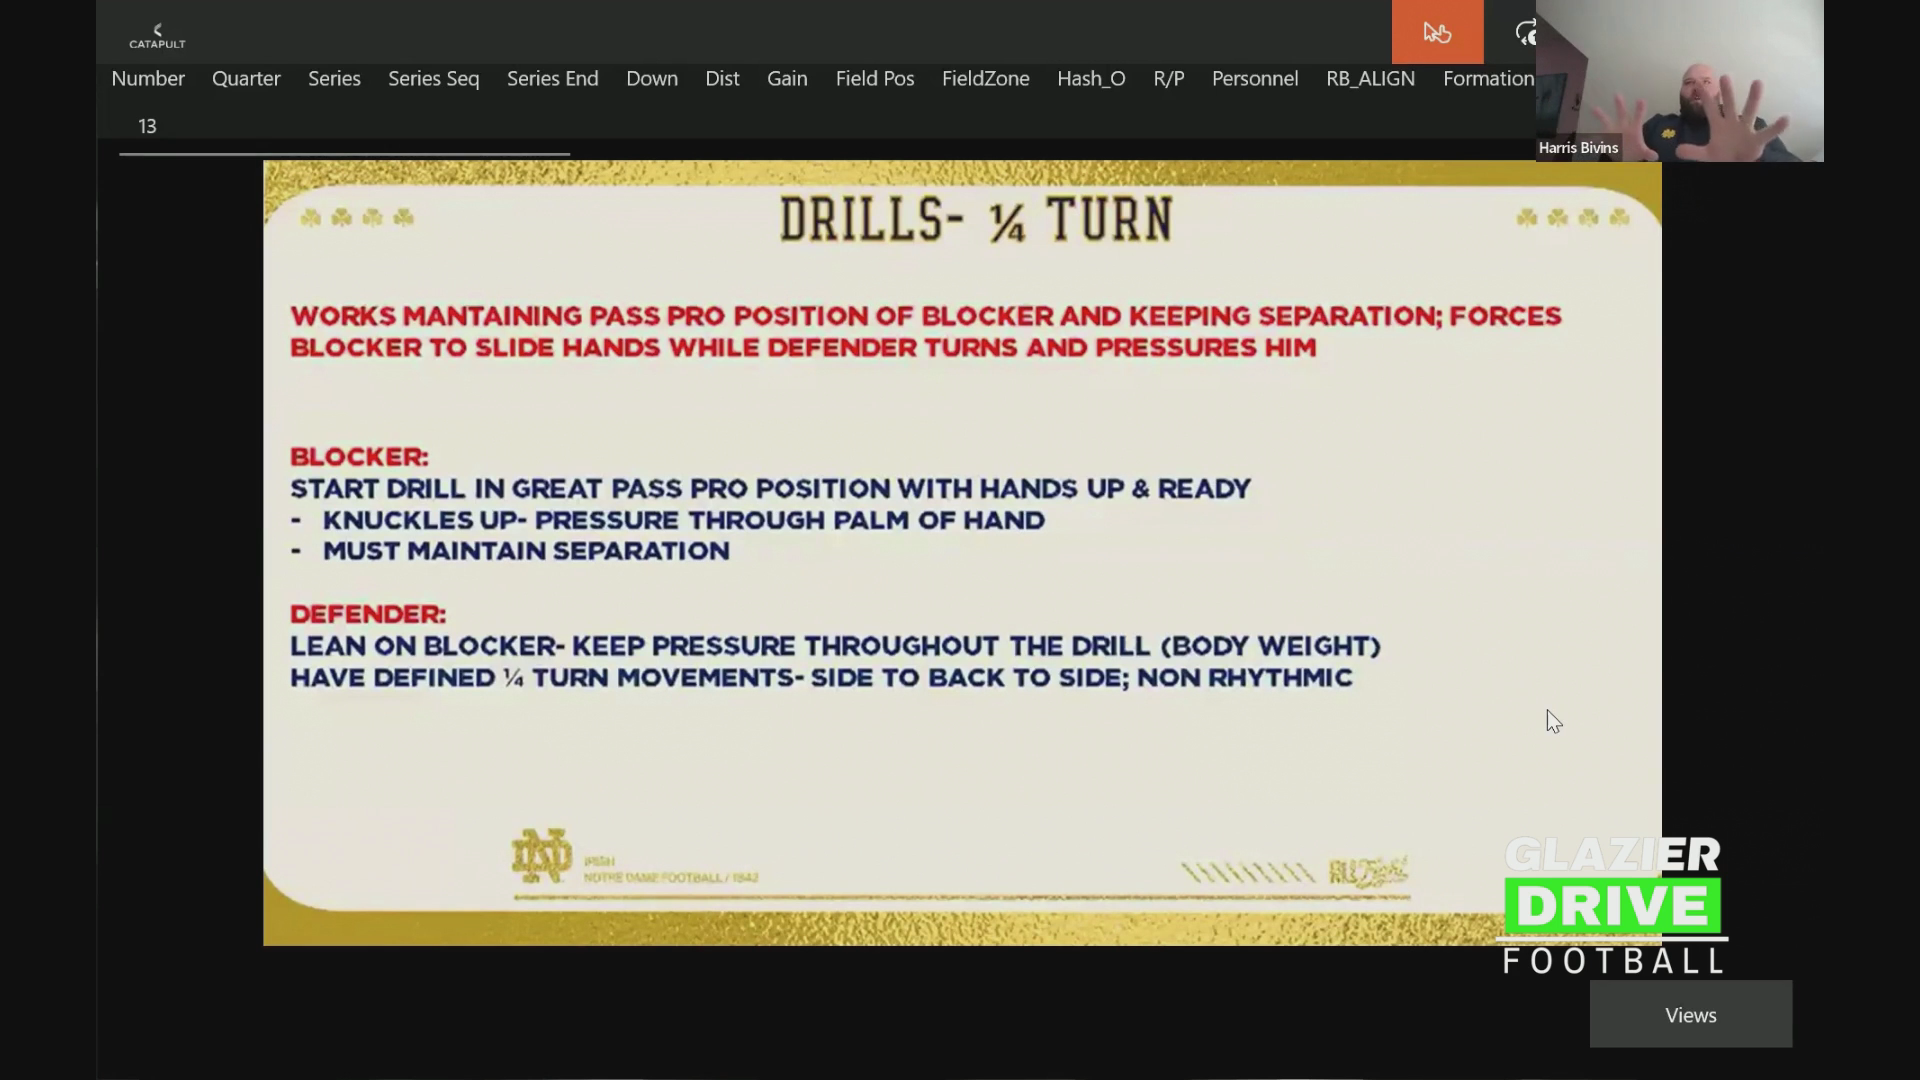
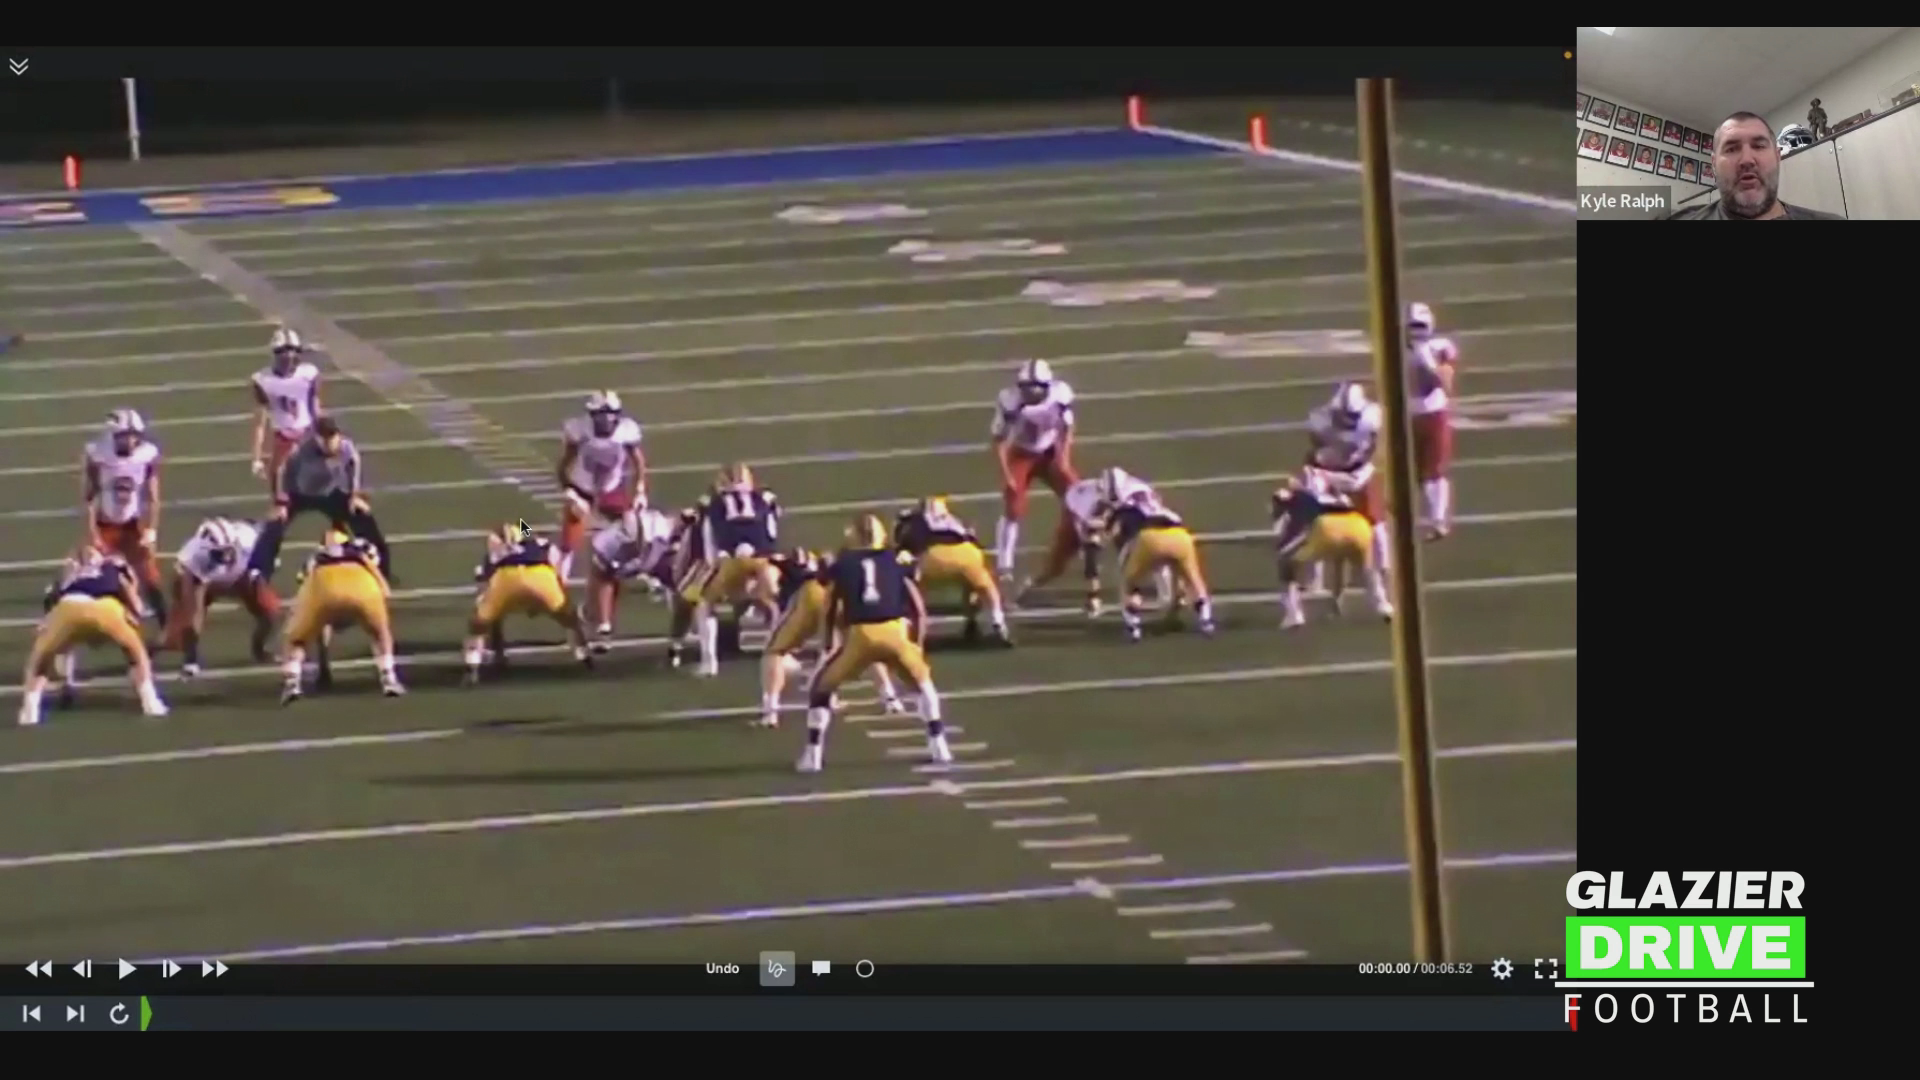
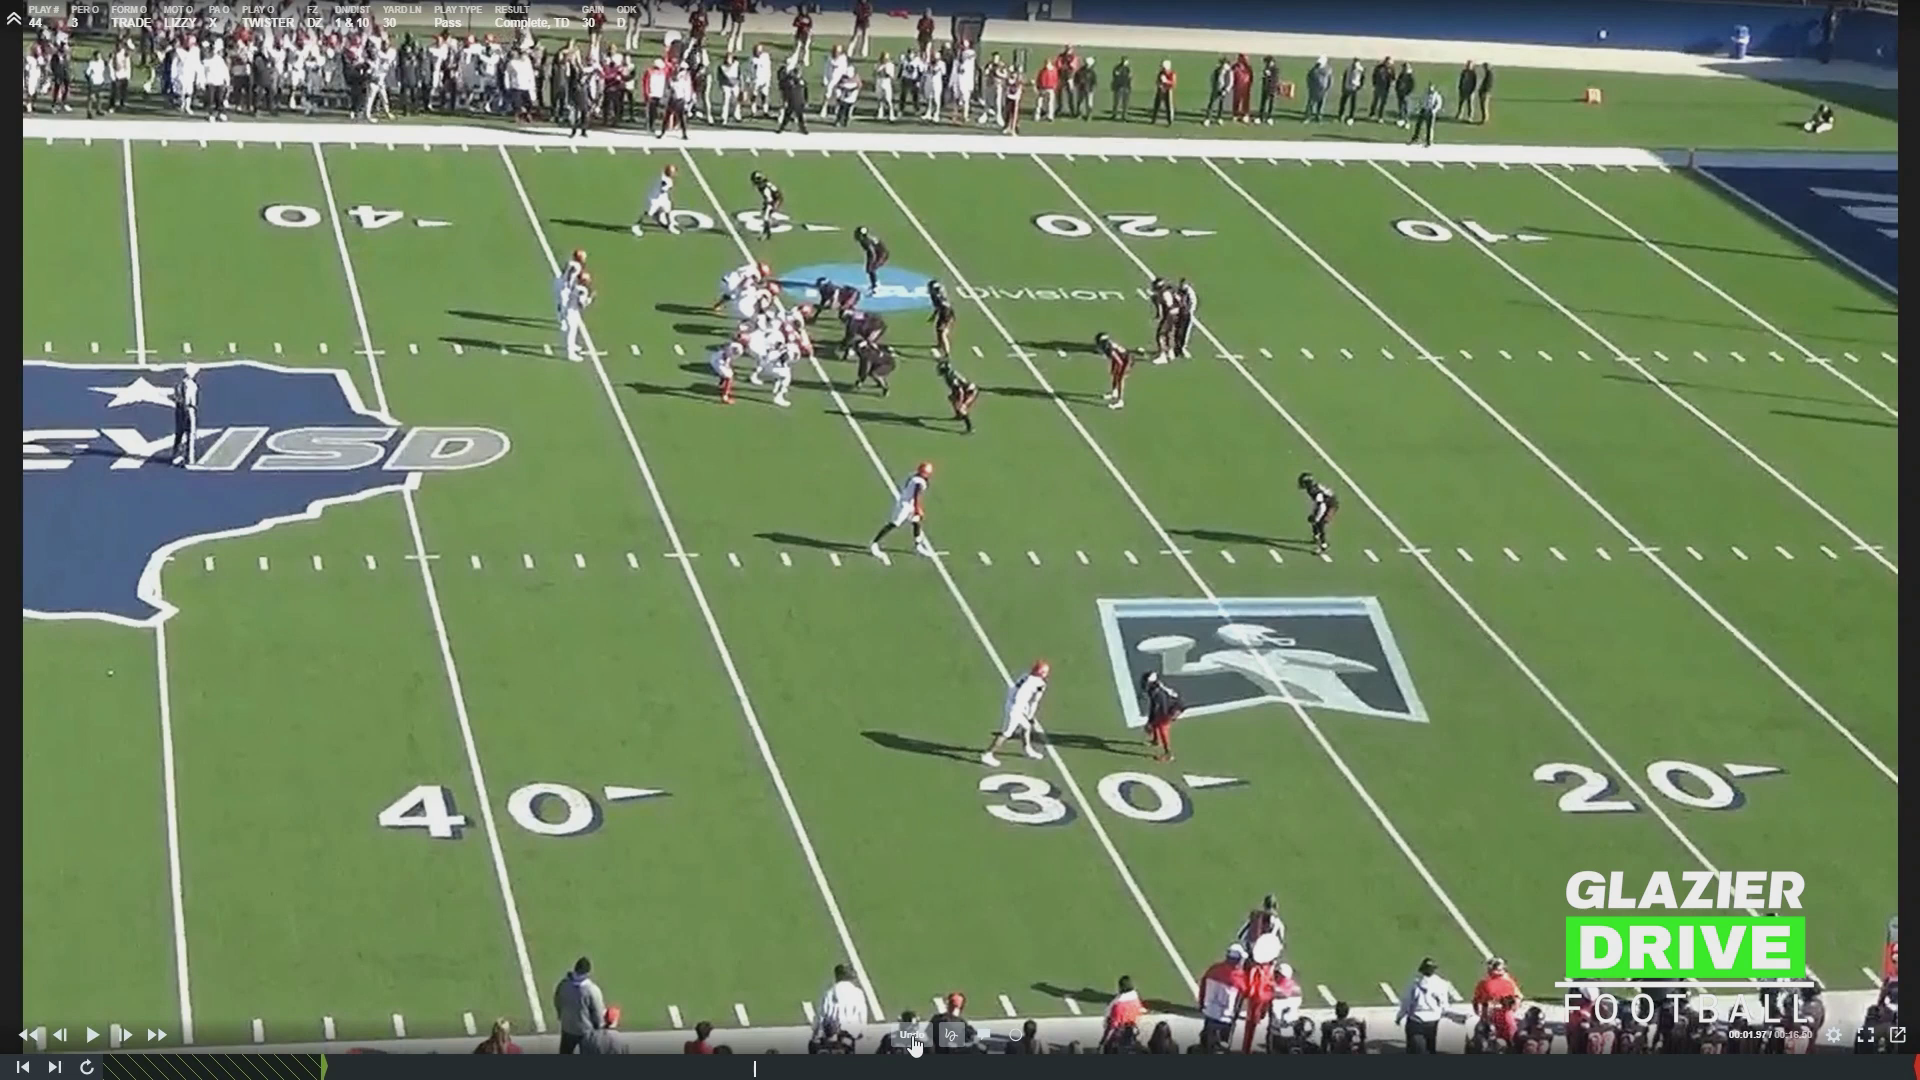
Creating Confusion with Defensive Movement
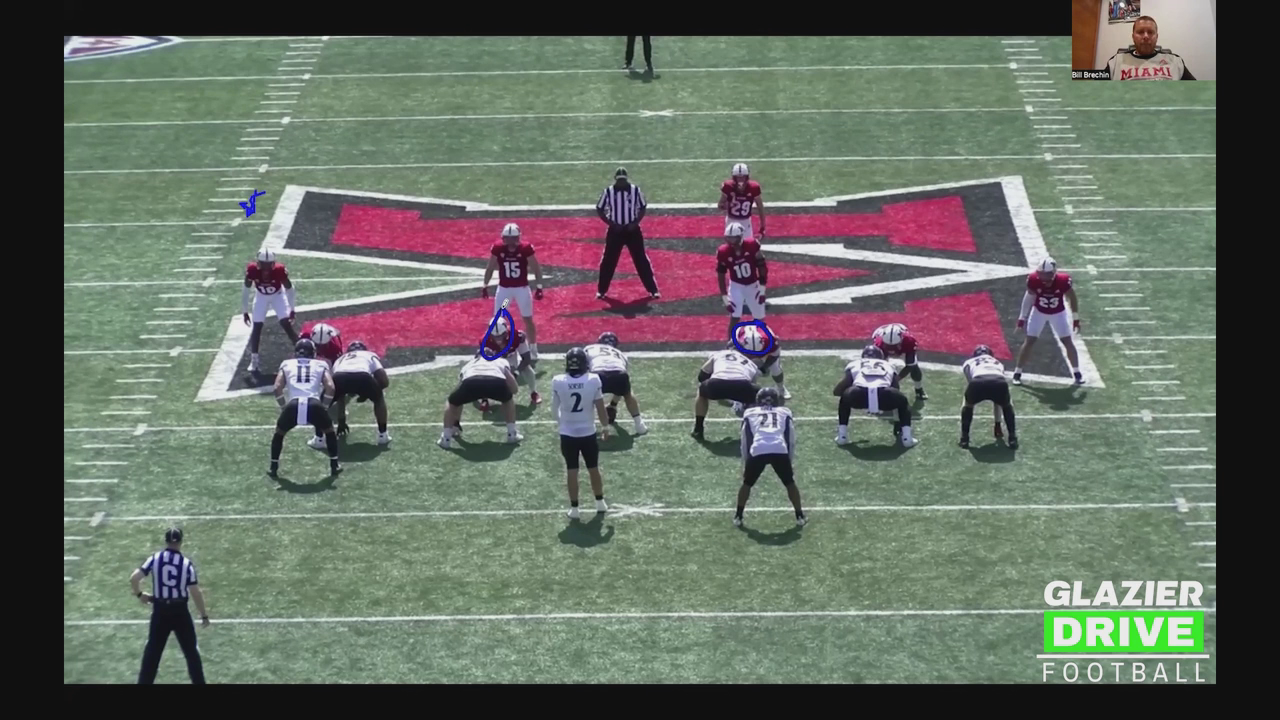
Kyle Ralph, Head Coach, New Palestine HS, IN
It is a segment of a content video from Glazier Drive: Coverage Concepts in the Red Rage 3-3-5 Defense
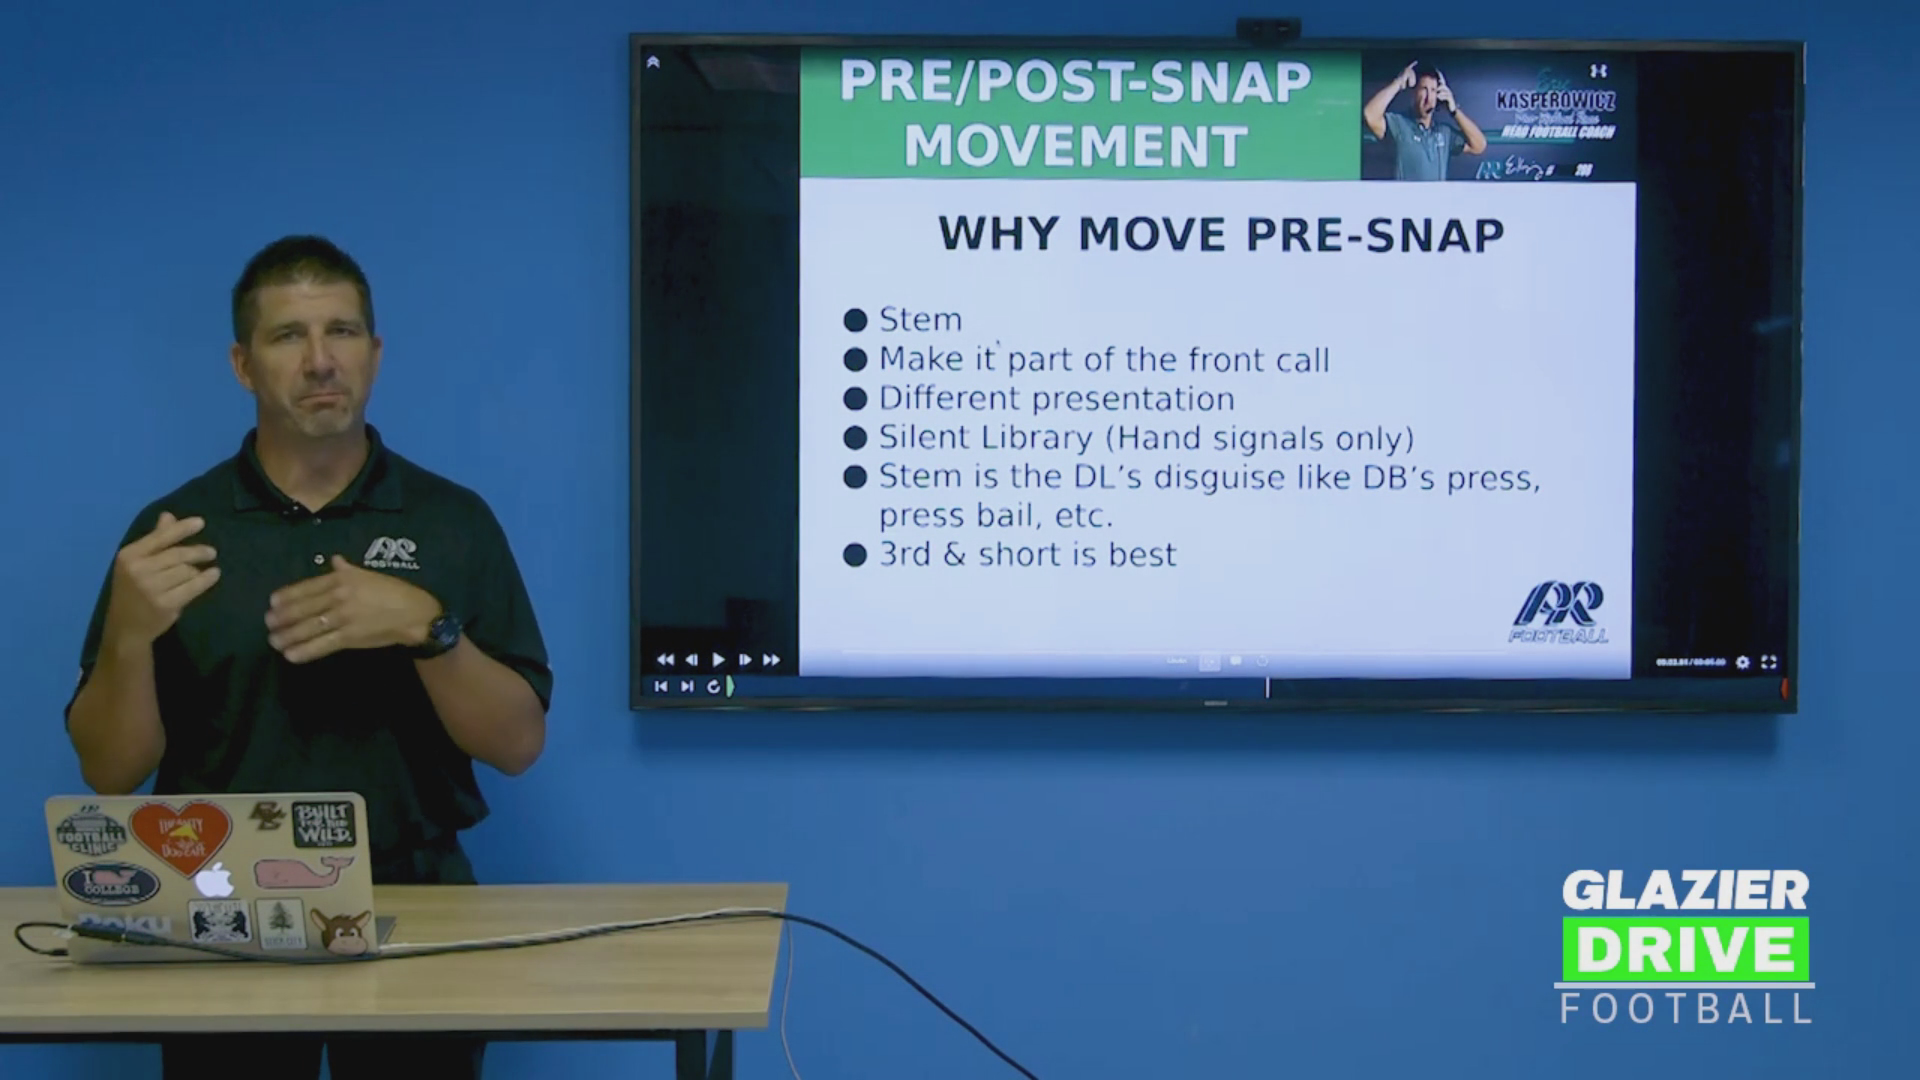
PRE-SNAP MOVEMENT AND DISGUISE
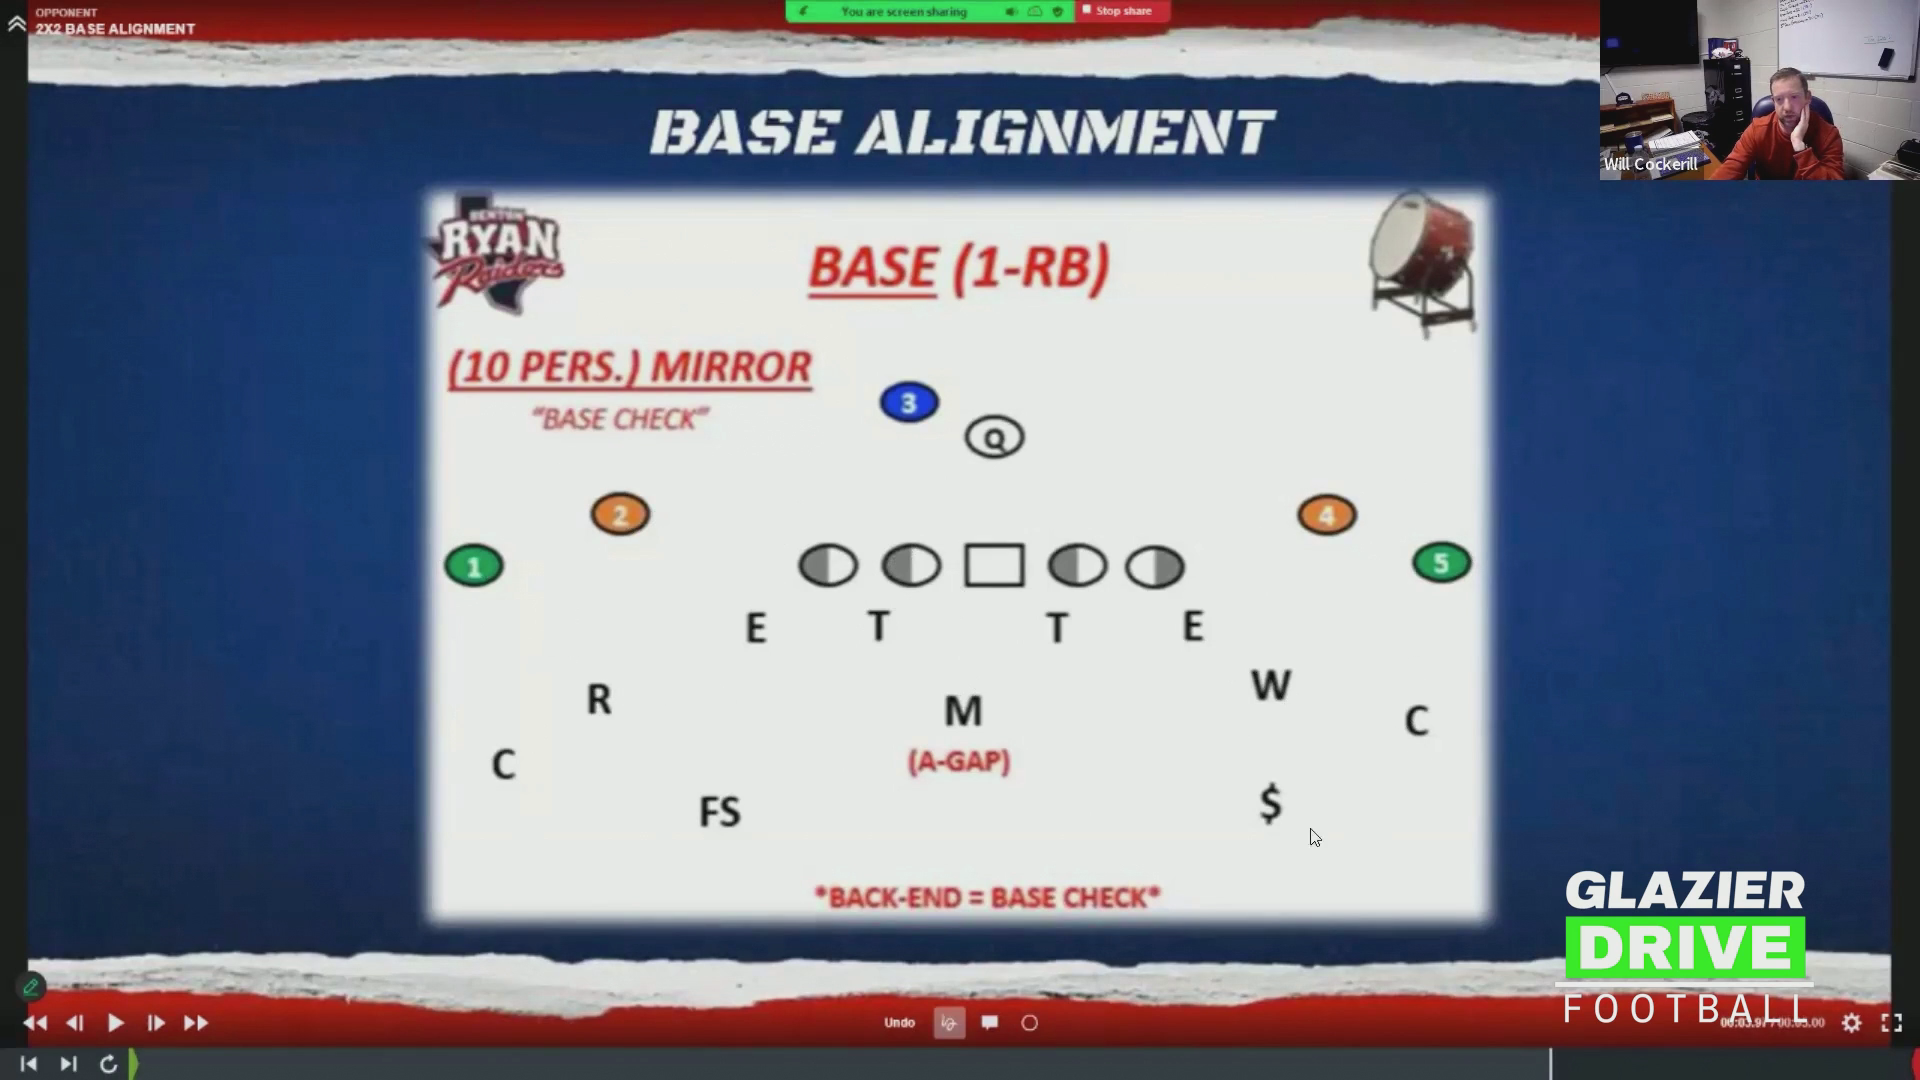
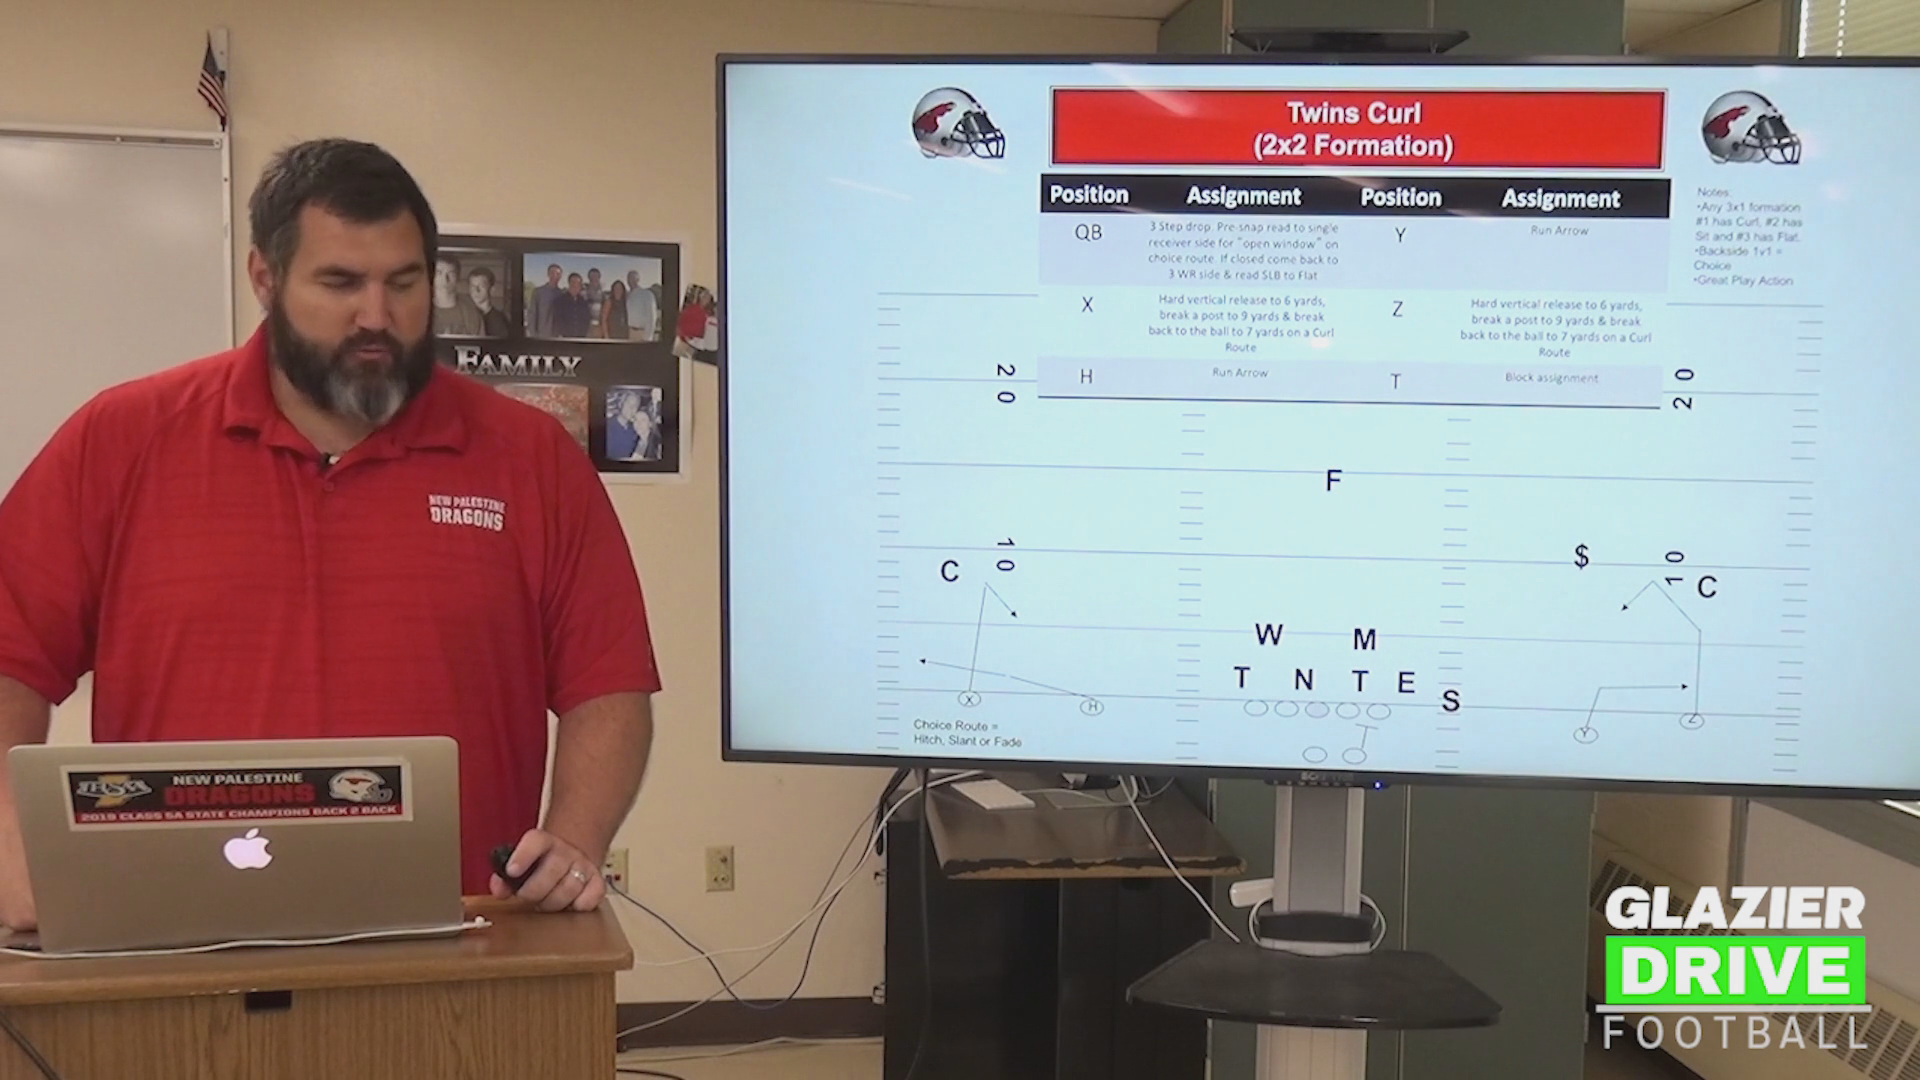
The defense uses its five defensive backs to show the quarterback many different pictures, especially against spread and RPO teams. Standing still lets the QB get the look he wants, so the coach has players move around before the snap to muddy those reads. Movement is earned, though. Players practice it to find their limits on specific plays, calls, and assignments. Anyone who can't execute loses the freedom and has to stand still. The dragon and buck are smaller, athletic linebacker-type players who are also expected to use that athleticism to move around.
COVERAGE PHILOSOPHY
- Cover 3 is the base, especially against run-heavy teams.
- Coverages should reflect what your players are good at. In 2017 the group was too young for man coverage, so they rarely played it. In 2018 the same group was older and more athletic, and man coverage made them better.
- Don't run a coverage just to say you run it. Doing so at the expense of the whole defense hurts you.
- Keep a couple of solid coverage checks that work against everything, layering problems for the offense rather than playing one coverage against one thing.
- Sometimes the game plan demands a specific coverage to stop a real problem, and that's acceptable. The coach's mantra is that execution is king.
COVER 2 (TAMPA 2 PRINCIPLE)
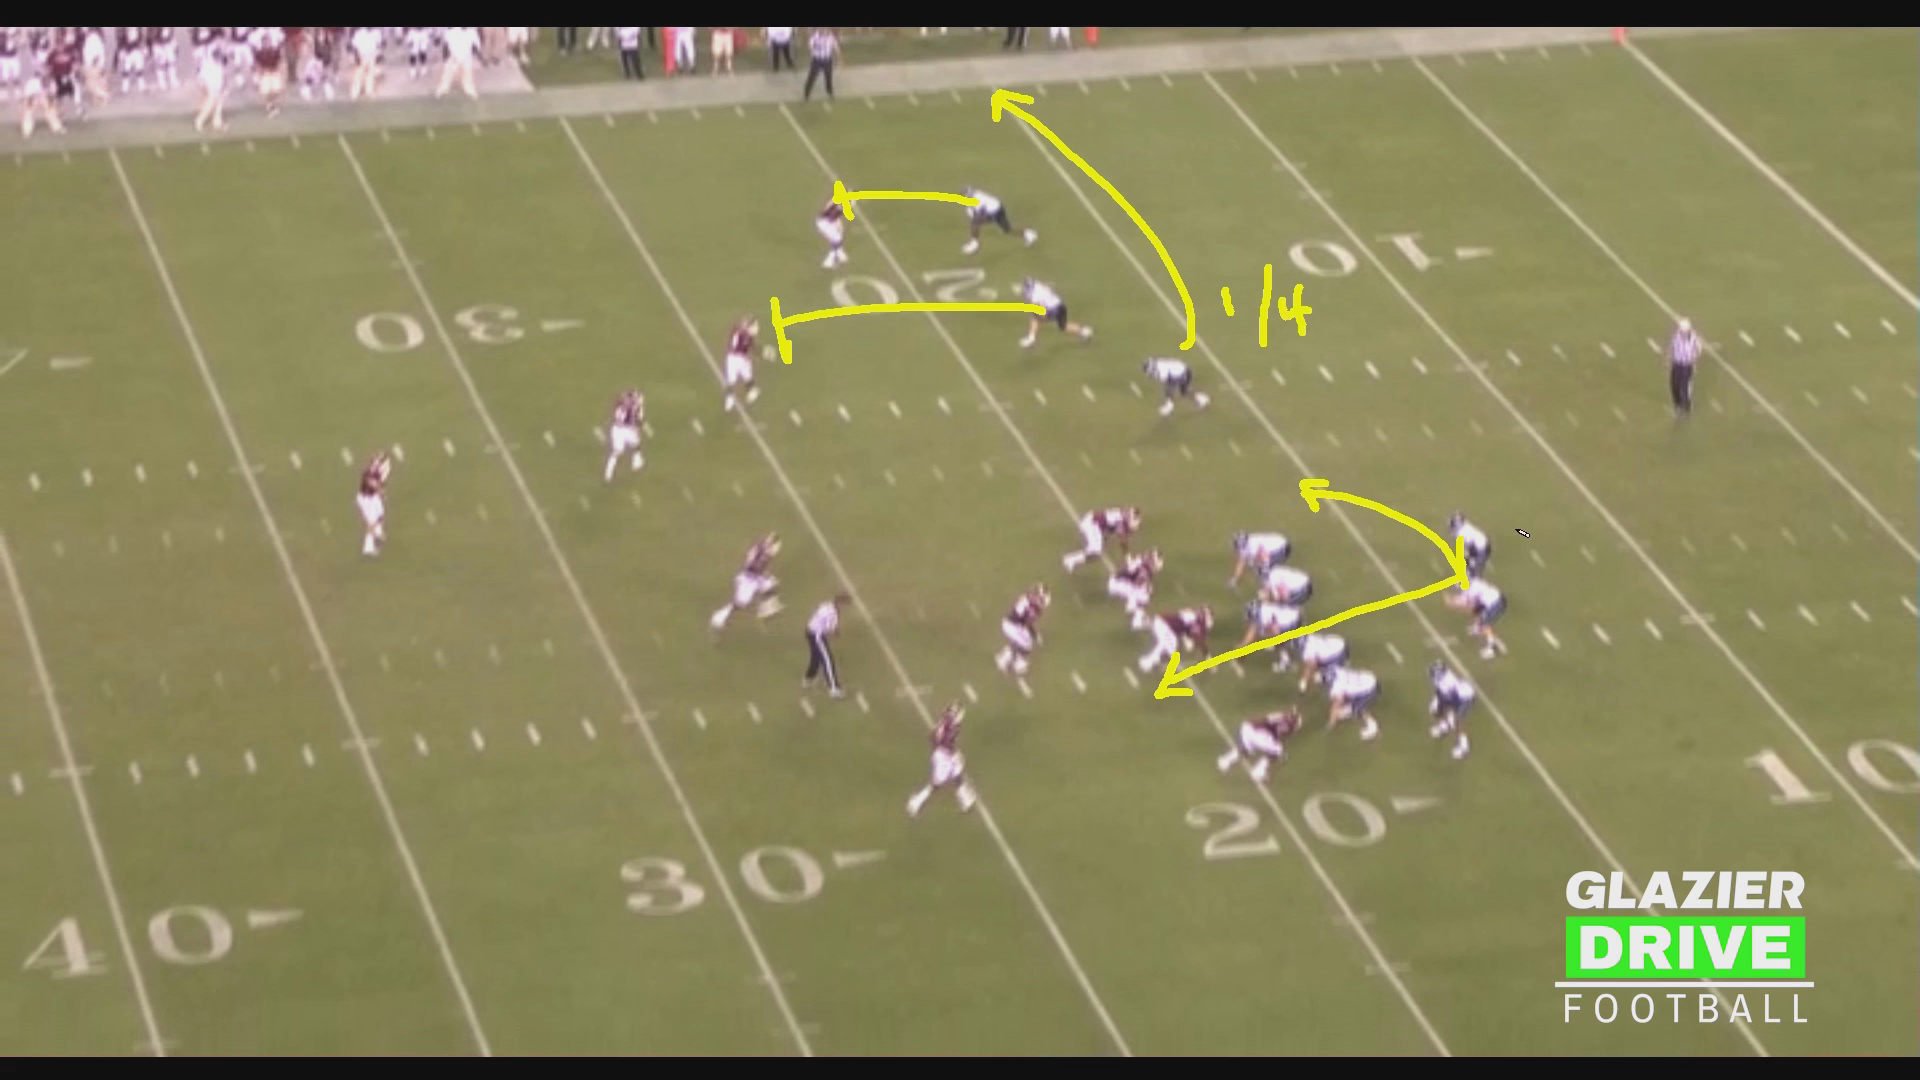
- The adjuster becomes the seventh man in the box, but this differs from the typical Tampa 2, where the Mike linebacker drops. Here the Mike stays on a hard run fill.
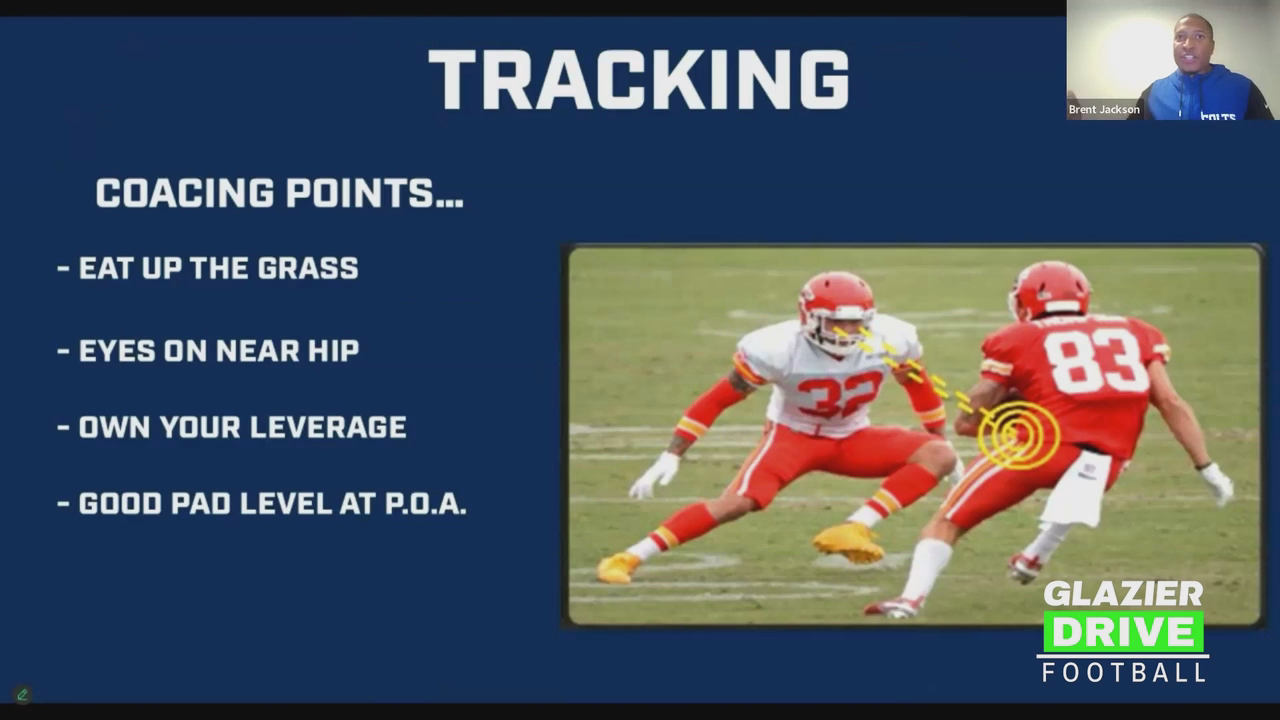
- Against the run, the adjuster attacks downhill and tracks the ball with his inside hip. The free safety comes in to fill, which gets the seventh defender down. The clip shows the play stopped at three yards.
- Against the pass, the adjuster takes two steps forward. The corners play soft to hard flat, and the dragon and buck bail to the deep halves. In the boot clip, both run with the boot, the defense breaks on the ball, and the pass is knocked down.
- Against 2x2 with a drop-back pass, the adjuster is a free player. His coaching point is to read the QB's eyes, open his hip to find what the QB is looking at, and take that route away. He doesn't have to be fooled by a look-off, since the zones are already covered.
- The idea is to take away half the field and force the QB to come back to a secondary read he probably wasn't looking at. High school QBs generally don't handle that well, and pressure should arrive by then.
COVER 3
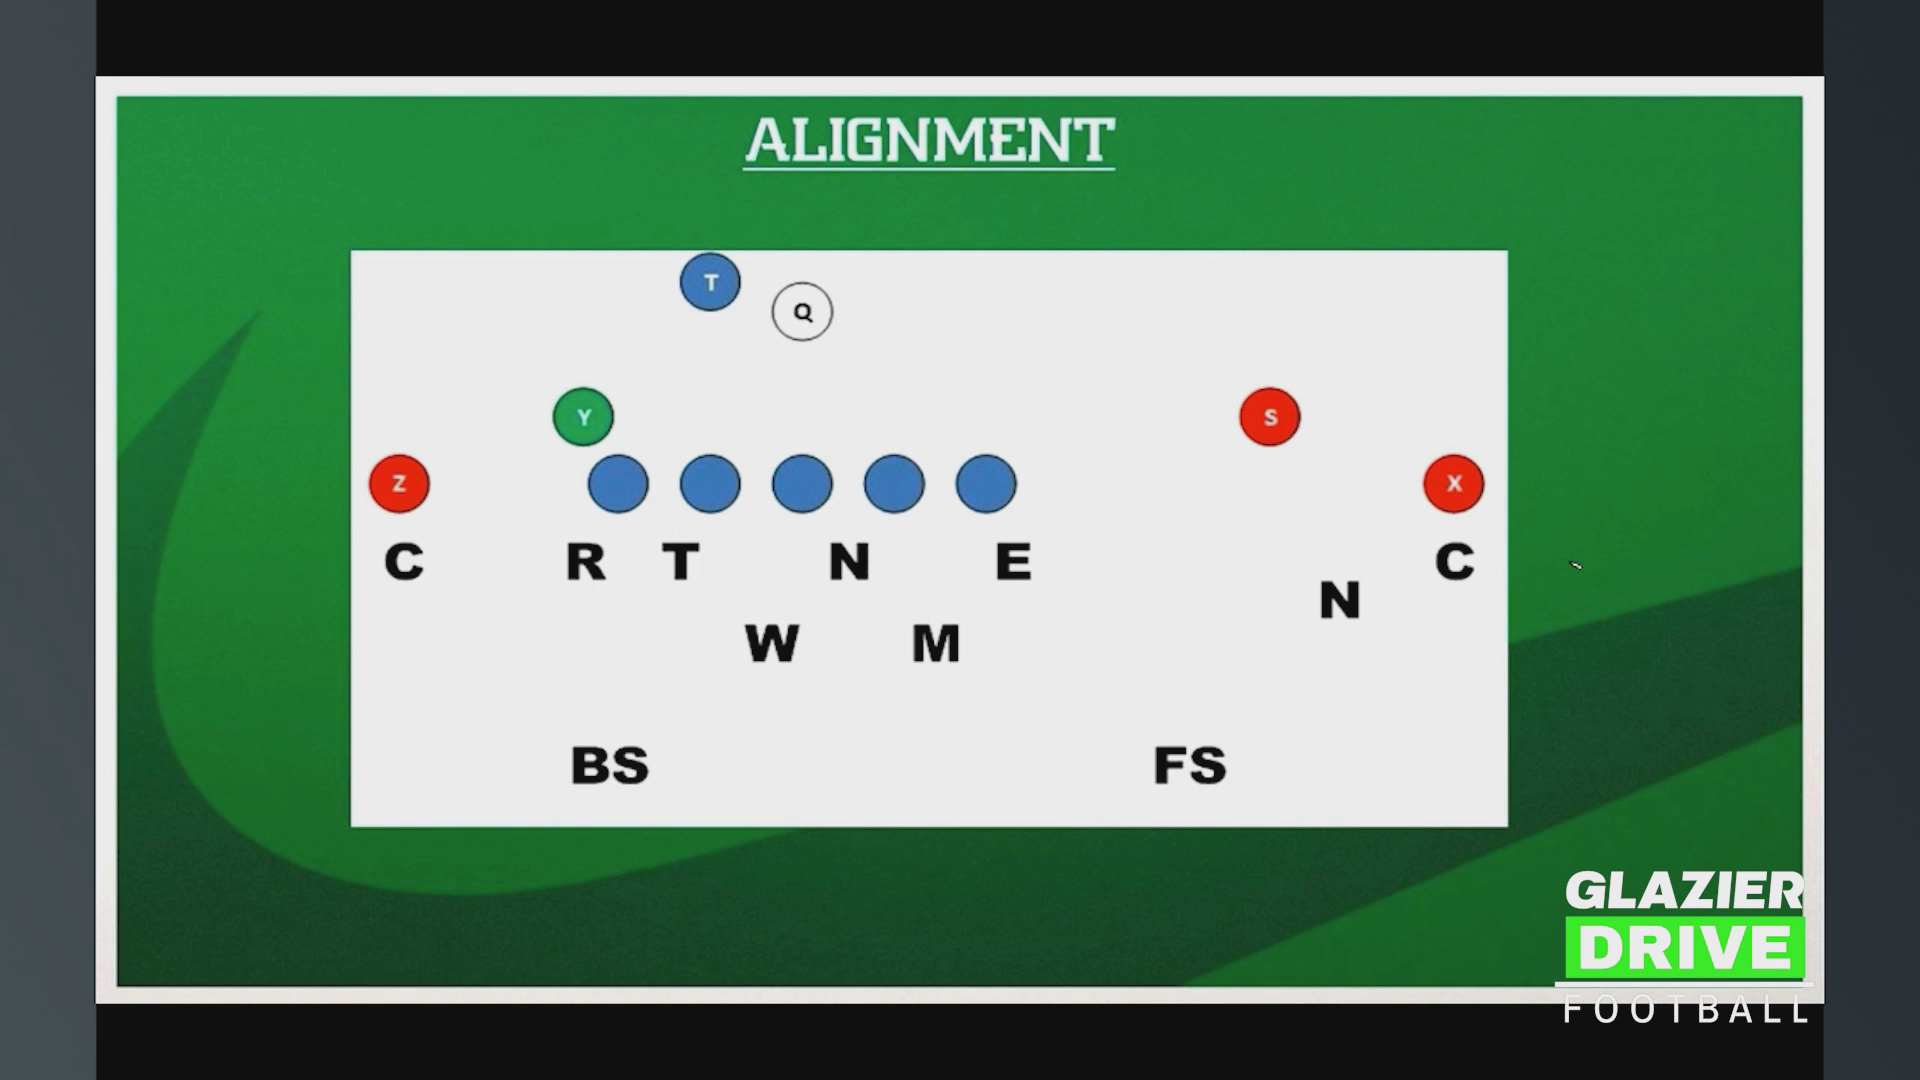
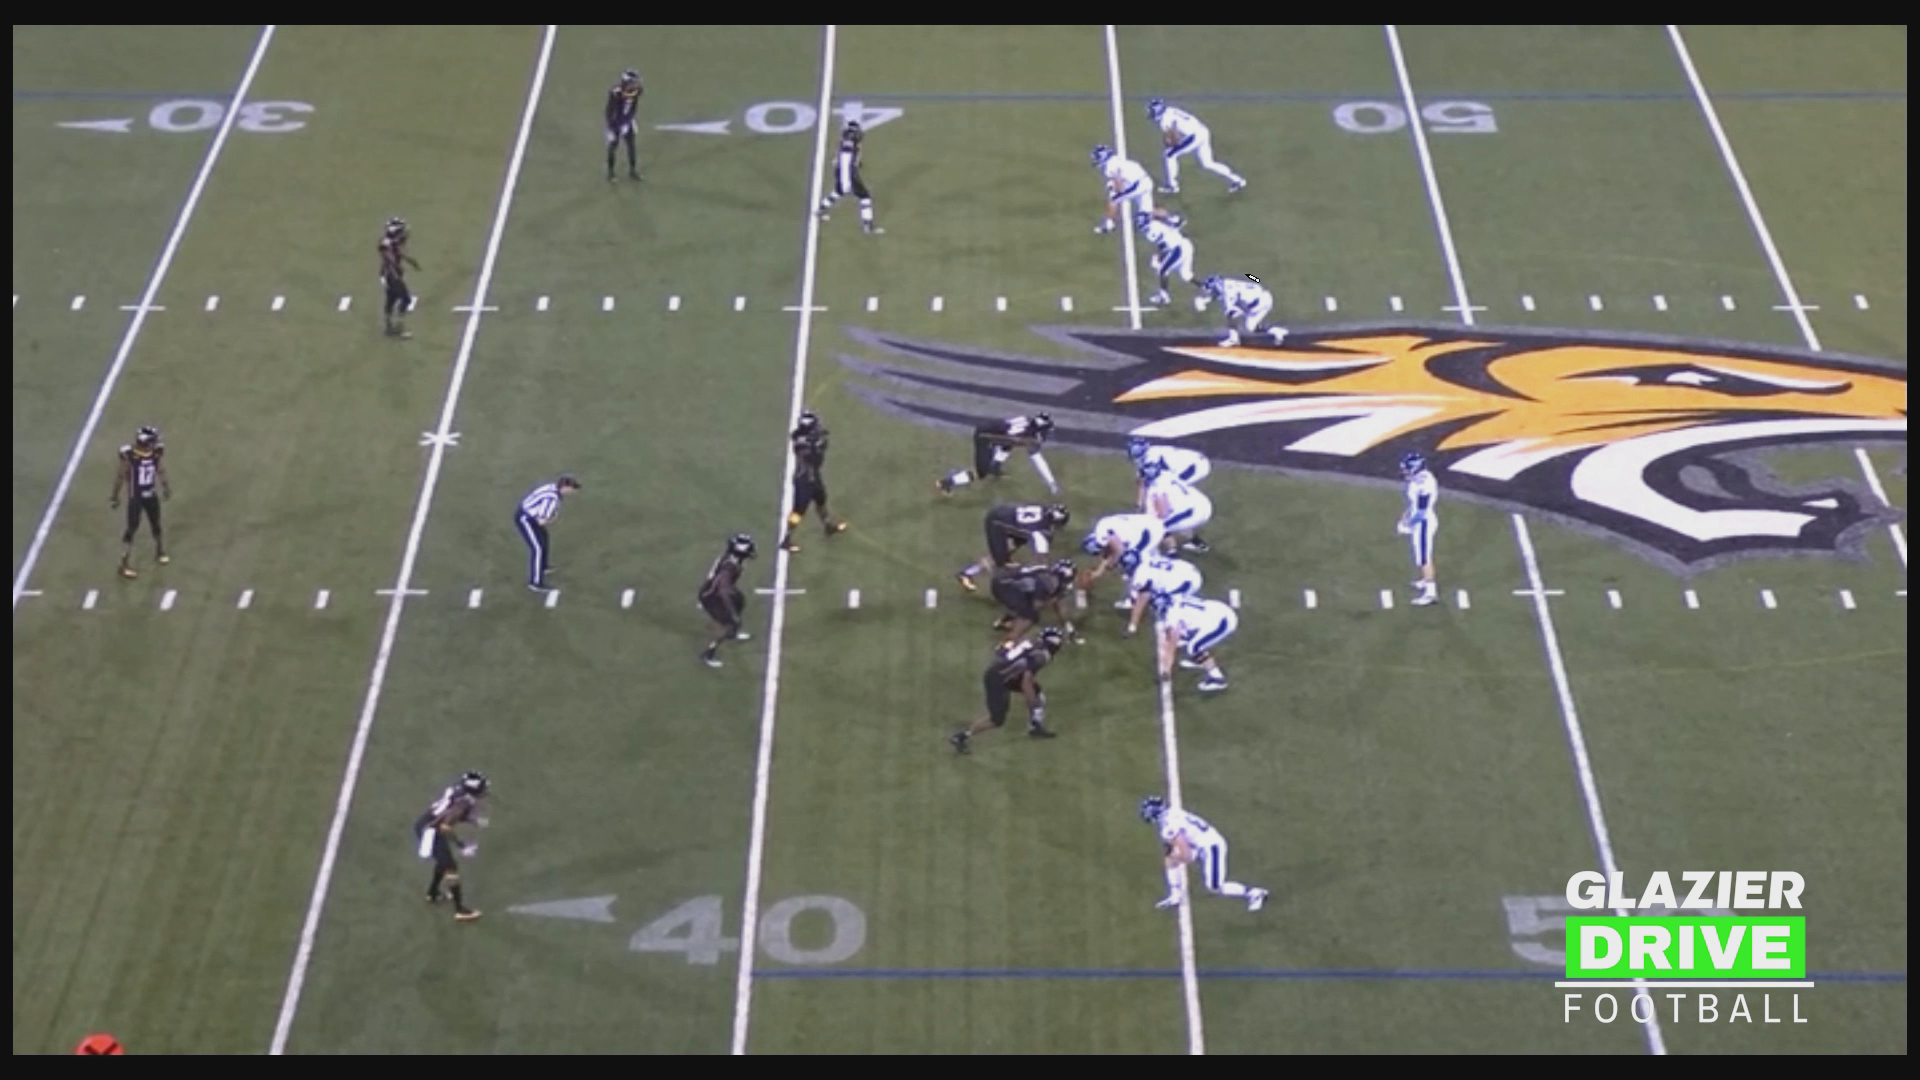
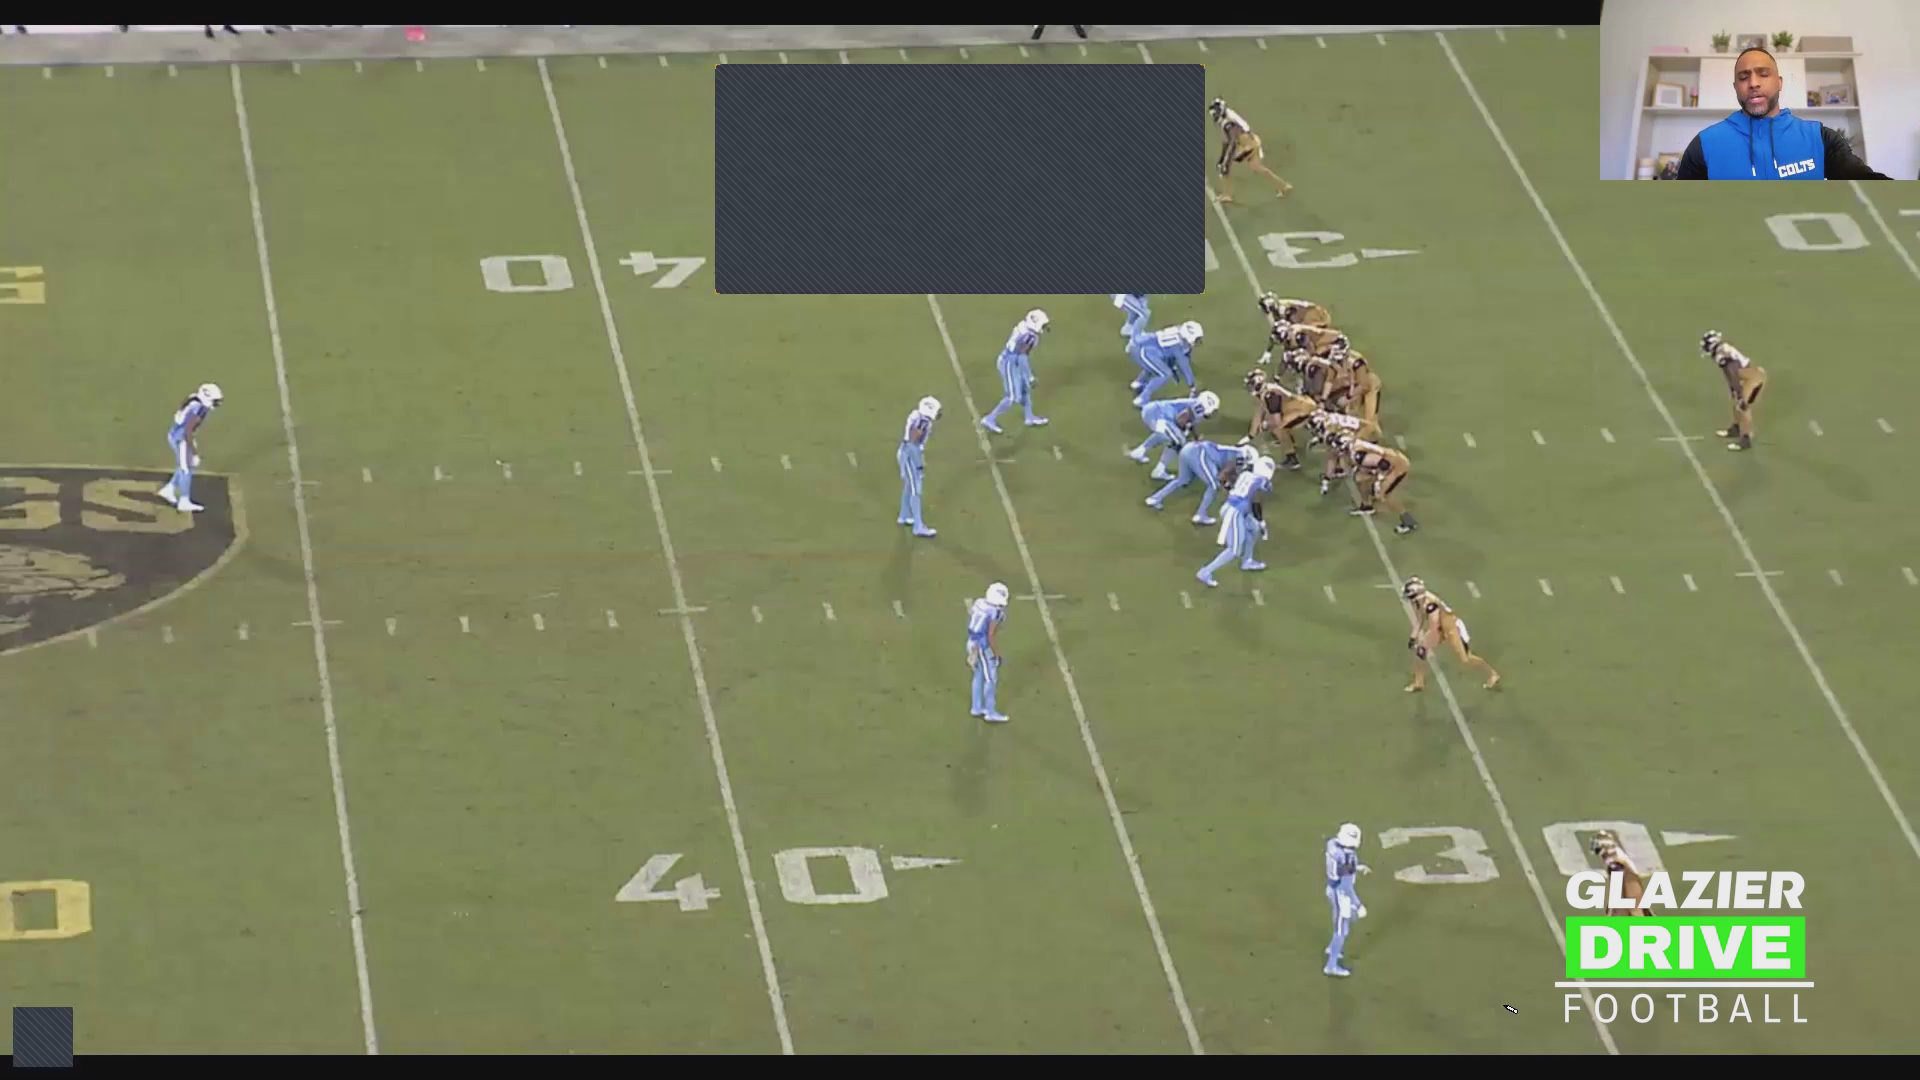
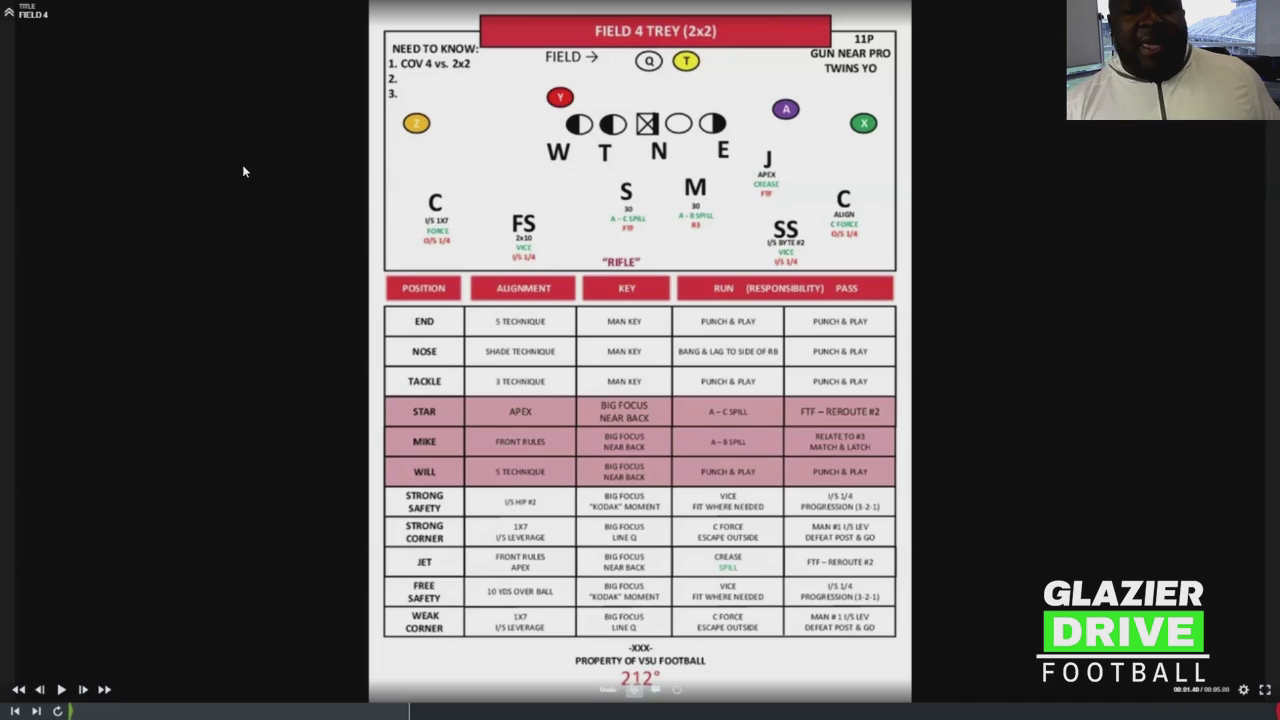
- The standard stack alignment lends itself to Cover 3. The two corners and the adjuster play deep thirds.
- The dragon and buck play soft to hard flat. They don't cover grass just to say they're in the flat. If there's no flat route, they sink. If there is one, they work for width and depth to leverage it while protecting against the route behind their head.
- The goal is to force the QB to throw at three yards or less, which quarterbacks dislike.
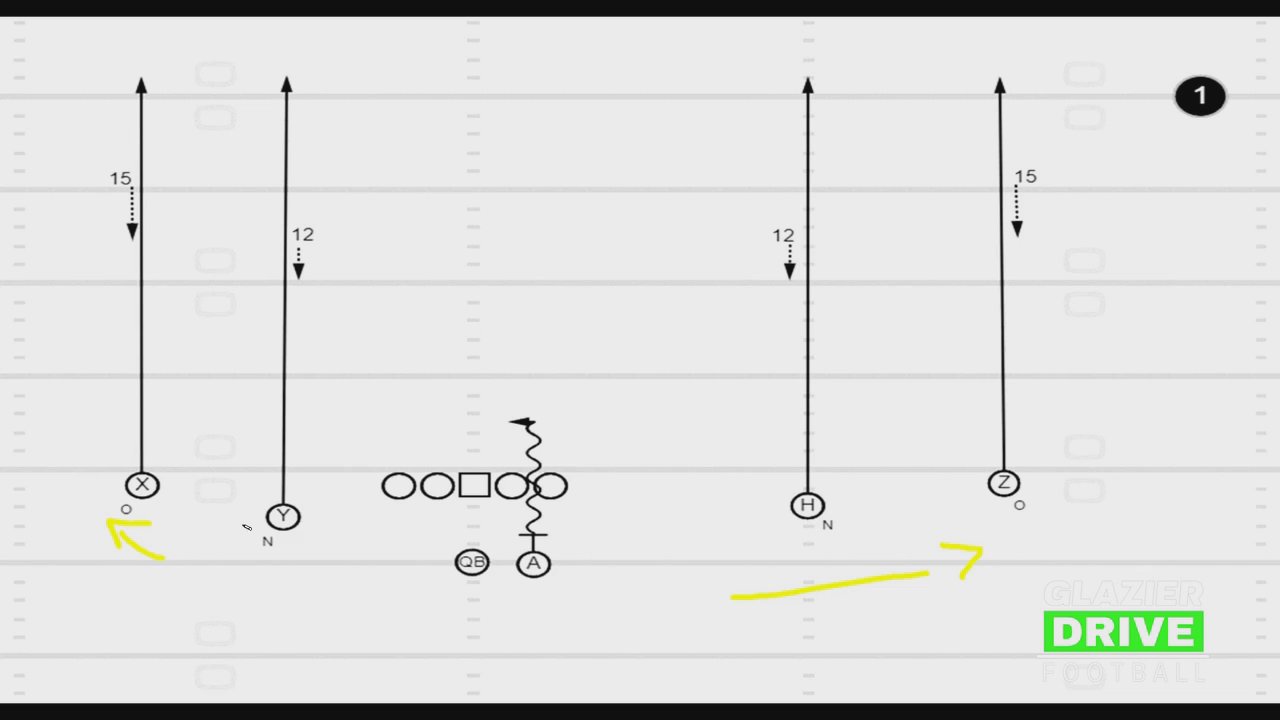
- Against switch verticals or wheel routes, the flat player carries the wheel. That's the corner in Cover 2 and the dragon or buck in Cover 3. When a slot receiver converts to a wheel, the flat player passes off his route and takes the wheel.
CLIP: COVER 3 VS. SPLIT-FLOW ZONE RPO
- The offense runs a split-flow zone behind the line of scrimmage, reading the defense and dumping the ball to the wing coming back across. It works like a cheap boot or handoff, is popular, and is low risk.
- The adjuster recognizes it and screams "boot out," so the player goes for the jam.
- When the ball is thrown off, the player goes right back outside with good leverage, stretches the play, and gets a tackle for loss.
- The coach highlights communication and recognition as the keys against this popular RPO.
KEY TAKEAWAYS FOR COACHES
- Earn the right to move: make pre-snap movement a privilege tied to assignment execution.
- Match coverages to your personnel's ability, not to an ideal scheme.
- Carry a few sound coverage checks rather than one coverage per one look.
- Teach the flat defenders to play the route, not the grass.
- Use eye discipline and half-field takeaways to exploit high school quarterbacks' limited progressions.
- Communication, such as the adjuster's "boot out" call, is what makes coverage work against RPOs.
Free Football Coach Resources
1mo ago
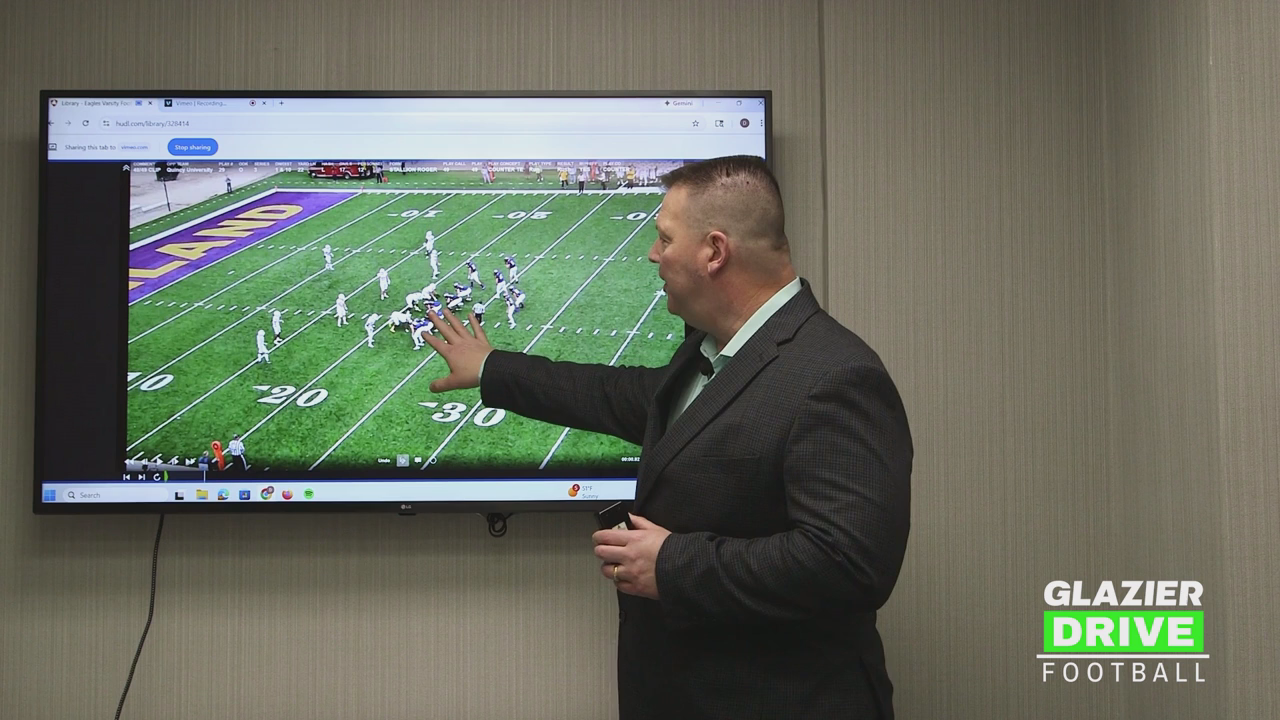
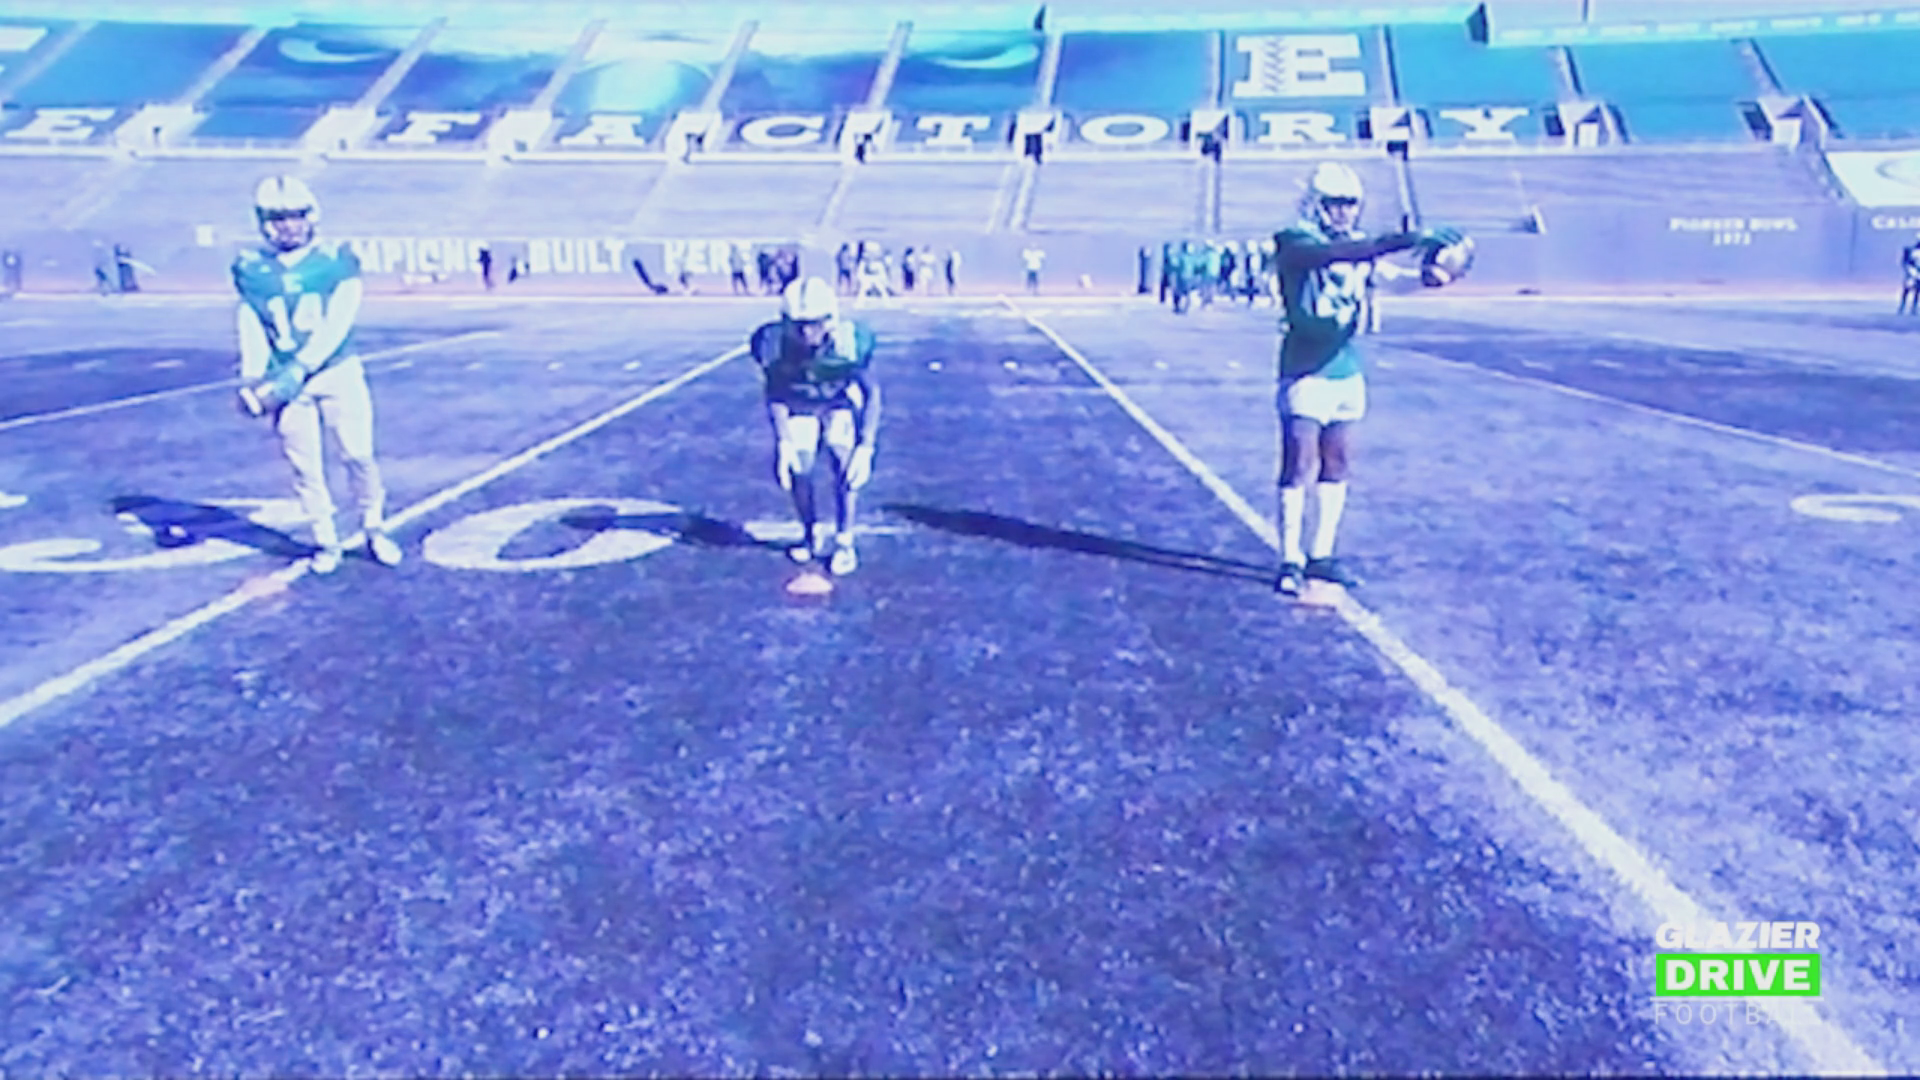
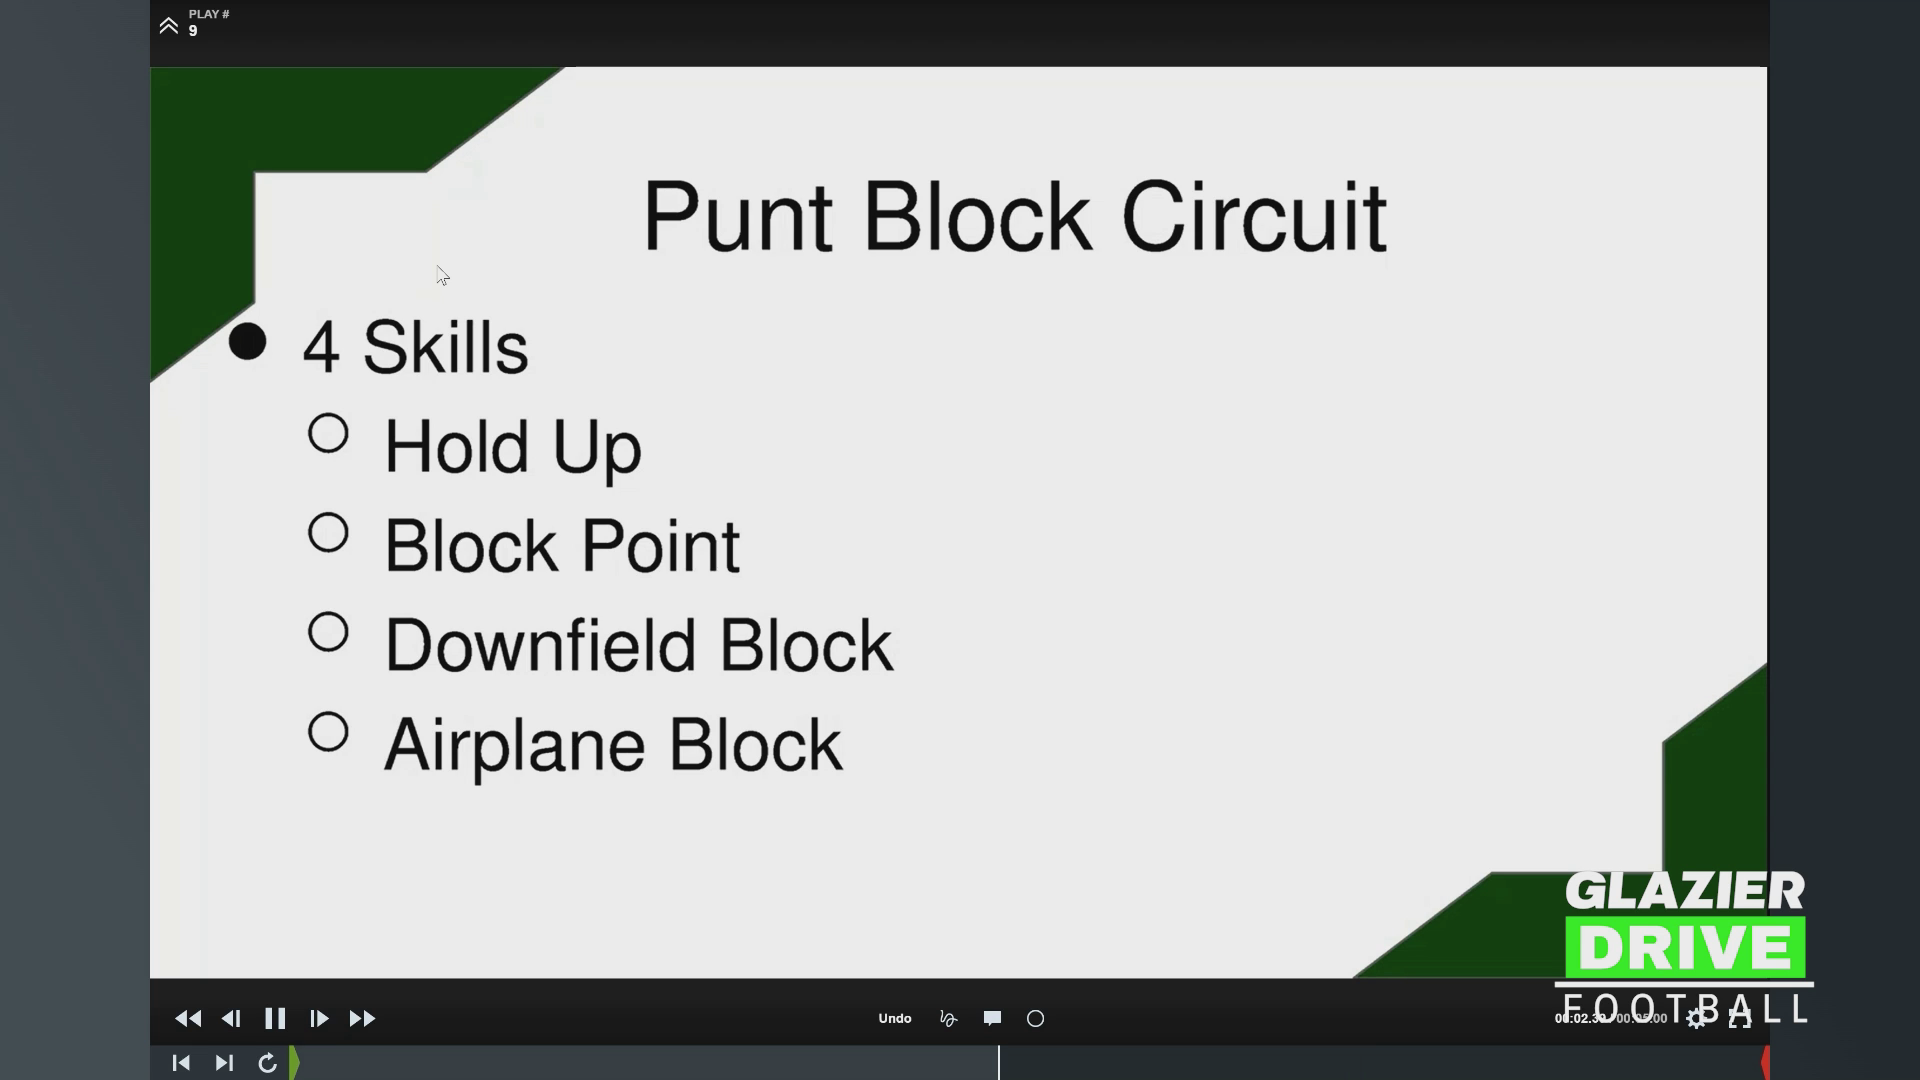
Punt Block Practice in 10 Minutes: 4 Drill Circuit
Doug Geiser, Head Coach, Ashland
Full video on Glazier Drive: How the Eagles Teach & Drill the Core Four Special Teams Technique
VIDEO OVERVIEW
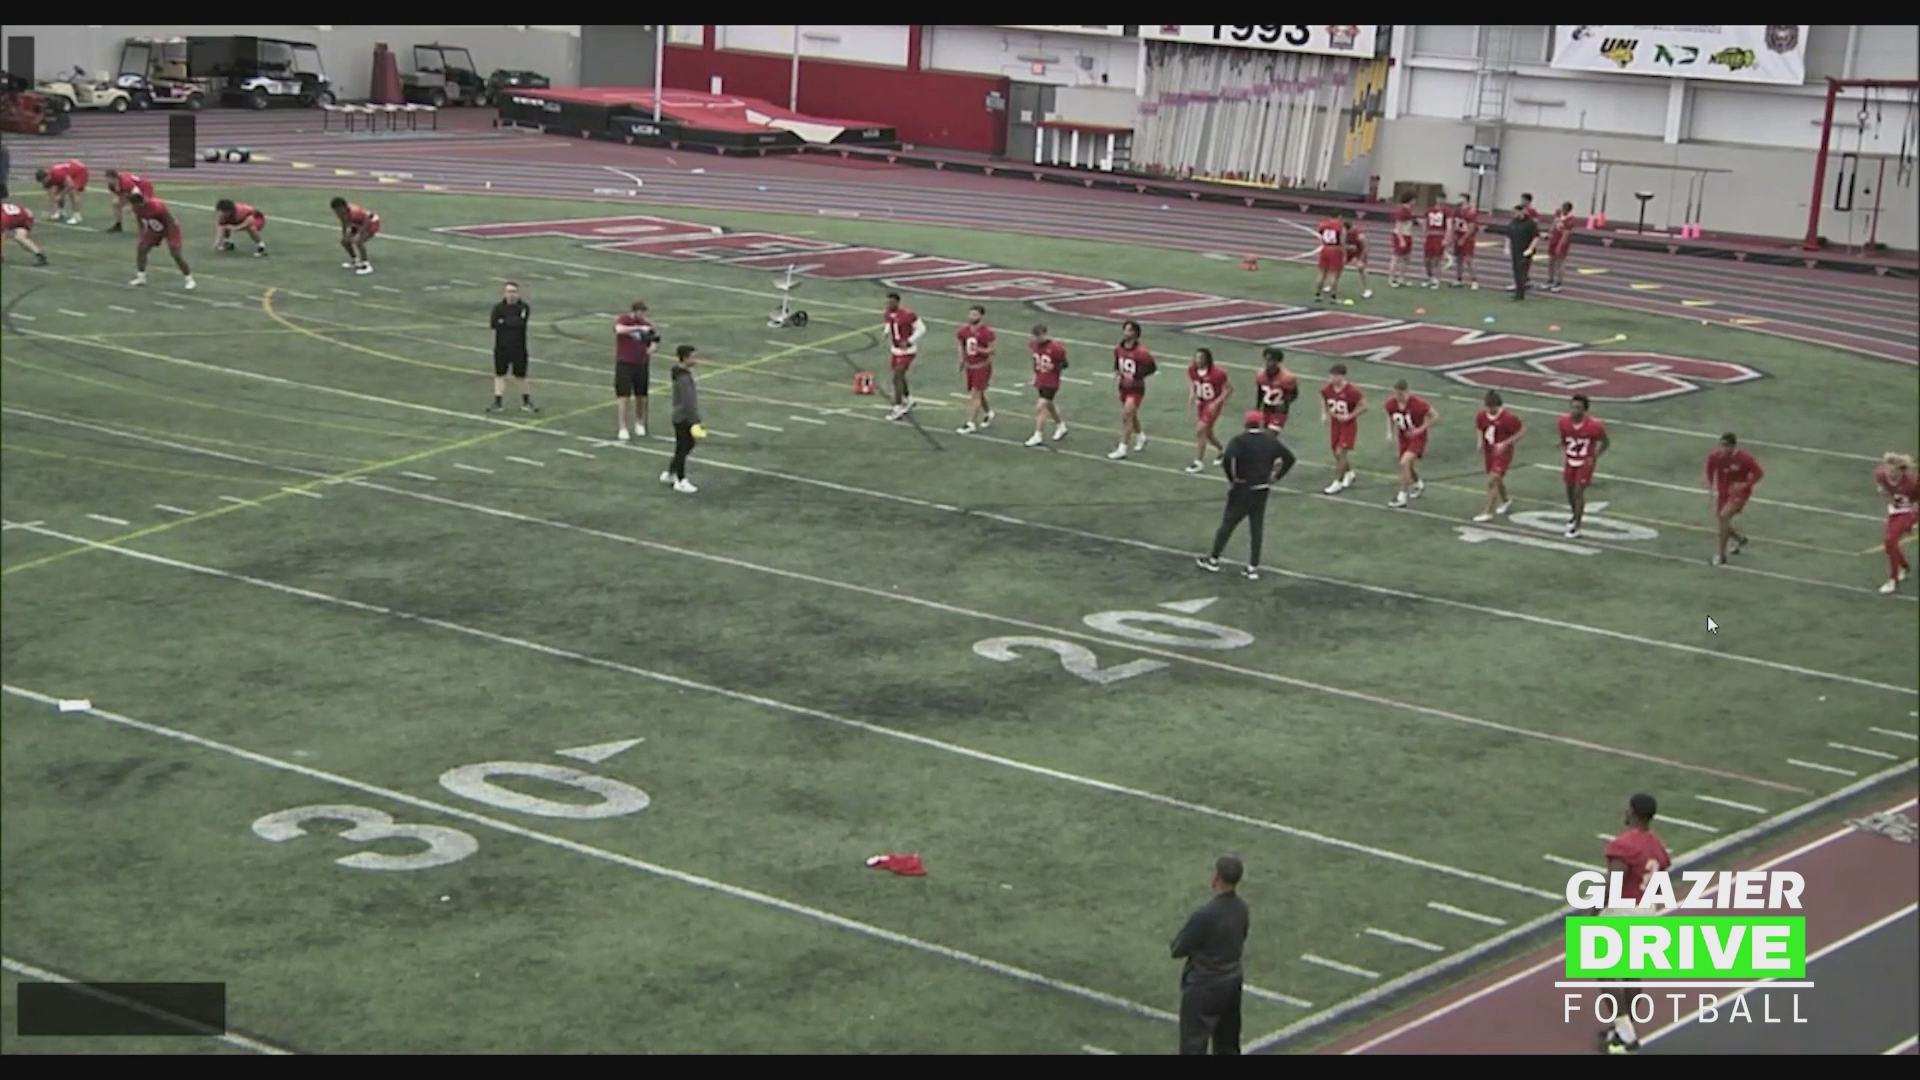
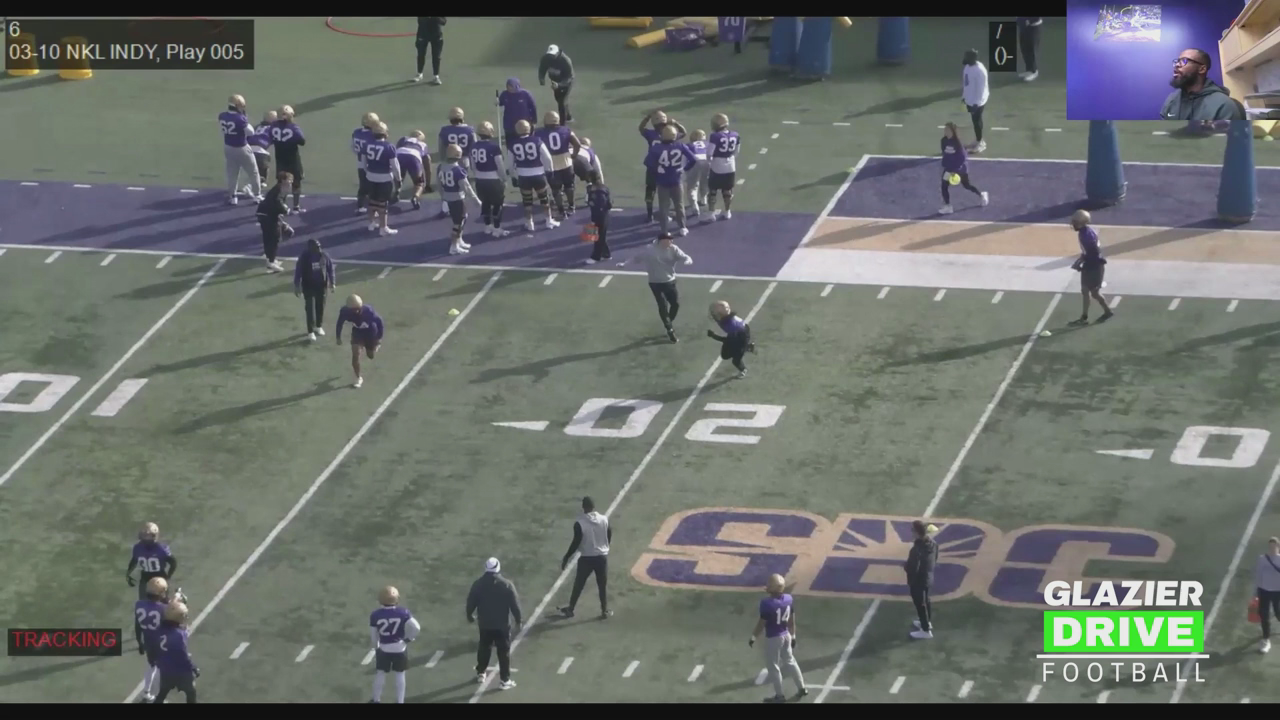
This video covers four punt block drills for coaches. Each drill is first broken down in practice format, then shown in action on real game tape. The game clips feature players like Isaac Brooks (the sniper on the wide end), Tyler, Zack, and Colin. Groups are roughly 10 to 12 players.
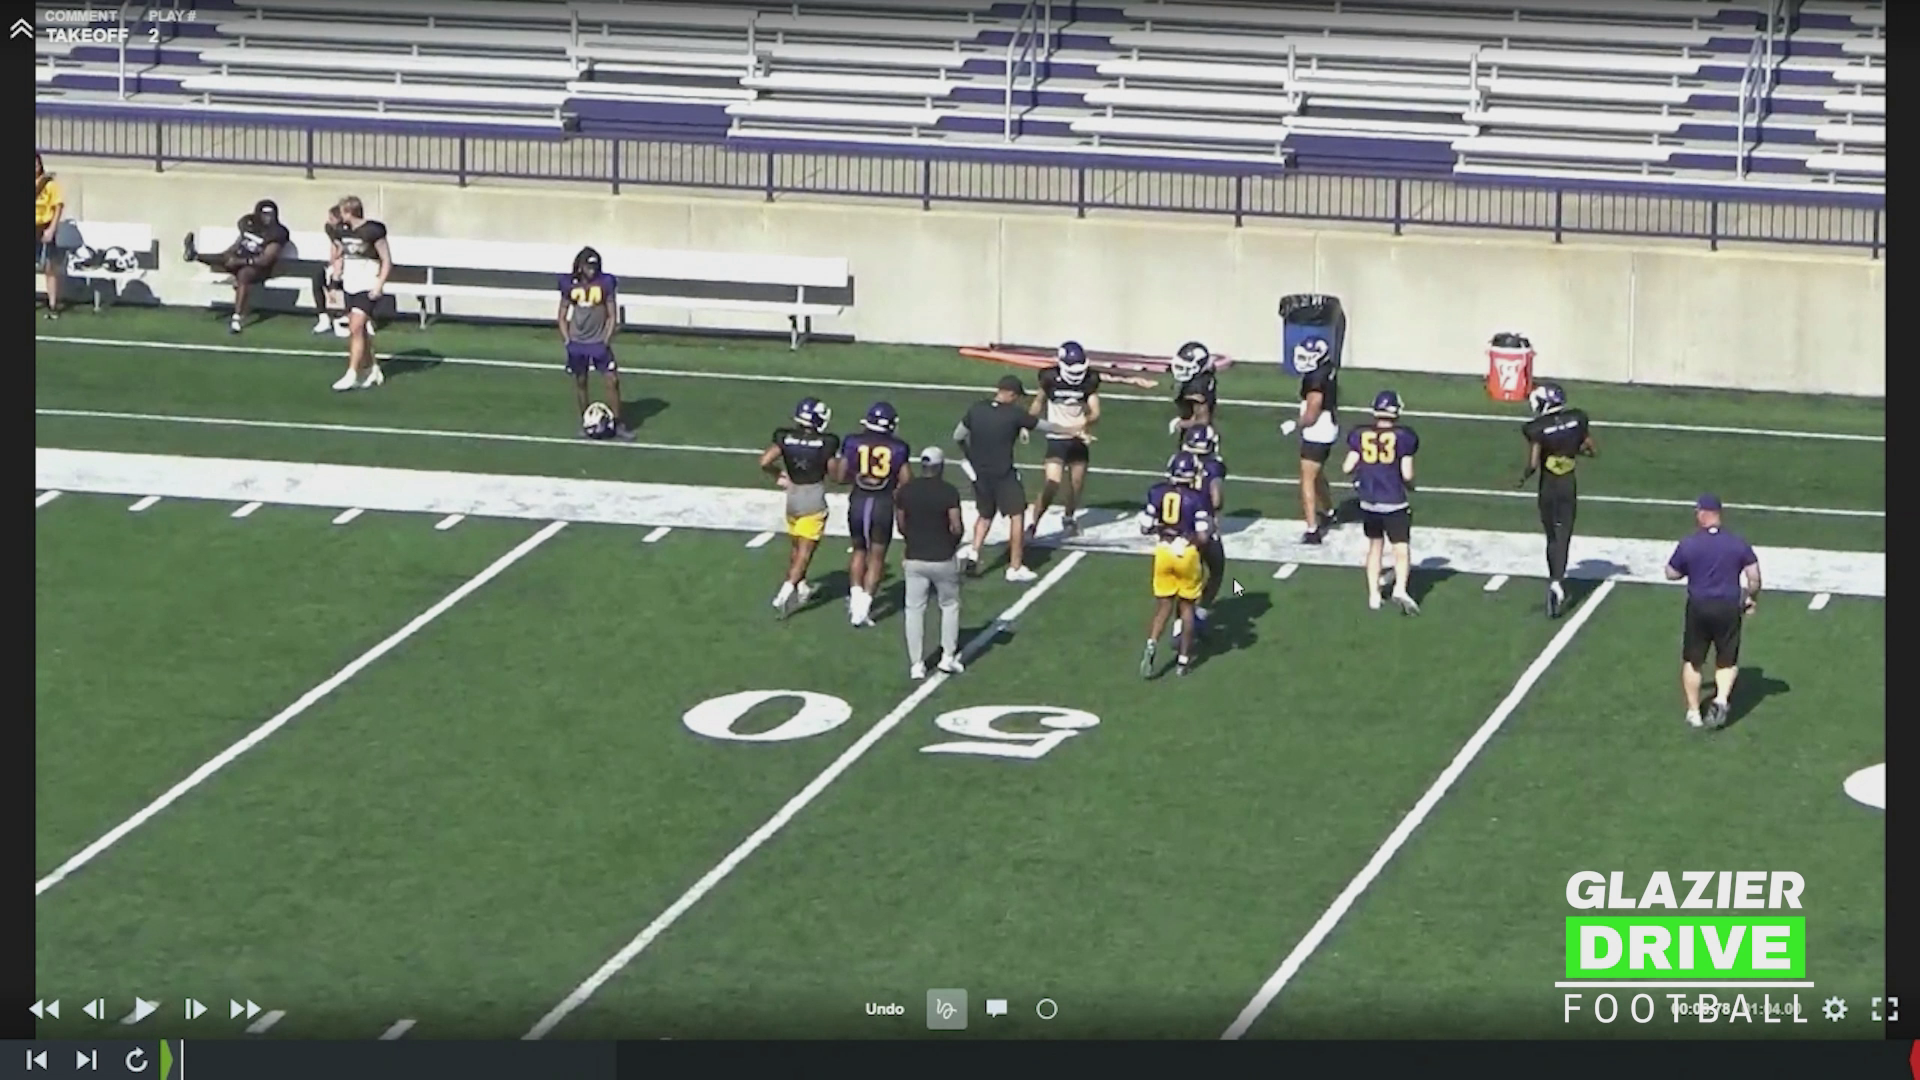
DRILL 1: TAKEOFF
- Works for punt block, and carries over to teaching defensive linemen their takeoff.
- Use a ball. The coach moves it, and players crowd the ball with their hands.
- Hands go down first, with the helmet behind the hands.
- The movement is a straight takeoff, bending to a point about five yards behind the ball.
- In a four-player setup, the first two players cross in front of the landmark (the punter), and the outside two stay behind the punter.
- Key coaching point: flex the ankles so players don't double clutch on takeoff.
- In the scheme, players on the right side are taught they can cross face if they come free.
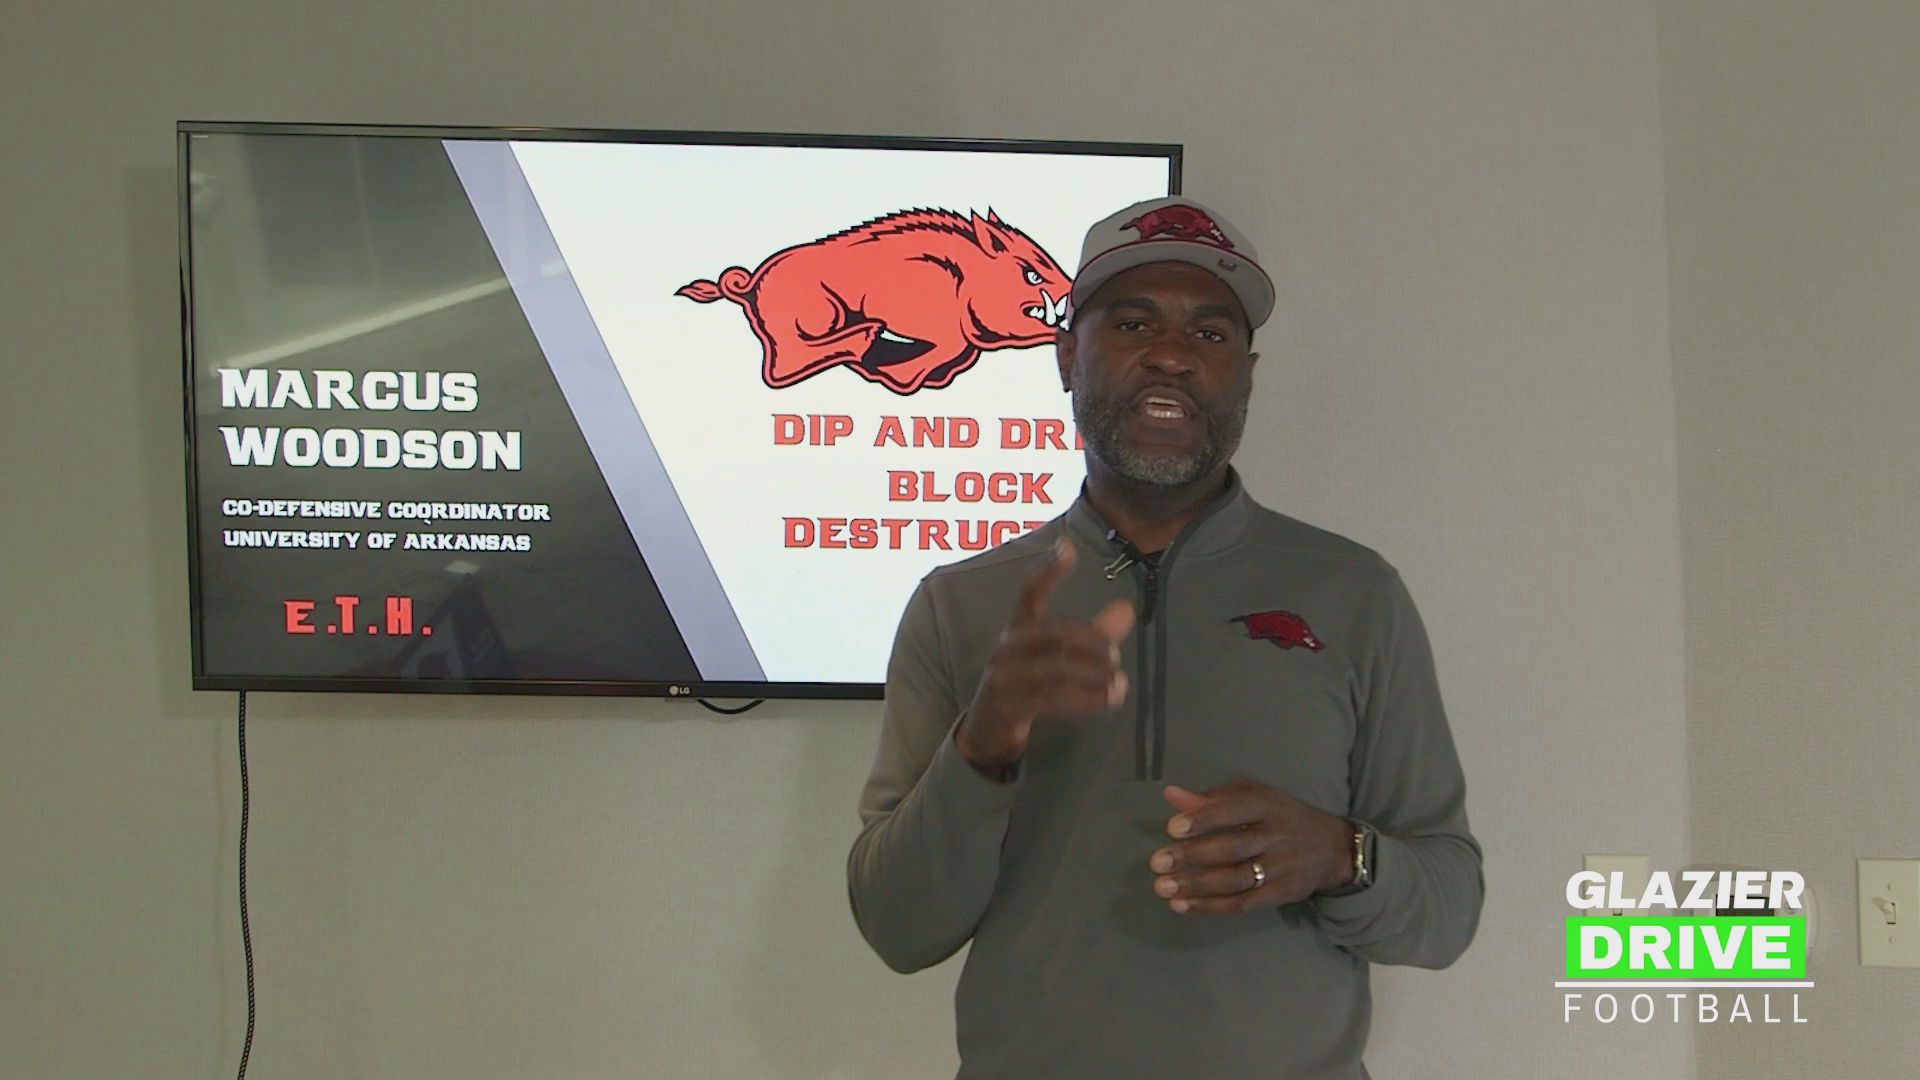
DRILL 2: DIP AND DRIVE
- Used against shield or pump protection.
- Players start engaged, with pads down and in almost a rip position on the shield.
- On the coach's command, they turn the body through, rip up, then bend through the blocker to the block point.
- Can be run with players crossing in front of the ball or working from behind it.
- The main emphasis is pad level.
DRILL 3: SCOPE DRILL
- Teaches the technique for actually blocking the punt.
- Players look through a "scope" made by putting the four fingers and thumbs together.
- Never swat at the ball. Think of pushing papers off a table, and pin the ball on the punter's foot.
- One line crosses in front of the punter while the other stays outside.
- Players must avoid crossing face and running into the punter, so they reach across the body instead.
- The game clip highlights discipline: not swatting, shooting the hands, and pinning the ball.
DRILL 4: ELEVATOR DRILL
- Also used against shield-style punt protection.
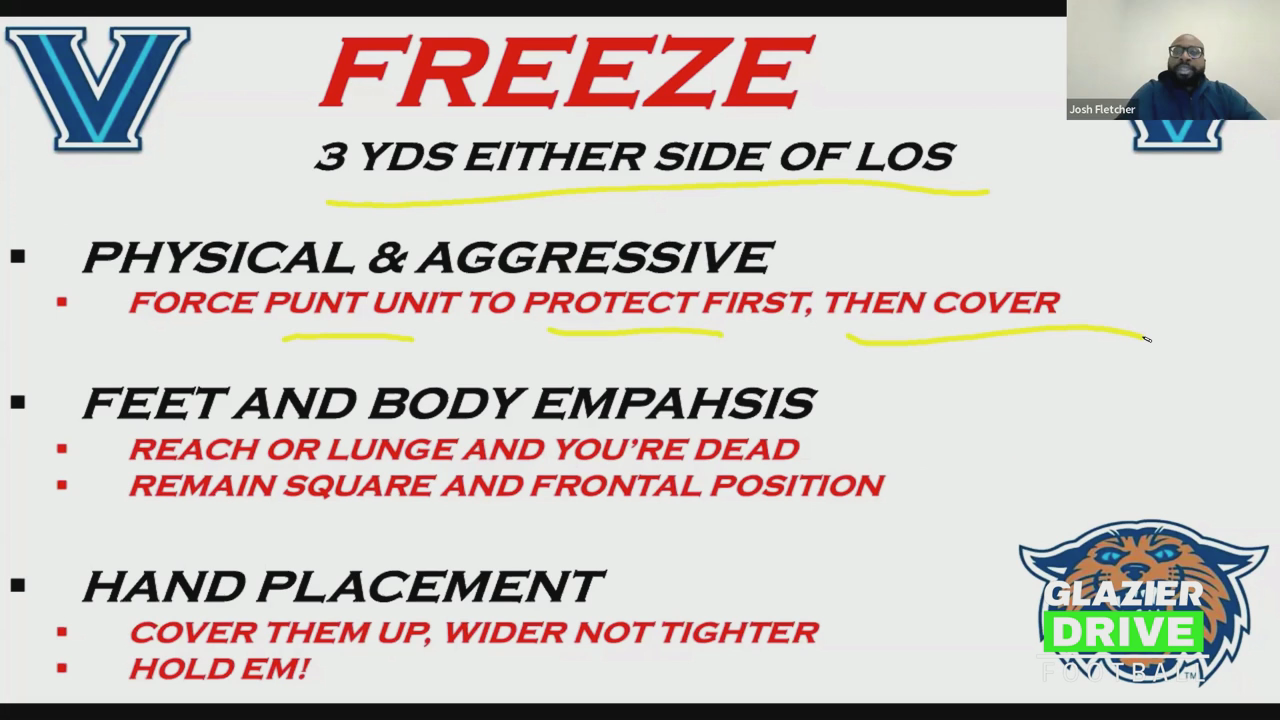
- Start about five yards from two shields.
- The goal is to split the shield by lowering the body, skinnying through, then rising up and through like an elevator to clear the block before reaching the punter.
- After clearing, reach a hand out to where the punter's leg will be. Two hands is ideal, but one hand is fine as long as it gets in the way of the punt.
- The game clip shows the extension after splitting the shield.
KEY TAKEAWAYS
- Pad level and body position win the shield battles (dip and drive, elevator).
- Ankle flexion prevents a double clutch and keeps takeoffs clean.
- Discipline at the point of the block matters: no swatting and no running into the punter.
- Each drill pairs with a specific protection look, so coaches can match drills to what they'll face.
- Showing every drill next to game tape connects practice reps to real results.